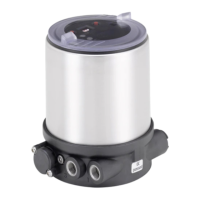
48
Pneumatic installation
Importantinformationfortheproblem-freefunctioningofthedevice:
▶ The installation must not cause back pressure to build up.
▶ Select a hose for the connection with an adequate cross-section.
▶ The exhaust air line must be designed in such a way that no water or other liquid can get into the
device through the exhaust air port (3) or (3.1).
▶ Keep the adjacent supply pressure always at least 0.5 – 1 bar above the pressure which is required
to move the actuator to its end position. This ensures that the control behavior is not extremely
negativelyaectedintheupperstrokerangeonaccountoftoolittlepressuredierence.
▶ Duringoperationkeeptheuctuationsofthepressuresupplyaslowaspossible(max.±10%).If
uctuationsaregreater,thecontrolparametersmeasuredwiththeX.TUNE function are not optimum
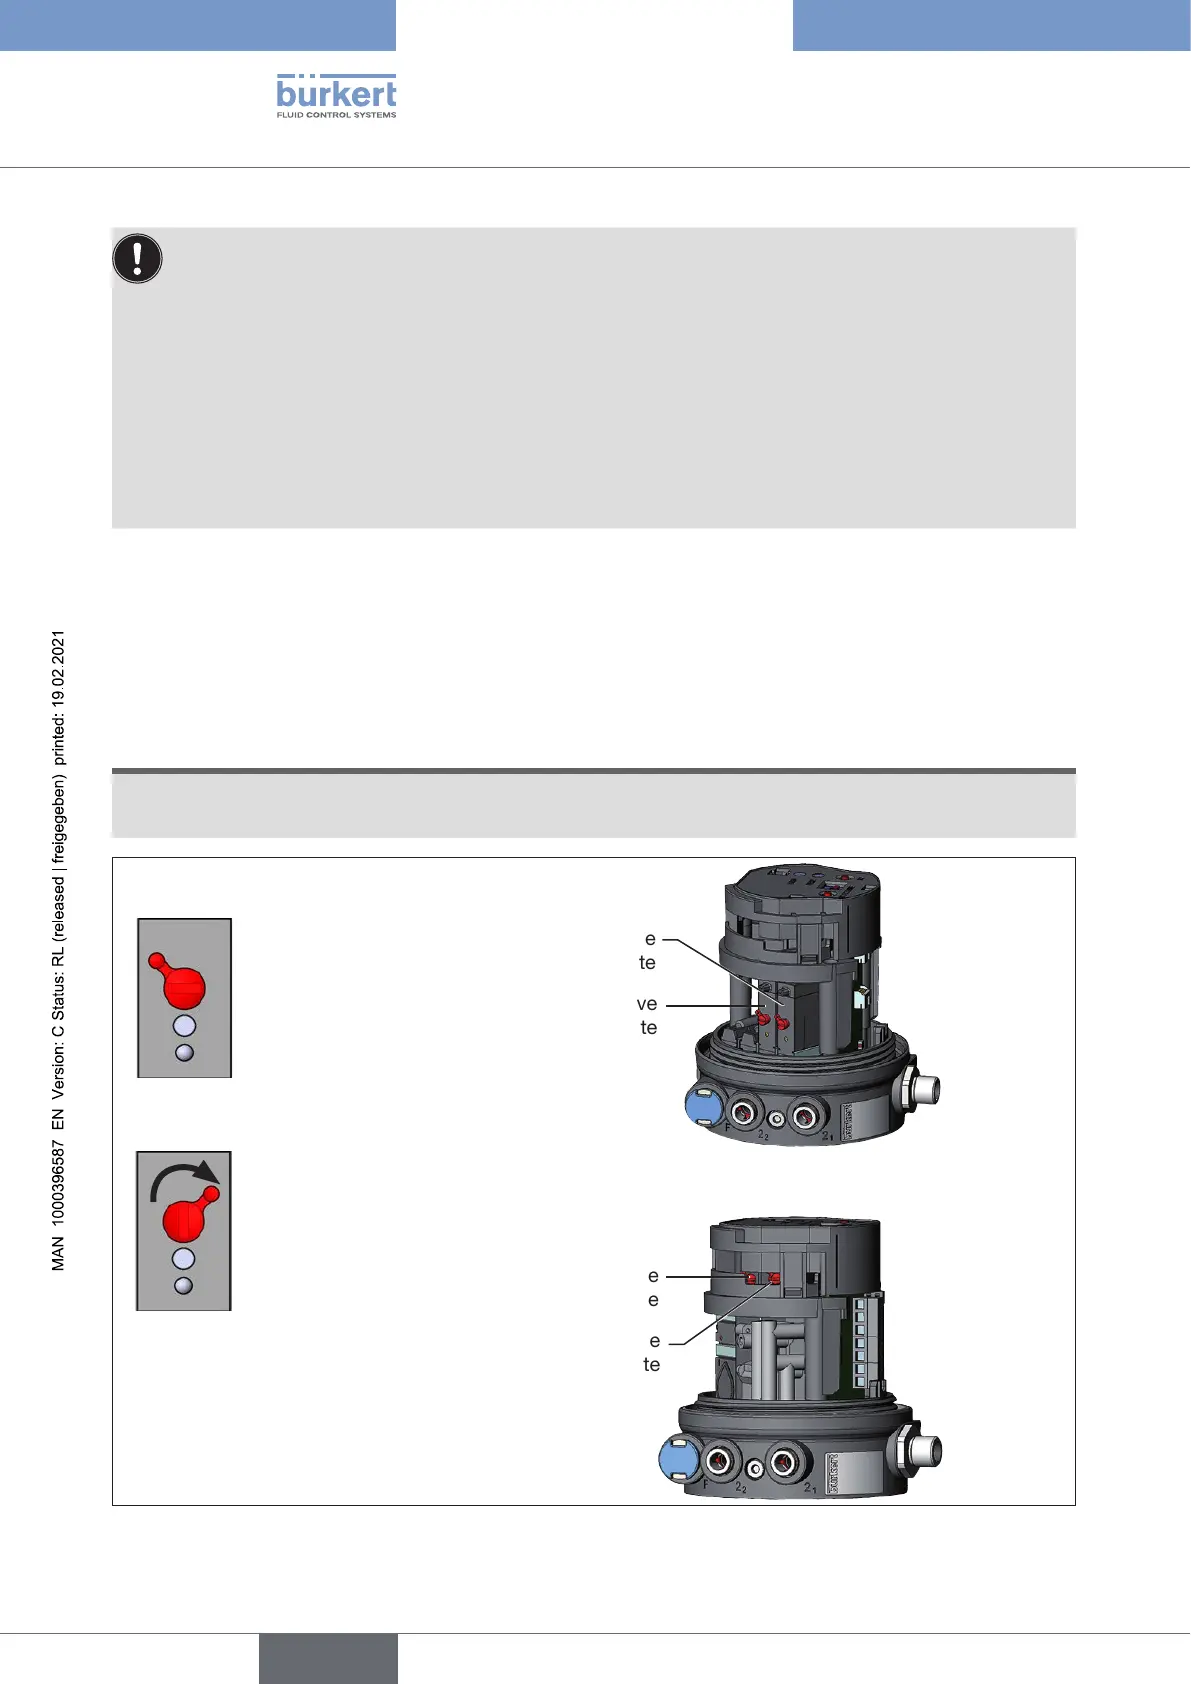
9.3 Manual actuation of the actuator via pilot valves
9.3.1 Single-acting actuators (control function A and B)
The actuator can be moved without a power supply from the rest position to its end position and back again.
To do this, the pilot valves must be actuated with a screwdriver.
ATTENTION!
Thehandlevermaybedamagedifitissimultaneouslypressedandturned.
▶ Do not press the hand lever when turning it.
Pilotvalvenonactivated
(normalposition)
Pilot valve
for aerate
Pilot valve
for deaerate
Type 8694 for highairowrate
Pilot valve
for aerate
Pilot valve
for deaerate
Hand lever
to the left
Pilotvalveactivated
Hand lever
to the right
Figure 32: Pilot valves for aerate and deaerate the actuator
english
Type 8694 REV.2