Cleaning, maintenance and repairs
Translation of the Original Operating Manual
7.5.3 Discharge opening with tight-fitting cover apron and conveyor belt (optional)
1. Turn the mixing auger such that the cutting blades
are pointing away from the discharge opening.
2. Swing the conveyor belt (2) down.
3. Completely open the dosing gate of the door
through which you wish to enter the mixing hop-
per (1).
4. Switch off the machine and secure it against inad-
vertent restarting.
5. Close the block ball valve on the dosing gate.
6. Detach the cover apron from the mixing hopper (1),
as described in chapter Discharge opening with
tight-fitting cover apron (optional) on page 81.
7. Carefully enter and exit the mixing hopper (1) via
the discharge opening.
8. Properly fasten the cover apron to the mixing hop-
per (1) again, as described in chapter Discharge
opening with tight-fitting cover apron (optional) on
page 81.
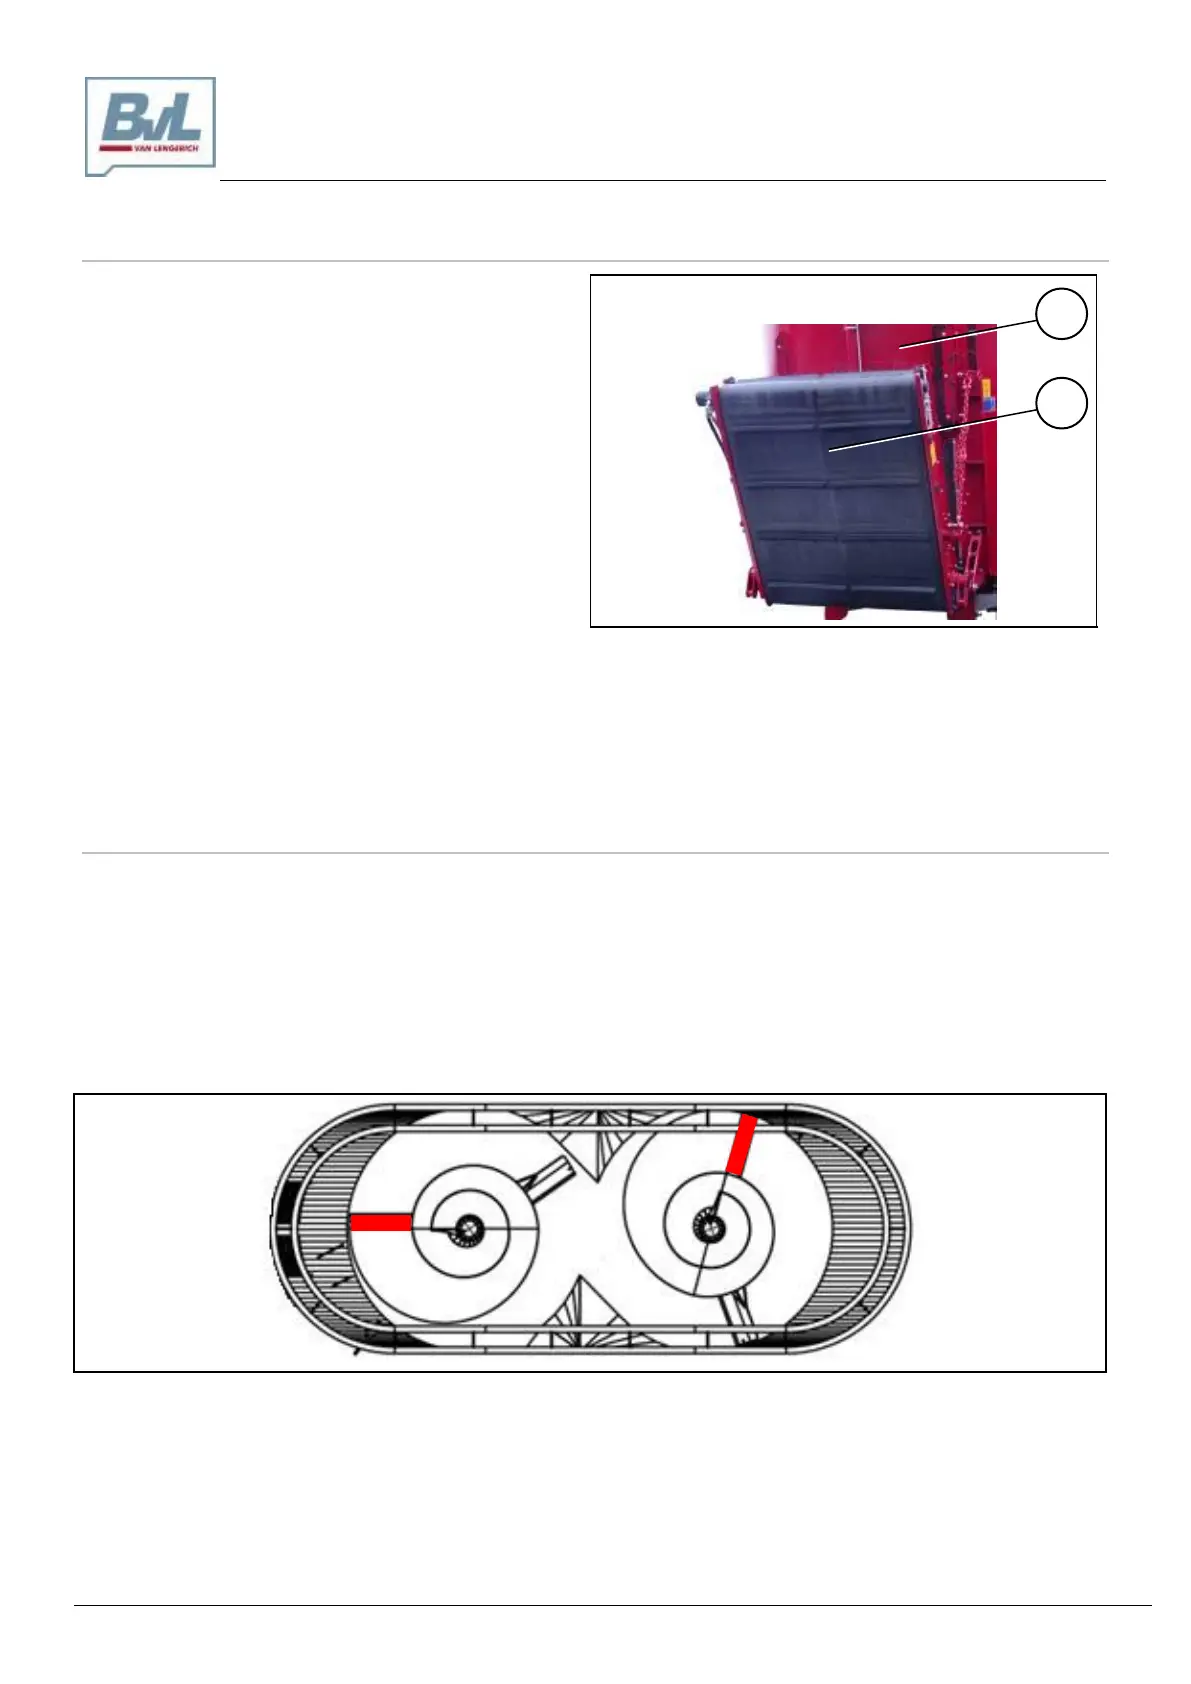
7.6 Installation and positioning of the mixing augers
To ensure proper operation of the 2S machine, the mixing augers must be aligned in specific positions
during installation.
This prevents excessive torque after start-up.
Excessive torque may, furthermore, have a negative impact on the mixing behavior and the discharge at
the gate valve.
The mixing augers need to be installed in the following position and, naturally, be interlinked accordingly
in the drive train via the drive shafts.
Fig. 7-11 V-MIX Fix Plus 2S