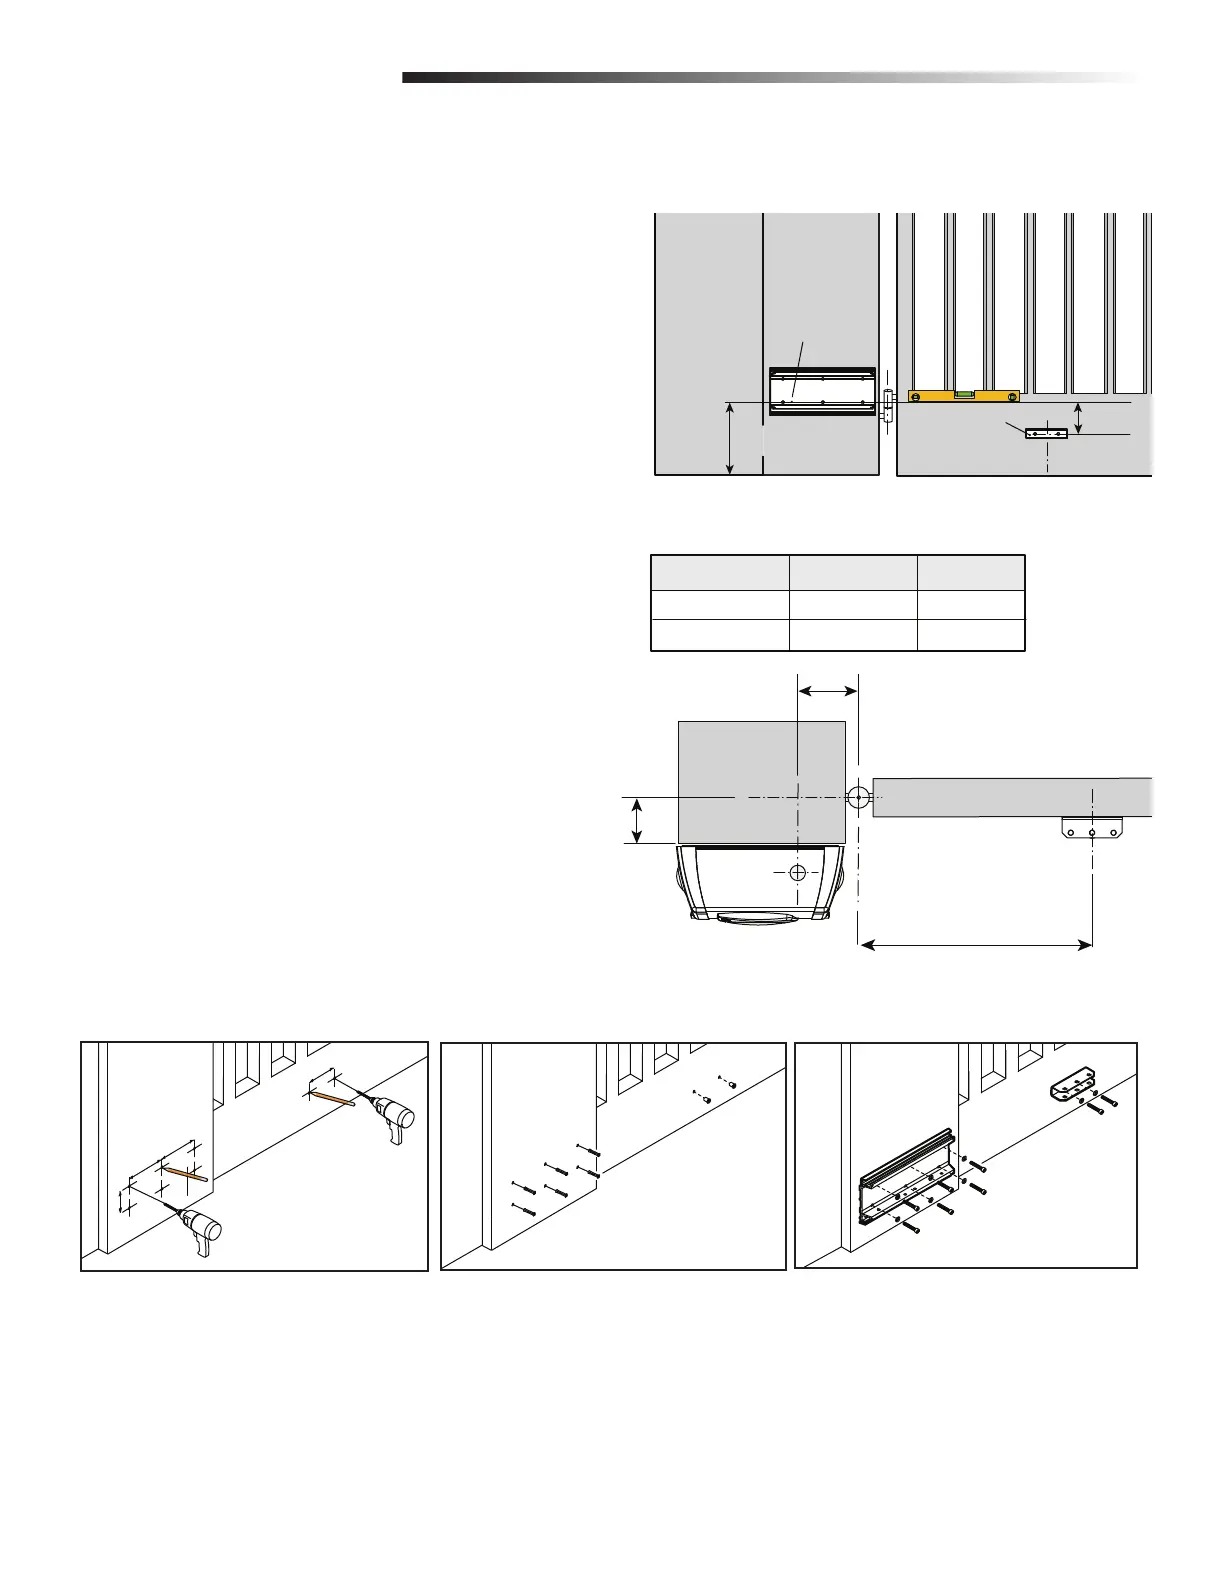
11
17.7" (45 cm)
A
B
Gate Bracket
Pillar Bracket
5.9" (15 cm)
120°
4.3"
(11 cm)
minimum 11.4"
(29 cm)
8 cm
13.75 cm
8 cm
90° 0-15" (0 - 38 cm)
7.9" (20 cm) 0" (0 cm)
Pillar
OPENING ANGLE
A
B
TOP VIEW
13.75 cm
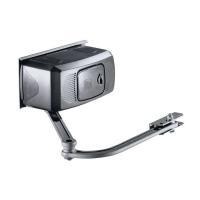
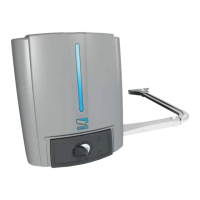
INSTALLATION
INSTALL THE PILLAR AND GATE BRACKETS
The following illustrations show a left-hand installation. The dimensions are
recommendations and your dimensions may differ based on your installation site.
1
Determine the location of the pillar bracket and gate bracket according to the
dimensions shown in Figure 1. Mark the holes for both brackets (Figure 2).
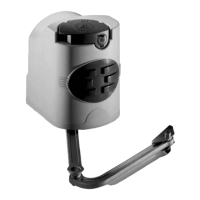
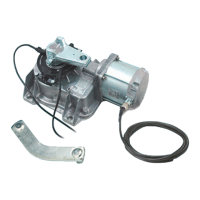
2
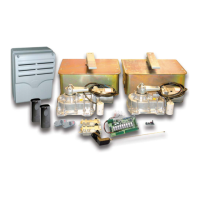
Drill the holes for the brackets (Figure 2) and insert dowels or other inserts
suitable for bracket resistance (Figure 3).
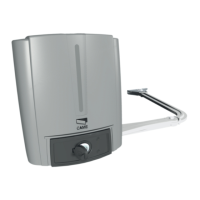
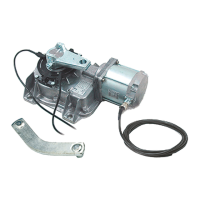
3
Attach the pillar bracket and the gate bracket with the hardware provided
(Figure 4).
NOTE: Make sure the pillar bracket is installed with the gasket on the bottom.
Figure 1
INSTALL THE PILLAR AND GATE BRACKETS
Figure 2 Figure 3 Figure 4