Chapter 4
4-18
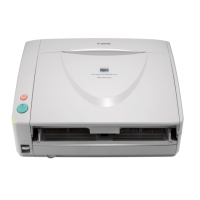
3) Remove the timing sensor [1].
- Connector [2]
F-4-75
4.5.10 Pressurization Solenoid
4.5.10.1 Removing the Pressurization Solenoid
0024-7041
1) Open the feeder cover.
2) Move to the back of the host machine and detach the rear cover.
- Screw, 2 pcs.
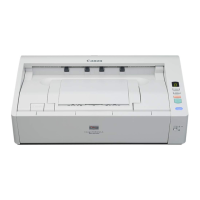
3) Remove the pressurization (roller release) solenoid [1].
- Connector [2]
- Harness clamp [3], 2 pcs.
- Screw [4], 2 pcs.
F-4-76
4.5.11 LED PCB
4.5.11.1 Removing the LED PCB
0024-7042
1) Open the feeder cover.
2) Open the ADF.
3) Detach the front cover.
- Screw, 3 pcs.
4) Close the ADF.
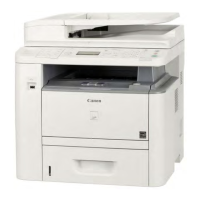
5) Remove the LED PCB [1].
- Screw [2]
- Connector [3]
F-4-77
4.5.12 ADF Driver PCB
4.5.12.1 Removing the ADF Driver PCB
0024-7043
1) Open the feeder cover.
2) Move to the back of the host machine and detach the rear cover.
- Screw, 2 pcs.
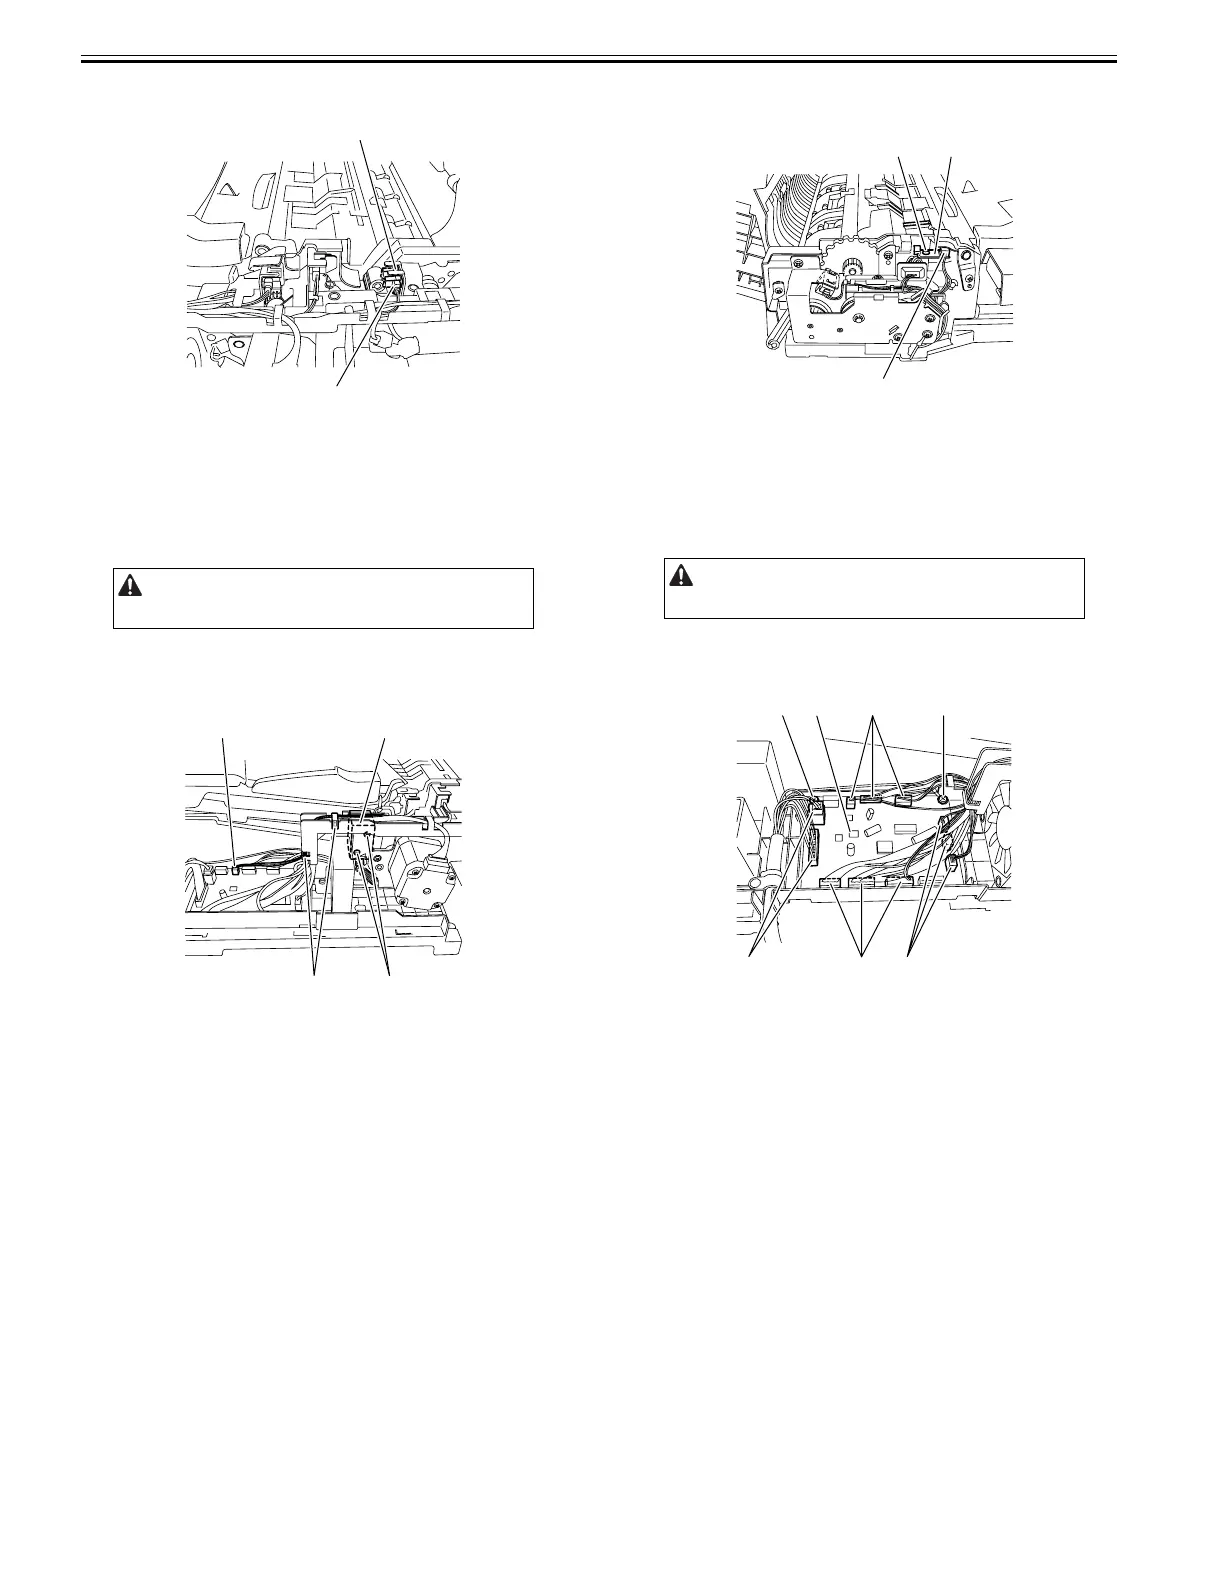
3) Remove the ADF driver PCB [1].
- Connector [2], 11 pcs.
- Screw [3], 2 pcs.
F-4-78
Remove the rear cover with the two claws released.
[1]
[2]
[1][2]
[4][3]
Remove the rear cover with the two claws released.
[1]
[3]
[2]
[3]
[2]
[1]
[3]
[2]
[2]
[2]