ECG100+ - ECG200+ - ECG100S - ECG200S
7. EXECUTION OF AN EXAM
7.3. Viewing the ECG
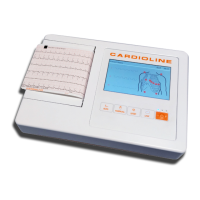
The electrocardiograph starting screen is the real time display.
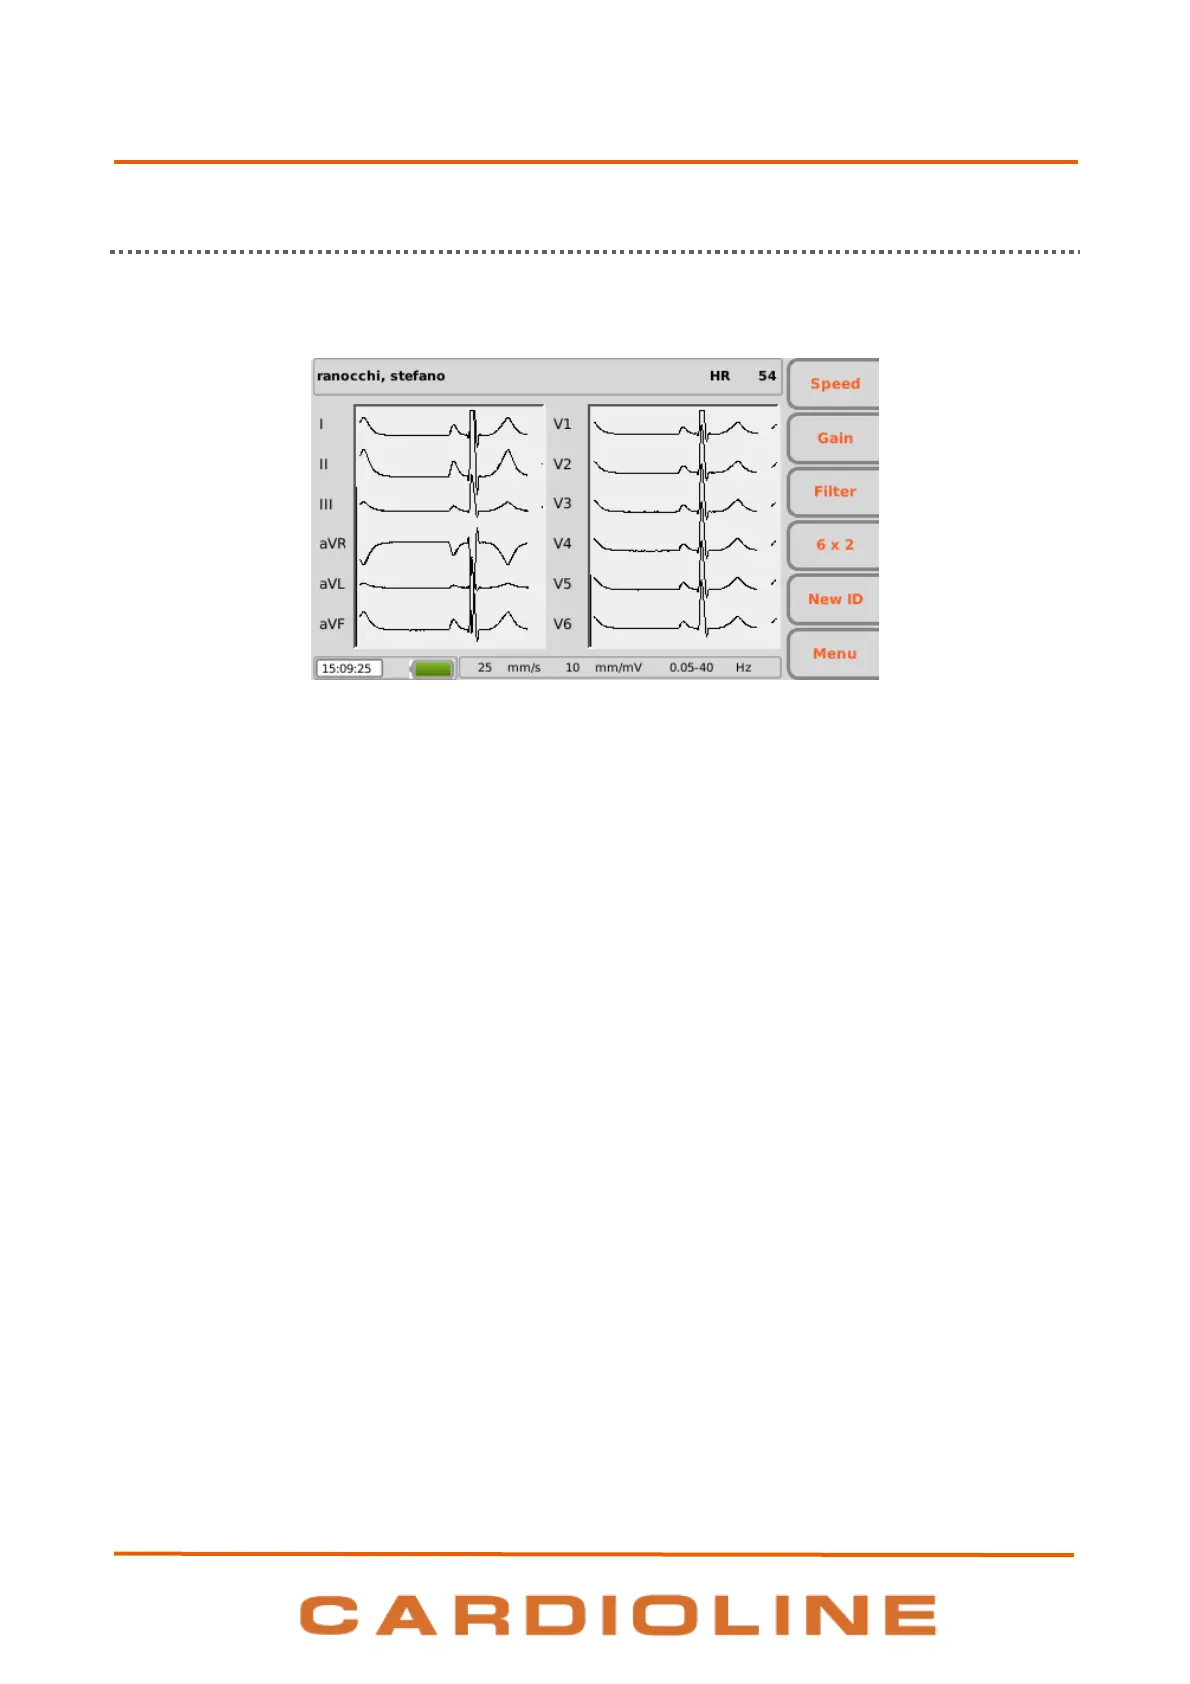
Real time display
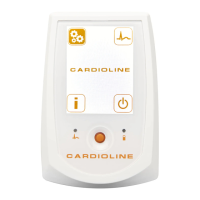
Display and function keys
The display shows ECG traces in real time, some basic information (name and surname of the patient, heart
rate, speed, gain, filter and battery charge, as indicated in Par. 5.4.3) and the active function keys:
F1 (Speed): to modify the display speed of the tracings (5, 10, 25, 50 mm/s)
F2 (Gain): to modify the amplitude of the displayed tracings (5, 10, 20 mm/mV)
F3 (Filter): to select the low-pass filter to apply to the displayed tracings (off, 150, 40, 25 Hz)
F4 (variable label): to modify the display format of the tracings (12x1 (only ECG200+/ECG200S), 6x2,
6x1 1st, 6x1 2nd, 6x1 3rd, 3x2 1
st
, 3x2 2
nd
, 3x1 1st, 3x1 2nd, 3x1 3rd, 3x1 4th, 3x1 5th). The label
corresponds to the current display format.
F5 (New ID): to create a new patient with a new ID and delete the previous one
F6 (Menu): to access to the Settings pages (Chap. 8)
Hot keys
The active hot keys on the real time display screen are:
ID: to enter or change patient data (see Par. 7.4);
AUTO: to start automatic acquisition of ECG (see Par.7.5.1);
MANUAL: to start manual printing of ECG (see Par.7.5.2).
The display also shows messages regarding tracing failures and errors. Messages are displayed on the top of
the screen, as shown in the picture below. See par. 12.8 for the complete list of messages.
WARNING: lead fail, overload and saturation are represented as square waves on the screen.