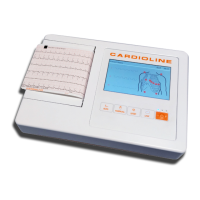
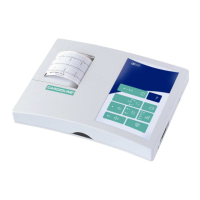
ECG100+ - ECG200+ - ECG100S - ECG200S
12. MAINTENANCE AND TROUBLESHOOTING
12.3.4. Operation check
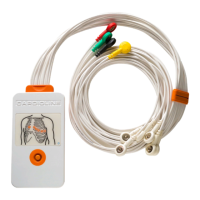
After cleaning and checking the device, it is possible to verify the correct operation of the device using an
ECG simulator to acquire and print a standard 12-lead ECG of known amplitude. Printing must be clear and
uniform on the whole page. The printing head must not show signs of malfunctioning (e.g. interruptions
during printing in the form of horizontal stripes). The paper must slide well and uniformly during printing.
The tracings must appear normal, with appropriate amplitude and without distortion or excessive
disturbances. The paper must stop with the perforations near the tear bar (indicating that the reference
sensor works properly).
12.4. Recommendations
Ensuing any type of assistance on the device or should you suspect non-conforming operation, we
recommend the following procedures:
Check that it works properly.
Perform the checks to guarantee a continuous electrical safety of the device:
leakage current in the patient
leakage current in the chassis
leakage current to earth
dielectric strength (supply line and patient circuits)
12.5. Battery maintenance
From the moment the device is installed, the battery lasts approximately 6 months without being recharged.
If a low battery is put away for a long period of time, it might not be possible to recharge it.
If the battery does not provide at least 30 minutes of continuous operation, it is recommended to perform a
full discharge/recharge cycle.
The battery should be replaced if it does not hold enough power after a full recharge cycle, i.e. the battery
does not guarantee at least 20 minutes of continuous operation and the battery level indication drops
rapidly to the Low state after a full recharge cycle.
The battery can be replaced by means of a screwdriver. The battery door is on the bottom side of the device,
so to replace the battery follow this procedure:
1. Turn the unit upside down to access the battery door
2. Open the battery door using a screw driver
3. Disconnect the battery connector from the electrocardiograph and take the battery out of its
compartment
4. Take a new battery and connect it to the battery connector
5. Place the battery in the battery compartment. Make sure the battery is in place.