62 Chapter 8 Acquiring a 3D Model for Implants
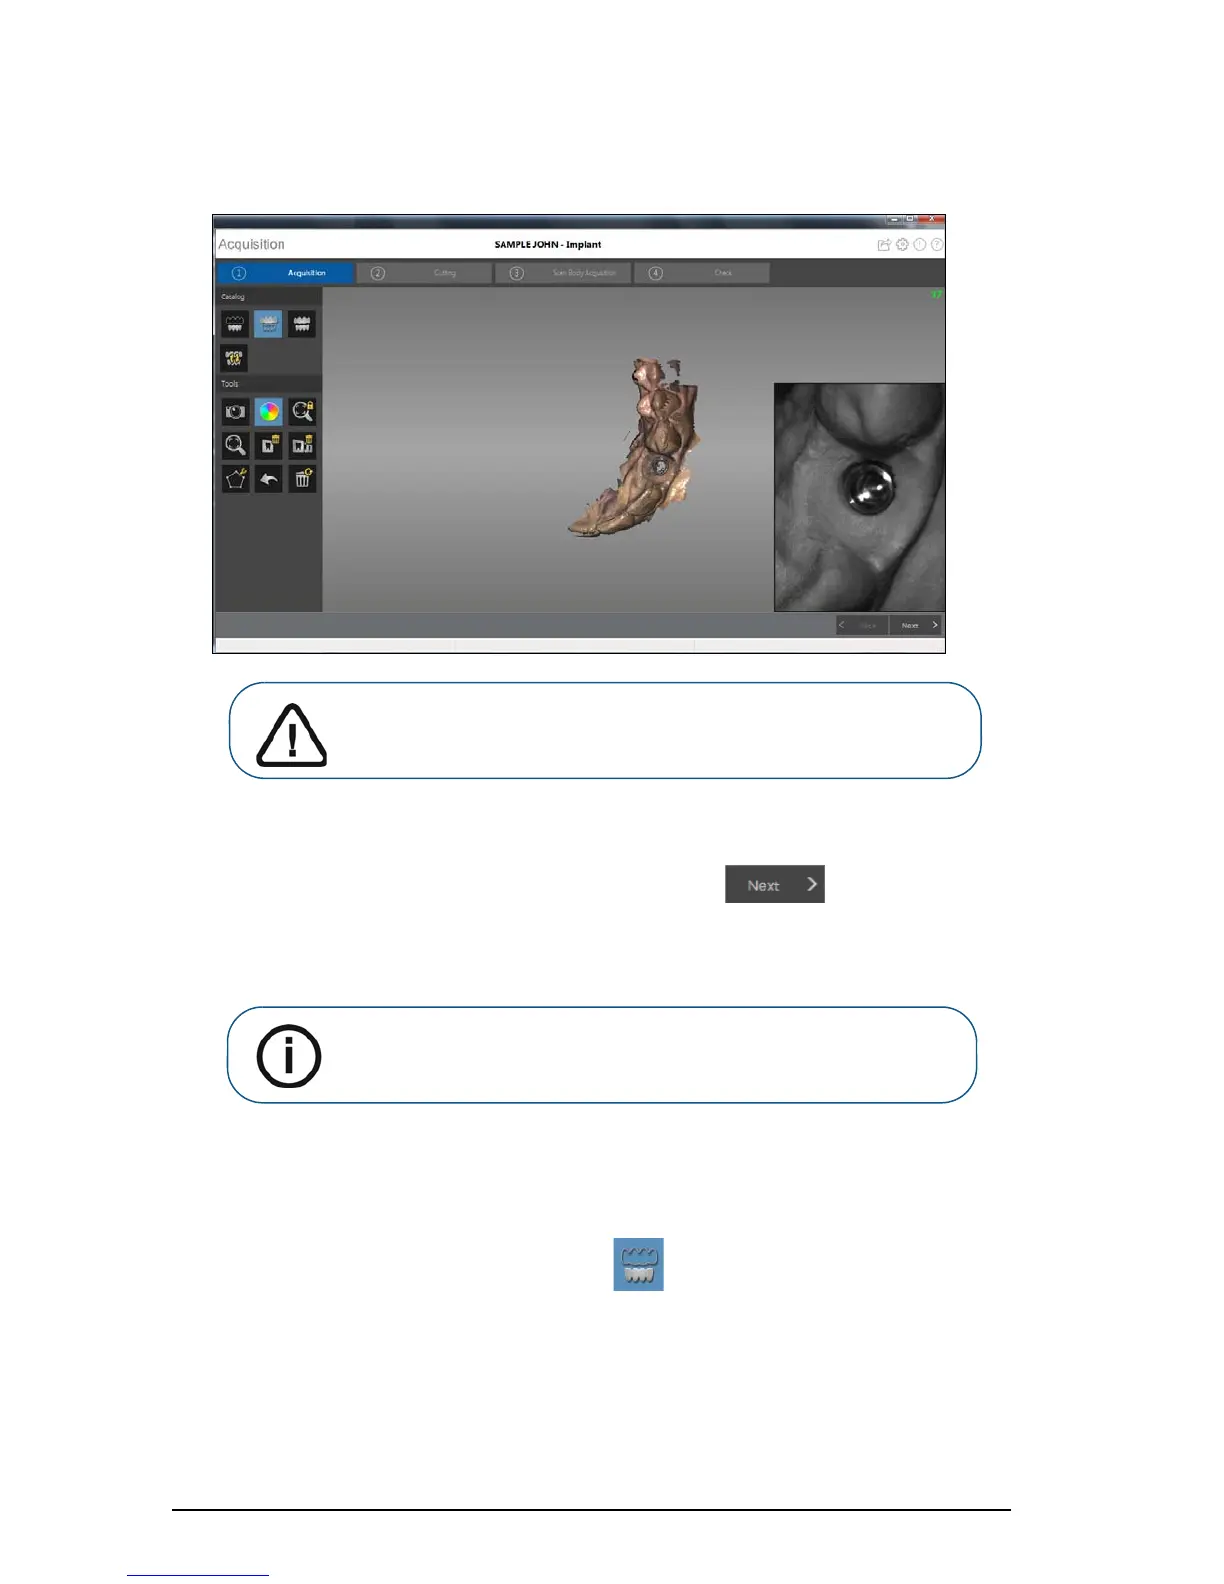
The example below shows a 3D model of the upper jaw when the occlusal, lingual, and buccal
surfaces have been completely scanned.
9 Once the upper jaw has been scanned:
You can continue with only the upper jaw, if desired. Click . A message is
displayed, stating that you have not acquired the opposing jaw and asking if you want to
continue anyway. Click Yes. Continue with the steps listed under
“Using the Free Cut Tool to
Cut Out the Implant Area” on page 66.
OR
You can begin scanning the lower jaw. Click and repeat steps 5 through 8 until the
teeth on the lower jaw are scanned.
Important: If holes are displayed in the scanned image on the
implant area, re-scan the area until the holes are filled. Use the
mouse wheel to zoom in on the implant area for a closer look.
Note: If you selected the Enable Refinement Check option in the
Preferences window, the software will refine the image before you
perform the cutting step.