34
GB
INSTALLATION
RX DC X-RAY UNIT
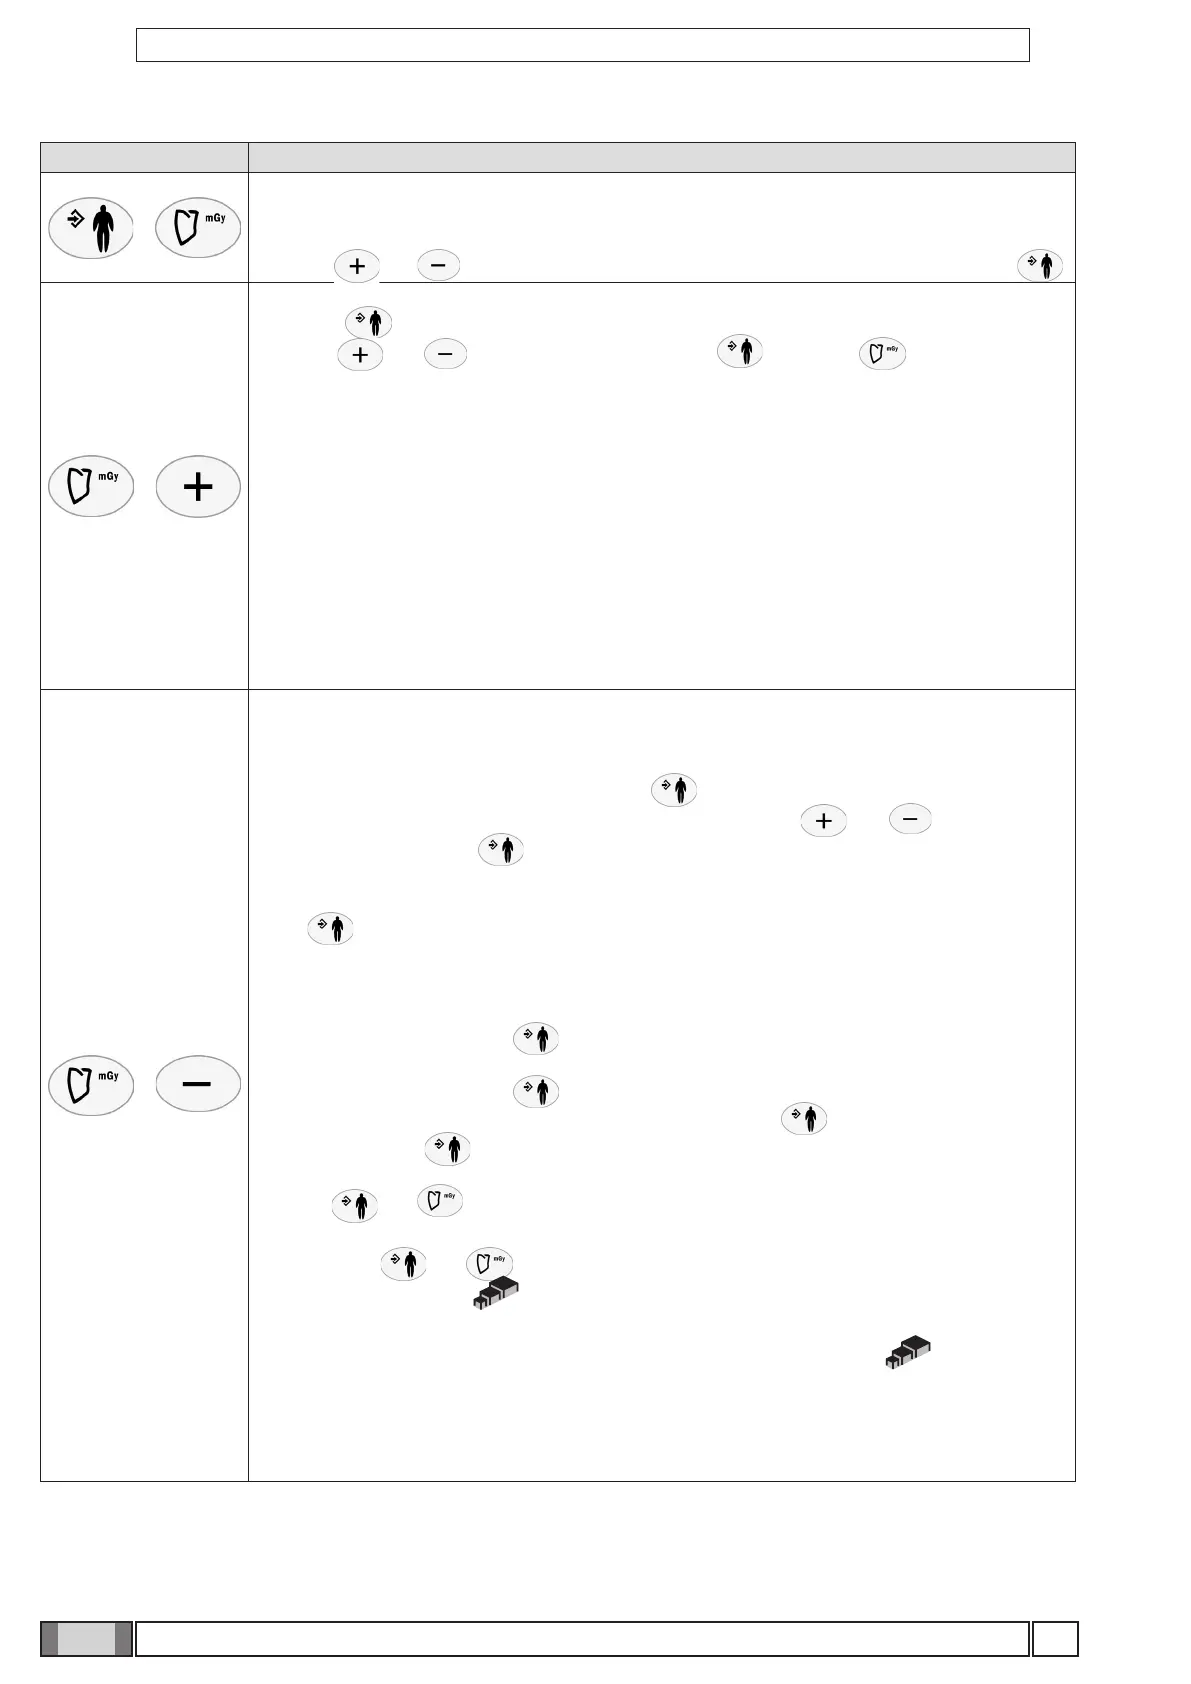
Combination of keys Description
+
Sensitivity levels
Press these two keys to adjust the sensitivity levels (determined based on the table given in the user
manual). Set the current sensitivity level to a value within the allowable range (on a scale from 13 to 26),
with keys and ; to conrm the desired level and go back to the main screen press key .
+
Hold down these two keys to go to the set up menu (from P01 to P08).
Press key to make the selection. Once within the individual congurations, they can be scrolled
with keys and and selected by pressing key again. Key quits set up without
saving the setting.
The congurations are given in detail below:
P 01: Sets hendheld unit stand by time (from a minimum of 0 to a maximum of 240 minutes).
P 02: Assigns an identication tag to the x-ray unit’s base (from 1 to 5 or none).
P 03: Shows the list of software versions. (handeld, X-ray head, basis)
P 04: Sets X-ray head stand by time
P 05: Activates/deactivates the safety unlock mode (see section "Setting the safety unlock mode") -
only RX DC with "ball end socket joint"
P 06: Selects the operating mode (Fixed 70,65,60 KV or AUTO) - (see section "Setting the operating
mode")
P 07: Sets the type of removable cone used - (see section "Setting the type of movable collimator")
P 08: Selects anode current (H = 8mA, L = 4mA)
+
Technician setup menu
Hold these two keys depressed, within user menu in position P08, to access an advanced technical
setup menu (T01 to T07).
Like in the previous menu, select by pressing the key.
Once you are inside the single settings, you can scroll them using and keys and select
them by pressing again the key. In detail, these settings include:
T01: HANDHELD UNIT POWER VOLTAGE
T02: HANDHELD UNIT-X-RAY HEAD MATCHING PROCEDURE
Press key to start the procedure. If successful, handheld unit will reboot and search for the SSID
of the matched machine. If handheld unit displays EE, the procedure was not successfully completed
(see section "Handheld unit-X-ray head association").
T03: HANDHELD UNIT DEMO SELECTION.
Save this mode by pressing the key.
T04: X-RAY HEAD DEMO SELECTION.
Save this mode by pressing the key.
T05: X-RAY HEAD CALIBRATION (Enter the menu by pressing the key.)
Hold depressed the key to start the calibration procedure. This procedure provides a certain
number of shots depending on the selected work mode. Perform all emissions.
Pressing and keys at the same time will reset calibration values.
T06: SELECT WIRELESS CHANNEL
Press the keys and at the same time to activate the wireless channel automatic selection
function (when active, icon is displayed). In this condition, should the manually selected channel
be busy, the X-ray device will automatically select the rst free channel available in order to minimise
any interference with the handheld device. If the function deactivates (icon not shown), the
channel is always the one displayed.
T07: SELECT TYPE OF BATTERIES IN USE
Choose between rechargeable and alkaline. This selection will change battery icon voltage thresholds.
T08: UPDATE OF X-RAY DEVICE FIRMWARE (see section "Firmware update procedure").