33
GB
INSTALLATION
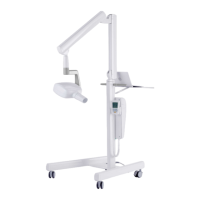
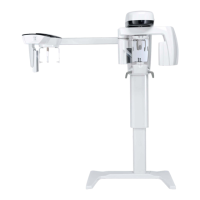
RX DC X-RAY UNIT
• Radiographic enlargement may reach up to 15%.
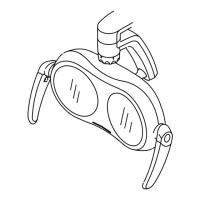
• For some “special” pictures, for example occluded ones, it may be necessary to remove the rectangular collimator and
use the round one if a positioner is not present.
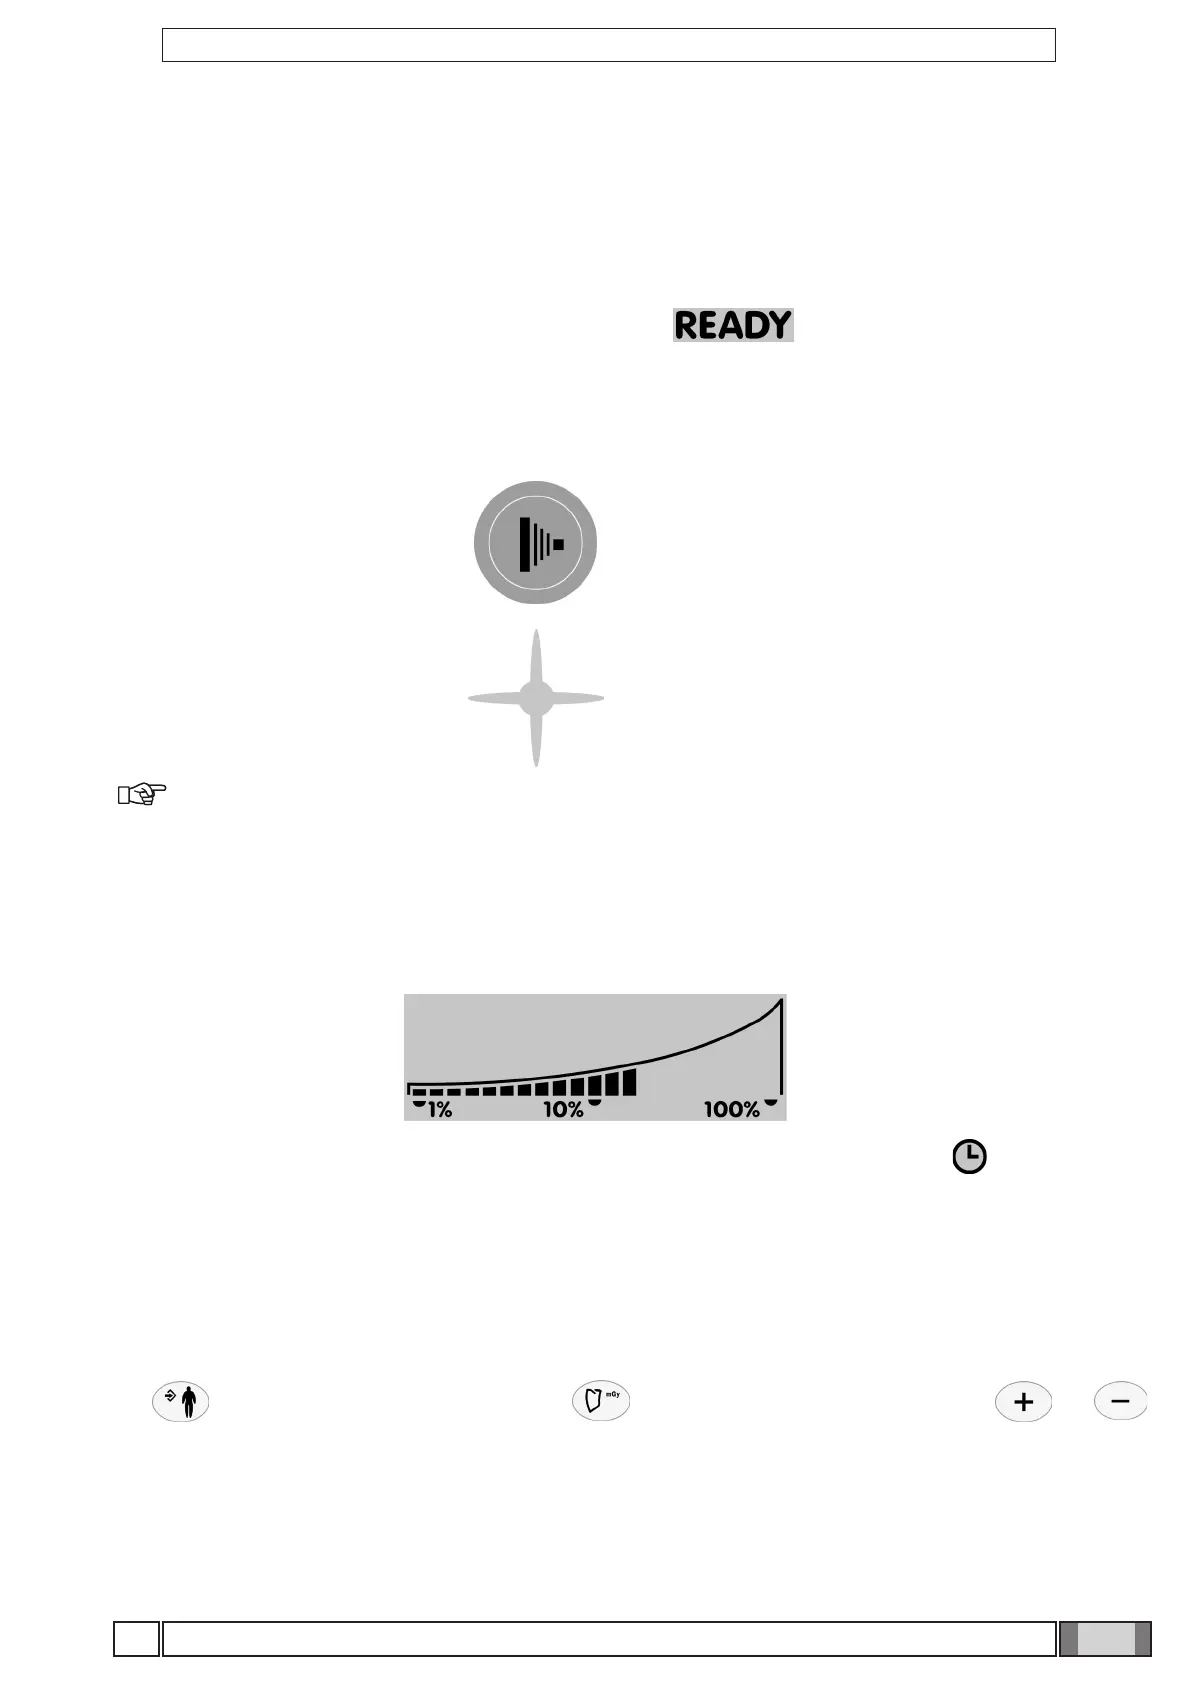
6.10 Procedure to be followed when taking the x-ray
• Pick up the handheld and move to a safe distance (at least 2 meters) maintaining visual contact with the patient and
x-ray unit during the exposure. Make sure “ready” is indicated.
• Tell the patient to stay still.
• Press and hold down the “Exposure” key on the handheld until the audible warning sound (beep) stops and the yellow
light goes out.
X-ray emission light" key
Light on control panel illuminated
during x-ray emission
NOTE: If the “EMIT X-RAY” key is released at any time, exposure will be interrupted and error code E01
will appear on the display.
• Once exposure has been completed, it is possible to proceed with the next exposure unless the x-ray unit has reached
the maximum allowable temperature. The percentage the cone exceeds the maximum allowable temperature is
always shown on the screen (see icon below).
• Once the temperature has been reached, wait the pause time for cooling signaled by symbol .
• At this point the exposure function will be disabled until the screen shows “ready” again
• As soon as “READY” appears on the handheld, another exposure can be taken.
7. TECHNICIAN AND USER SETUP MENU
The handheld allows a number of work parameters to be viewed and edited by simply pressing a combination of keys
present on the control panel.
Key serves to conrm/save the function, key is used to undo/quit the menu while keys and
edit the values of the selected parameters on all the setup menus.
Proceed as directed below to access the menus: