16
GB
INSTALLATION
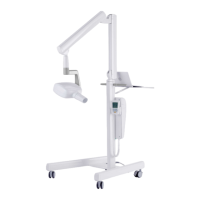
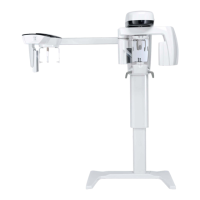
RX DC X-RAY UNIT
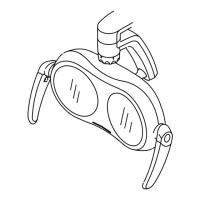
Figure E
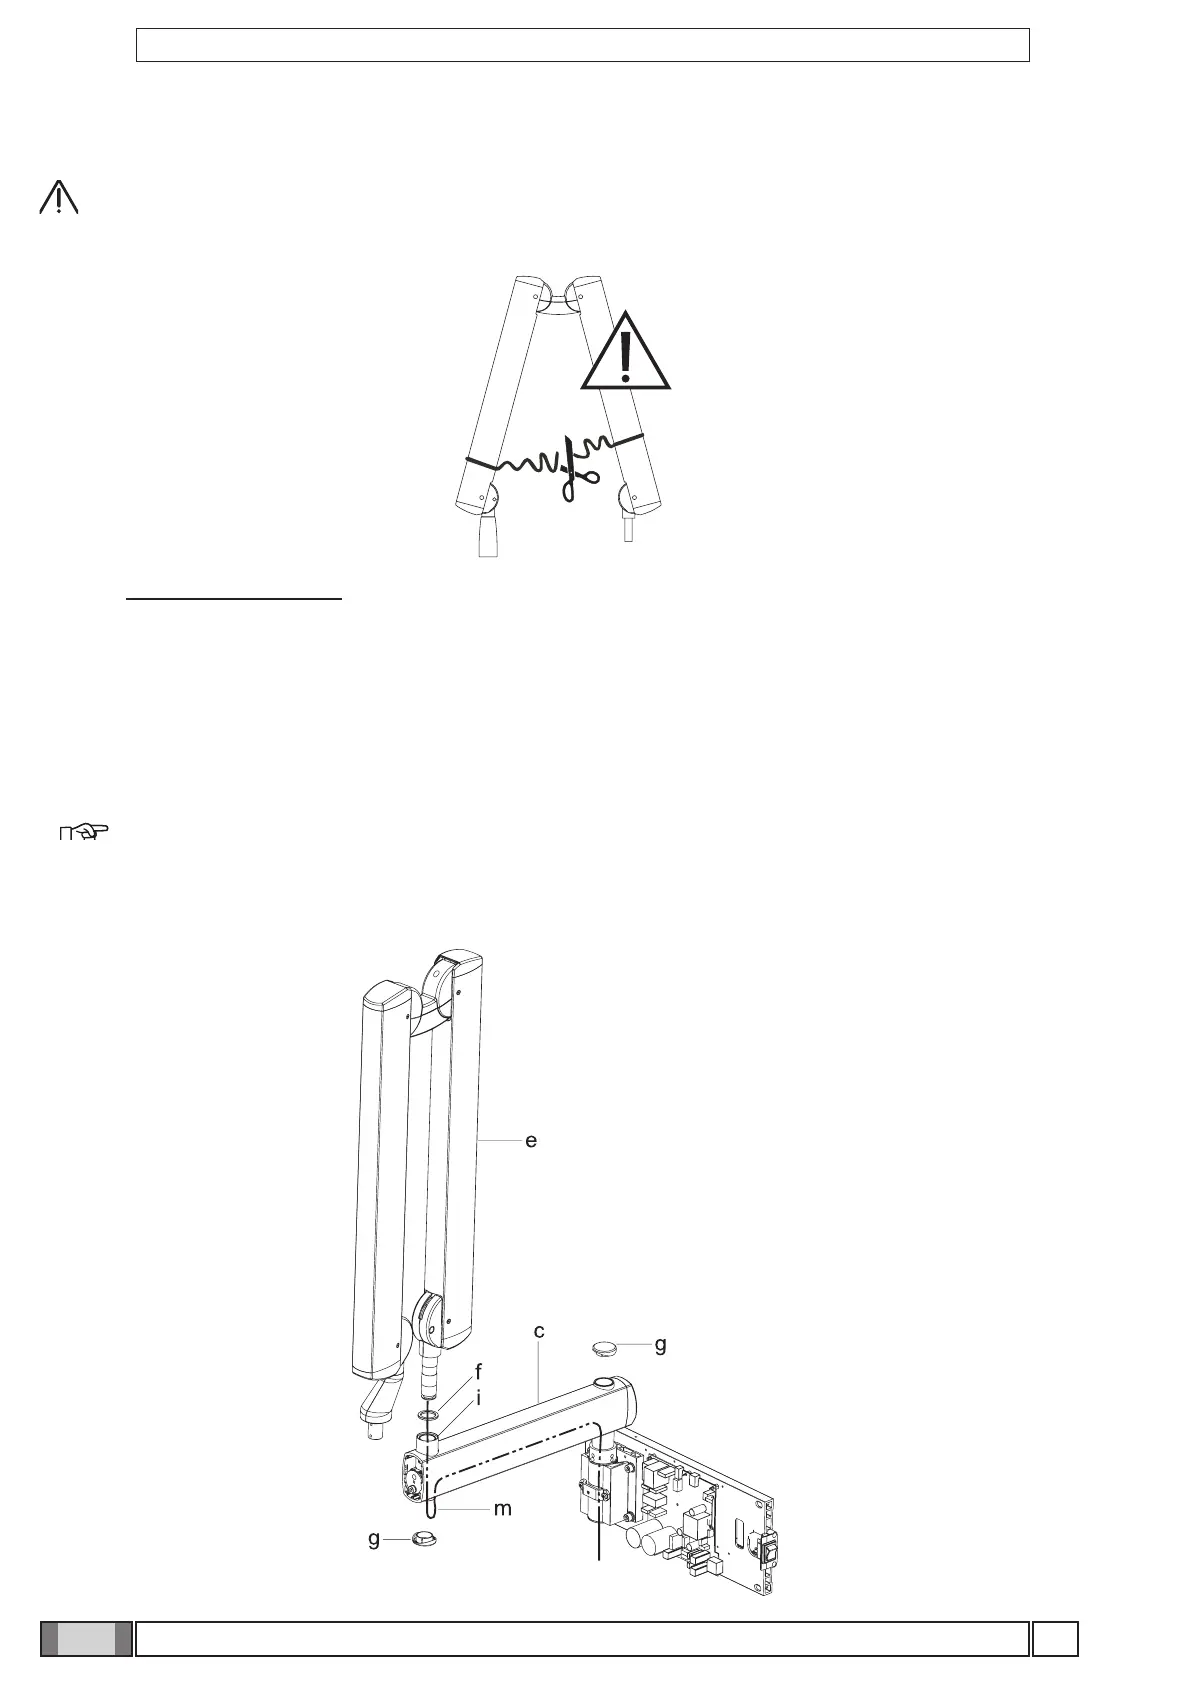
4.5 Installing the double pantograph arm
WARNING!
The arms are supplied secured together by a belt.
This belt should not be removed until the two free ends of the arms have been connected to their corresponding
attachments: the extension arm (already secured to the wall) and X-ray head.
If the belt is loosened before xing the arms in place, releasing them abruptly could damage them and the
operator risks being injured.
Figure E
• Take the washer (f) from the kit and position it at point (i) corresponding to the extension arm (c).
• Pass the cable (m) of the pantograph arm (e) through the extension arm (c) so that it comes out of the hole below.
• Install the pantograph arm (e) on the extension arm (c)
NOTE: The extension arm’s bushing is self-lubricating.
Do not lubricate the pin of the double-pantograph arm.
• Pass the cable (m) through the inside of the extension arm (c) so that it comes out of the wall-mounted plate.
• Install the plugs (g) in the corresponding holes in the extension arm (c).