12
1
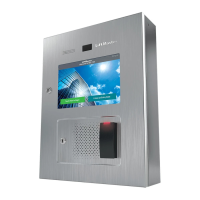
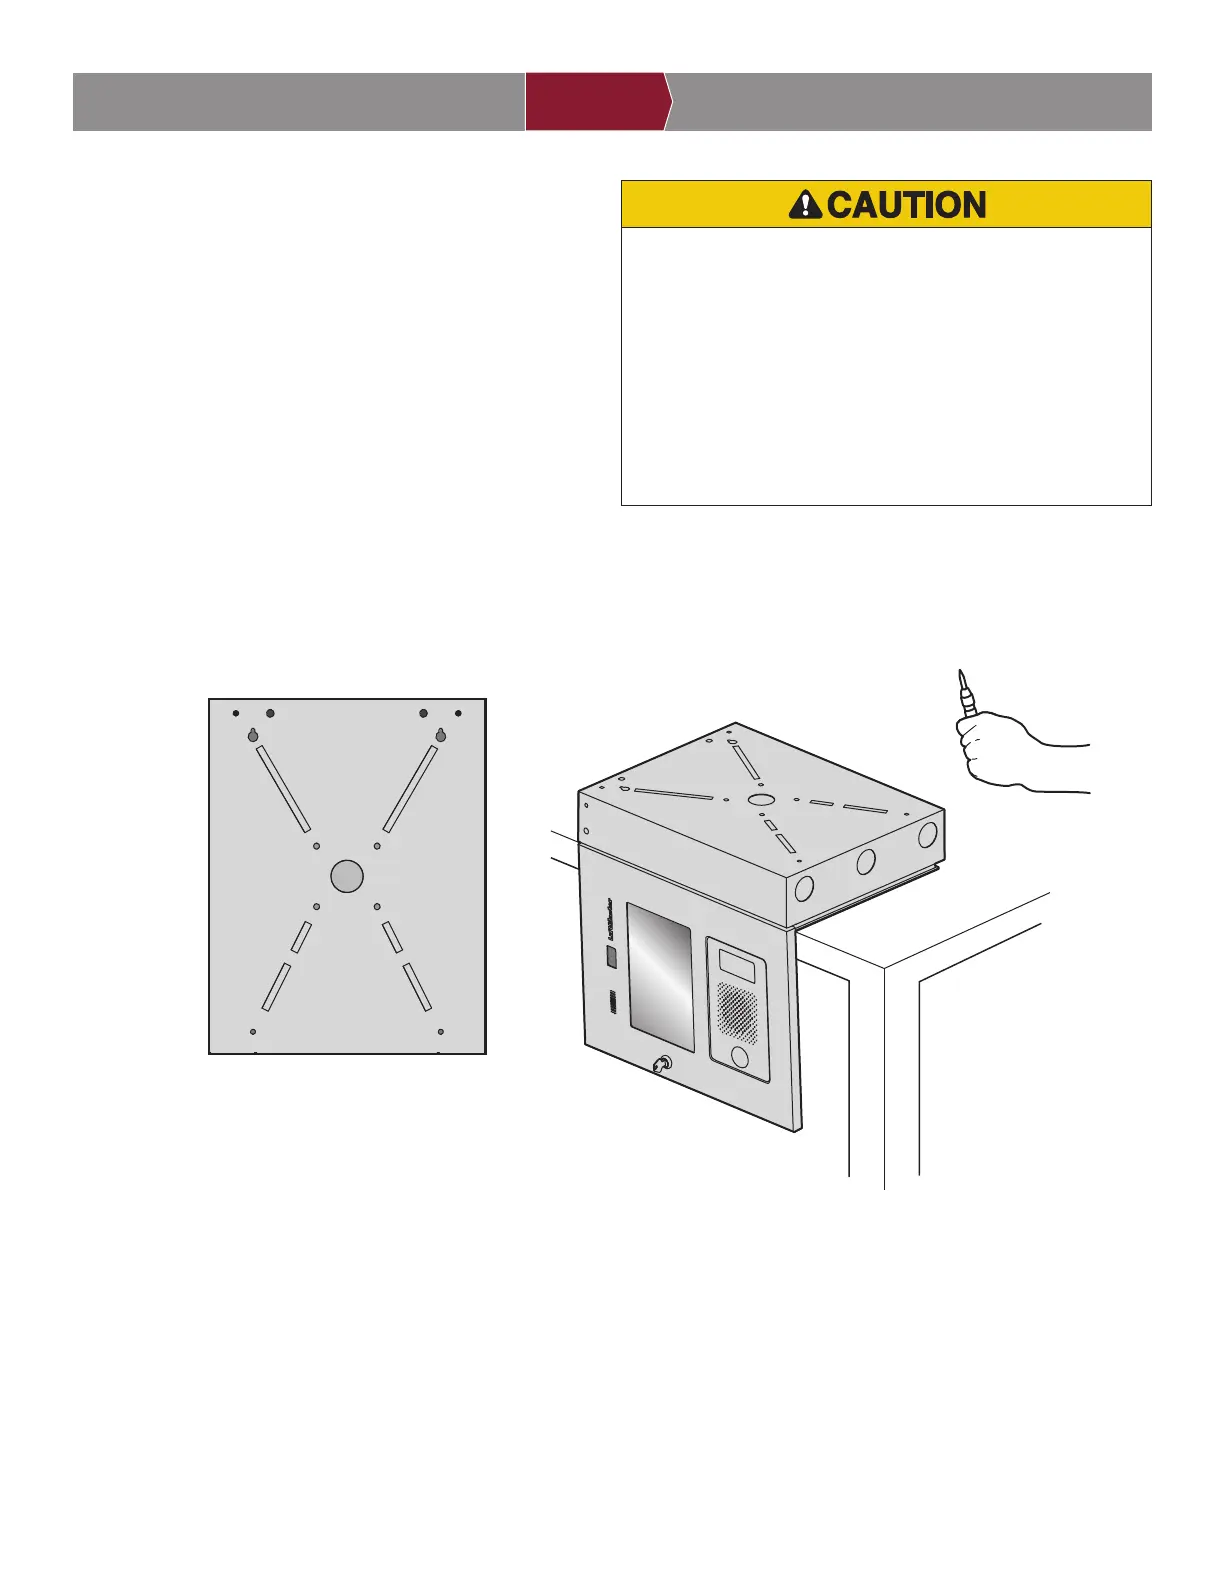
Remove Knockouts
To prevent damage to the CAPXL / CAPXLV from moisture or
water:
• DO NOT install during rain. Internal components MUST be
kept free from of water and moisture.
• BEFORE opening the front cover of the CAPXL / CAPXLV,
remove ANY accumulated water from the top of the CAPXL /
CAPXLV.
To prevent damage to ANY internal components:
• DO NOT attempt to remove the knockouts with a hammer.
Banging on the knockouts may result in shock to the circuit
boards, which could cause permanent damage.
1. Turn the key clockwise to unlock the CAPXL /
CAPXLV.
2. Open the door and lay the CAPXL / CAPXLV face
down on a table with the door hanging off the edge
of the table as shown.
3. Identify which knockouts need to be removed
based on your application.
4. Use a center punch tool to remove the knockouts
from the outside of the box inward using an
appropriately sized punch and hammer. NOTE:
Be careful when removing the knockouts to avoid
damaging the CAPXL / CAPXLV components.
INTRODUCTION PRE-INSTALL NETWORKINSTALL ACCESS CONTROL
E = Electrical Wiring
P = Pedestal Mount
R = Recess Mount
S = Security+ 2.0
®
Radio Antenna
W = Wi-Fi
®
Antenna
SW
W
R
S
S
W
R
P
E
E
E
E
P
PP
R
R