14
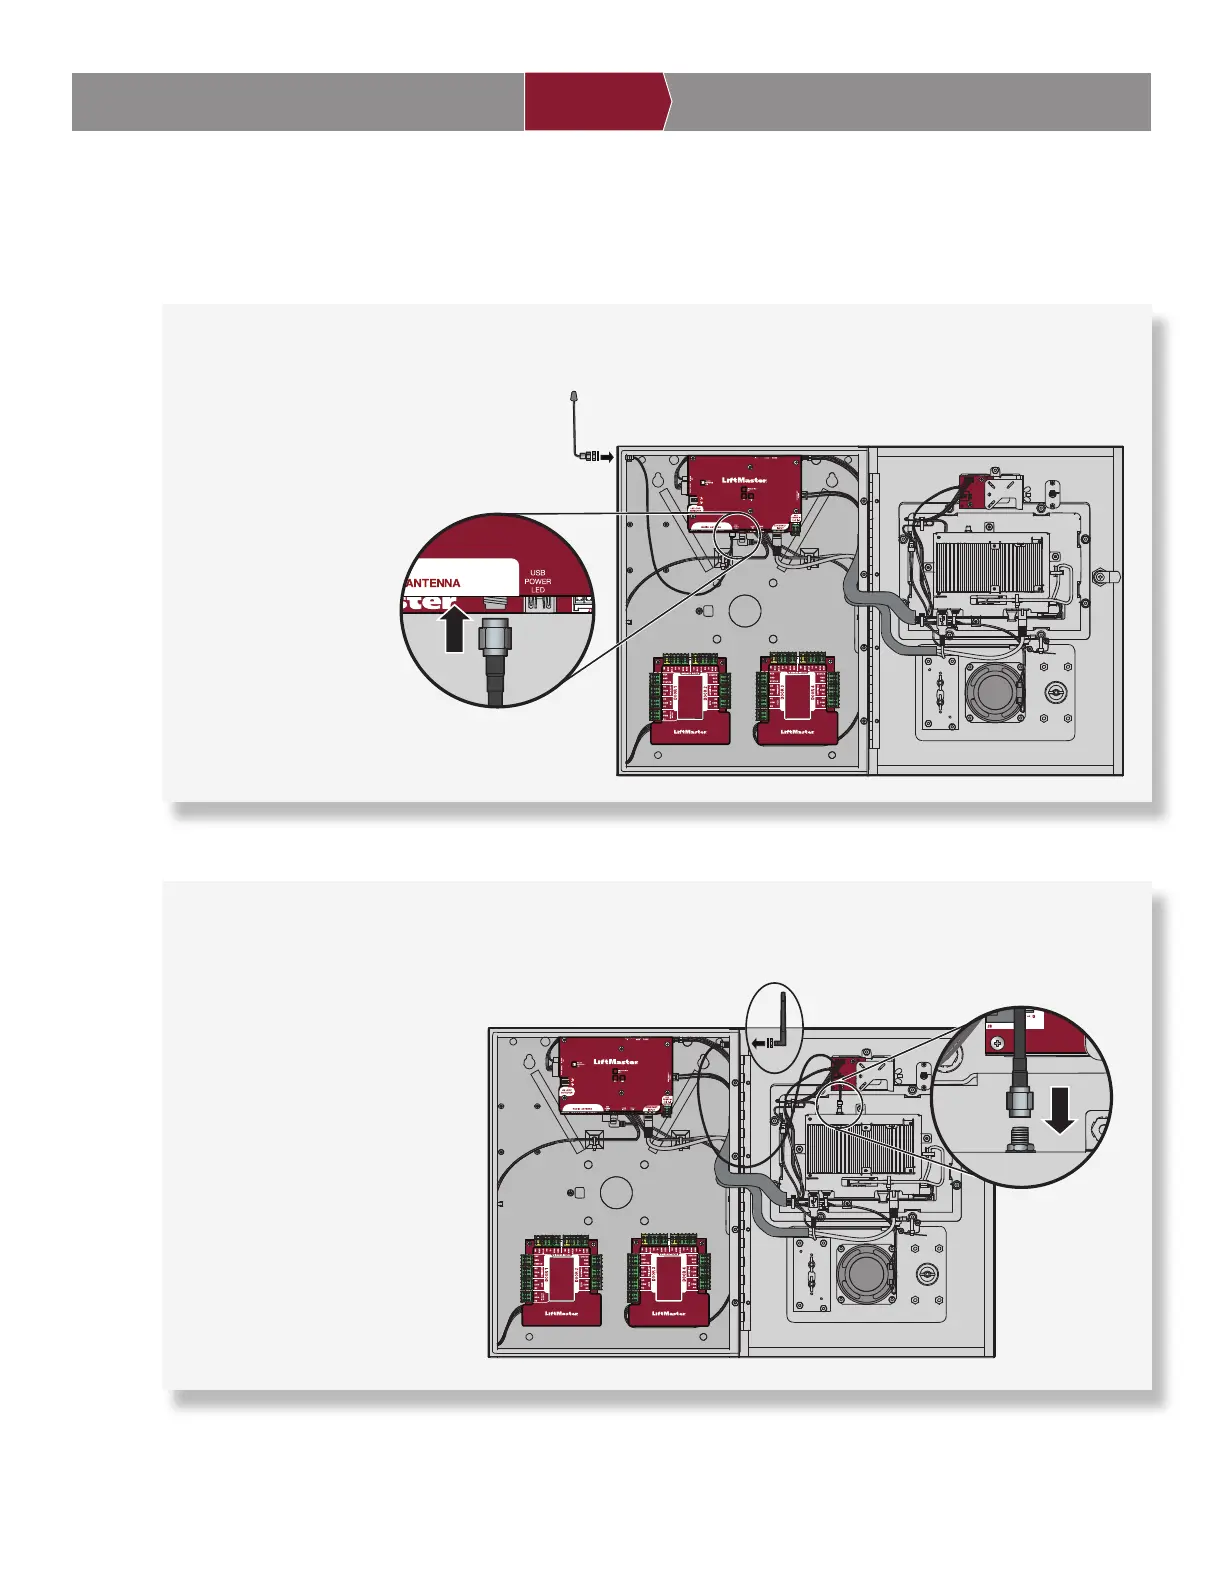
Install Antennas
3
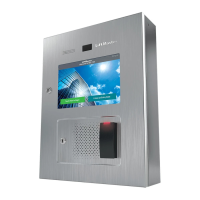
INTRODUCTION PRE-INSTALL NETWORKINSTALL ACCESS CONTROL
The Security+ 2.0
®
radio antenna and Wi-Fi
®
antennas must be a minimum of 8 inches (20 cm) apart. Install the antennas
on opposite sides of the CAPXL / CAPXLV. Optional antenna cable kits are available for remote antenna mounting (refer to
accessories).
Security+ 2.0
®
Radio Antenna (if applicable)
Used with LiftMaster Passport Security+ 2.0
®
and wireless communication with LiftMaster UL325 2016 compliant gate
operators.
1. Remove 3/8" knockout
on the side or back of
the CAPXL / CAPXLV.
2. Secure the radio
antenna to the desired
knockout on the CAPXL
/ CAPXLV.
3. Connect the radio
antenna cable to the
Power/Internet Board
as shown.
Wi-Fi
®
Antenna (if applicable)
Used for Wi-Fi
®
Internet.
1. Remove 1/4" knockout on the
side or back of the module.
2. Secure the Wi-Fi
®
antenna to
the desired knockout on the
CAPXL / CAPXLV with the
provided gasket, washer, and
nut.
3. Connect the Wi-Fi
®
antenna
cable to the control board as
shown.
ON
Security+ 2.0
®
Radio Antenna
Power/Internet Board
ON
Wi-Fi
®
Antenna
Control Board