3. Route the shoulder belt to the inside of the left head
restraint.
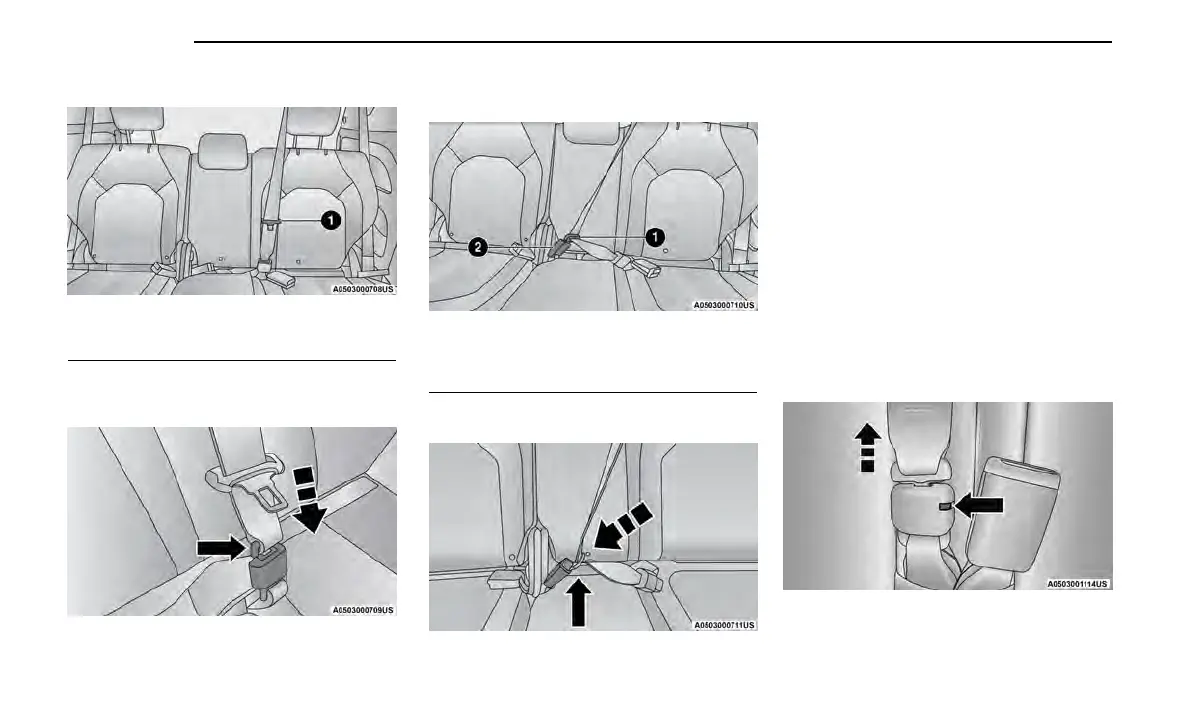
4. When the seat belt is long enough to fit, insert the
mini-latch plate into the mini-buckle until you hear a
“click.”
5. Sit back in seat. Slide the regular latch plate up the
webbing as far as necessary to allow the seat belt to
go around your lap.
6. When the seat belt is long enough to fit, insert the
latch plate into the buckle until you hear a “click.”
7. Position the lap belt so it is snug and lies low across
your hips, below your abdomen. To remove slack in
the lap belt portion, pull up on the shoulder belt. To
loosen the lap belt if it is too tight, pull on the lap
belt. A snug seat belt reduces the risk of sliding
under the seat belt in a collision.
8. Position the shoulder belt on your chest so it is com-
fortable and not resting on your neck. The retractor
will withdraw any slack in the seat belt.
9. To release the seat belt, push the red button on the
buckle.
10. To disengage the mini-latch plate from the mini-
buckle for storage, insert the regular latch plate
into the center red slot on the mini-buckle. The
seat belt will automatically retract to its stowed
position. If necessary, slide the latch plate down
the webbing to allow the seat belt to retract fully.
Insert the mini-latch plate and regular latch plate
into its stowed position.
Routing The Rear Seat Belt Latch Plate
1 — Seat Belt Latch Plate
Connect Mini-Latch To Mini-Buckle
Rear Center Seat Belt Buckled
1 — Seat Belt Latch Plate
2 — Seat Belt Buckle
Latch Plate And Buckle Connected
Insert Regular Latch Plate Into Mini-Buckle Slot To
Detach
212 SAFETY