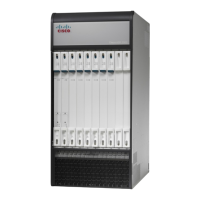
When installed and closed, the cable management tray adds 4.5 in. (11.4 cm) to the depth of the chassis.
When lowered, the tray adds 6.0 in. (15.2 cm) to the depth.
Important
Having two installers simplifies the installation process. One installer holds the tray in position while the
other secures the swing arms to the sides of the chassis.
Important
To install the tray:
Step 1
Locate the pre-assembled tray and its mounting hardware (two shoulder screws and two nylon washers).
Step 2
Position the tray below the rear card cage as shown in the figure below.
Step 3
Lift a swing arm upward and use it to locate the tapped hole in the side of the chassis to which the swing arm will be
attached (see the figure below).
Step 4
Insert the shoulder screw and nylon washer through the arm and into the tapped hole.
Step 5
Use the supplied 3/32 in. Allen hex wrench to tighten the shoulder screw. The screw should be tightened to 6 in-lb (0.68
N-m).
Do not overtighten the shoulder screw or the swing arm will
bind.
Important
ASR 5500 Installation Guide
156
Cable Management System Installation
Installing the Cable Management Tray

 Loading...


