The following figure shows a rail mounted into a rack in the proper position with respect to a rack-unit
boundary. Measurements are in inches between the centers of the holes.
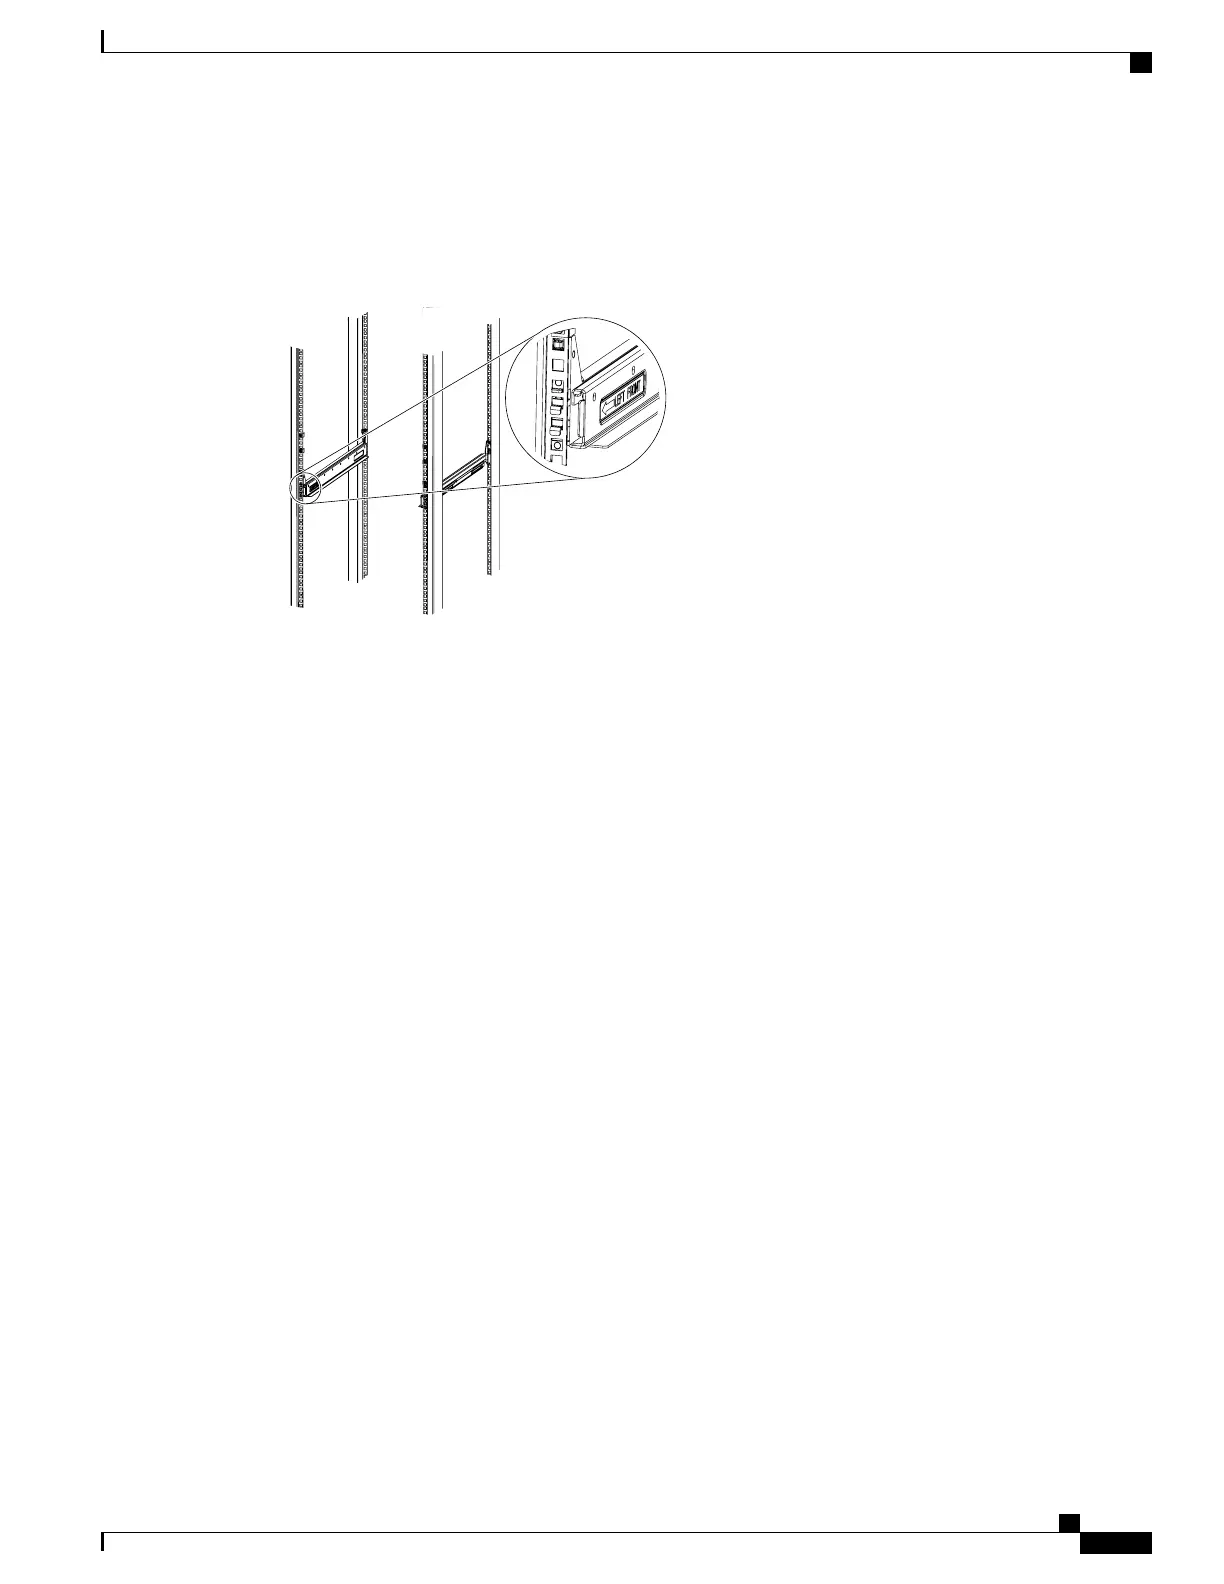
Figure 25: Installing Tool-less Chassis Support Rails into the Rack
Step 4
Press down firmly on the rail until the hooks seat firmly and securely into the holes, and the spring clip latches
into place.
Step 5
Follow the same procedure to install the other rack rail.
Step 6
Use a tape measure and level to verify that the rack rails are horizontal and at the same height.
Step 7
Insert the cage nuts on to the rack in the needed square holes as shown below. When the rails are installed on
a rack unit boundary, the first two cage nuts are installed into the seventh holes above the rails’ horizontal
Cisco UCS 5108 Server Chassis Installation Guide
49
Installation
Installing the Rails

 Loading...


