Clear-Com®
Tempest®2400 2-Channel Wireless Intercom System 57
Pairing with a BaseStaon
Pair BeltStaon to BaseStaon:
Conrm that the BaseStaon is powered ON and in Operaonal Mode (not
in Menu Mode) and that the BeltStaon is powered OFF. Conrm that the
BaseStaon’s Network Number and Lockout Key are adjusted as needed.
See the
secon on Set Network Number and Lockout Key.
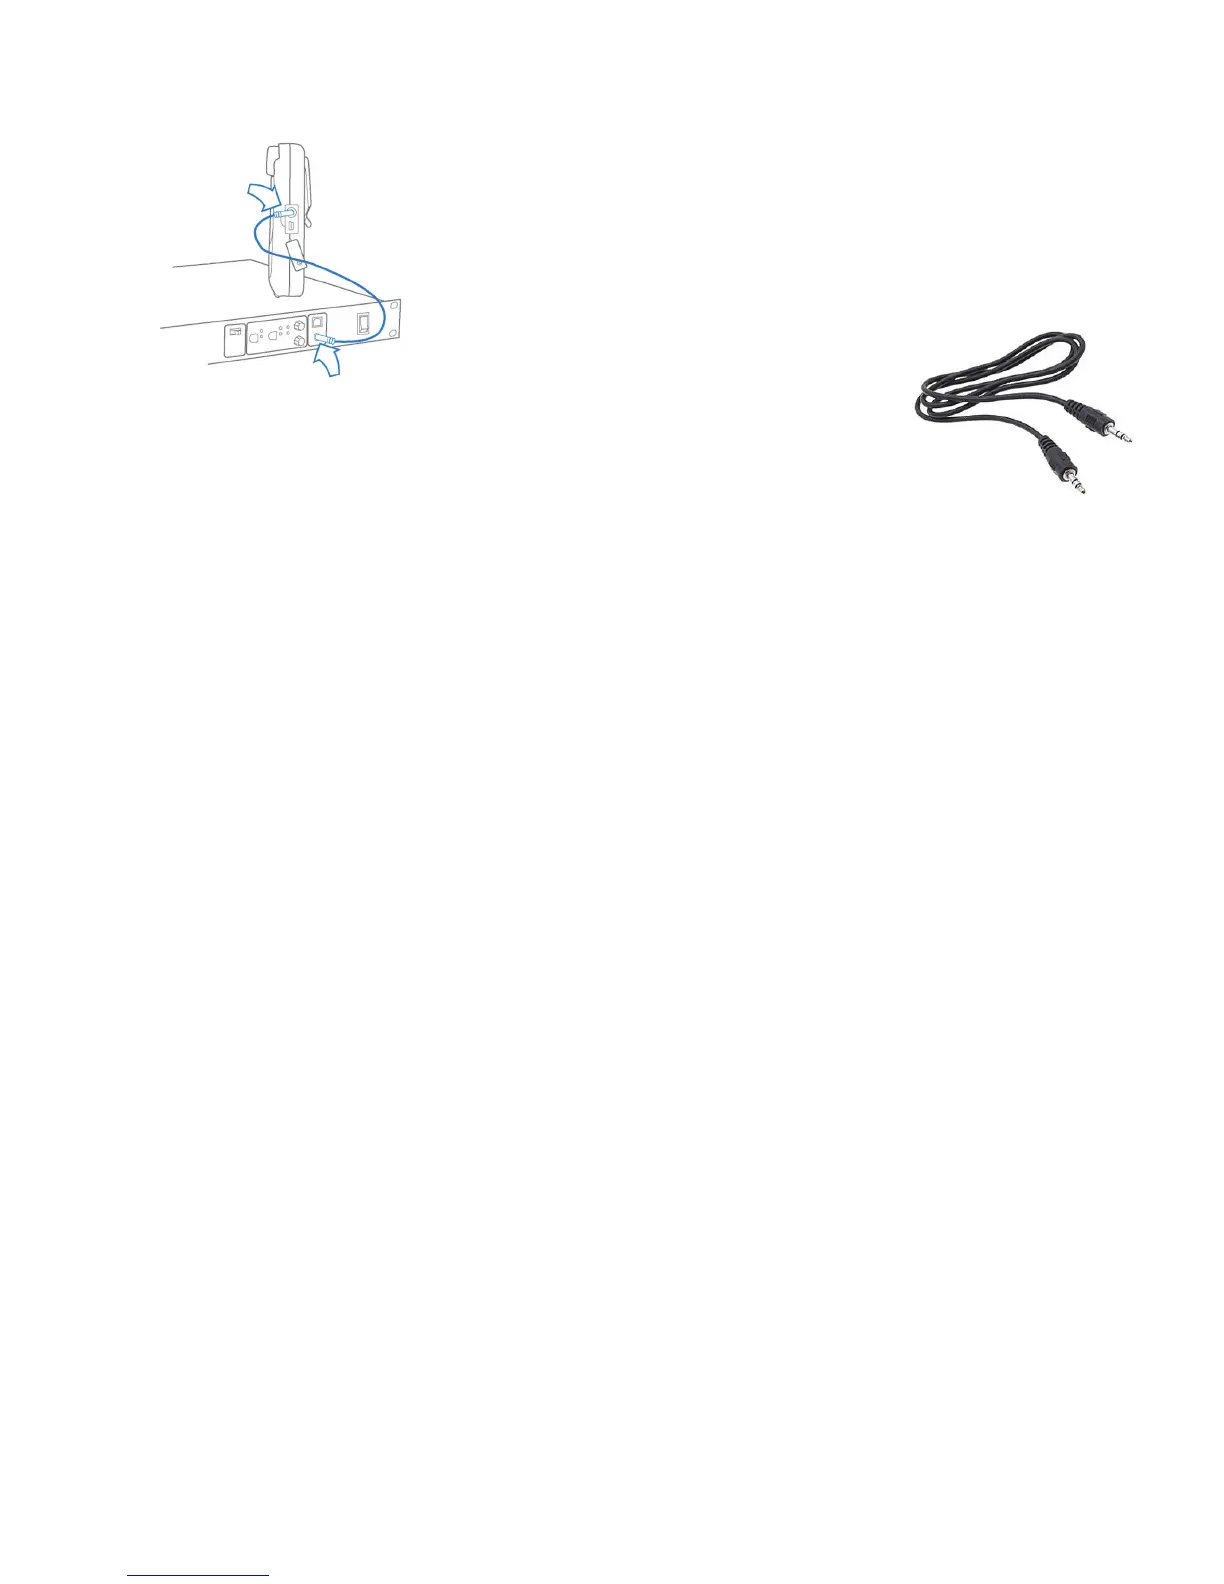
Plug one end of the pairing cable into the BaseStaon and the other end into the
BeltStaon.
The pairing cable is a standard 3.5mm
(1/8 in.) male to male stereo patch cord.
Turn the BeltStaon power ON by pressing and holding the BeltStaon Power ON/OFF
buon for two seconds. The pairing process will begin automacally. Watch for the message “Pairing Complete” to appear
briey on the BeltStaon display. The BeltStaon will automacally re-inialize.
Adjust BeltStaon Slot
The BaseStaon Slot Assignment only aects the order that the BaseStaon Operaonal screen displays BeltStaon
informaon when the BaseStaon is in the
Stac display mode. If the BaseStaon is rounely used as a communicaon
port or for monitoring BeltStaons, it may be more convenient to always have the same user appear in the same posion
on the BaseStaon display. This is a personal preference seng.
In the BaseStaon “Tech Menu,” choose
Stac or Dynamic from the “Display Slot Assignments” screen. Dynamic, the default,
will work without any adjustment, and always displays BeltStaons in alpha-numeric order by name.
Stac will be the preferred choice for users who are using only one BaseStaon and want to ensure that a BeltStaon that is
logged in will always appear in the same locaon (slot) on the BaseStaon display. When selecng
Stac slot assignments,
you must also enter the Tech Menu for each BeltStaon and assign each BeltStaon a dierent slot (1 – 5).
The BaseStaon default is for
Dynamic Slot Assignment. This means that when BeltStaons log in to a base, the informaon
about the BeltStaons is displayed on the BaseStaon LCD screen in alpha-numeric order according to the name of
the BeltStaon. For example, “Dir” appears before “Light1,” which appears before “StgMgr,” but they can change slots
depending on which BeltStaons are turned ON. If the default sengs are used, nothing is necessary. If the BaseStaon
is located in an equipment room and is not rounely used as a communicaon port or to manage BeltStaons, nothing is
necessary.
Adjusng so that each BeltStaon always appears in the same posion of the BaseStaon display is a two step process:
1. Advance to the BaseStaon’s “Display Slot Assignment” secon of the “Tech Menu” and select
Stac.
2. In each BeltStaon, advance to the “Base Slot” secon of the “Tech Menu” and adjust each BeltStaon to a dierent
slot (1 – 5). The BeltStaon designated to slot 1 will always appear on the far le of the BaseStaon display, with slot 2
appearing in the next posion to the right, and so on.
In
Stac Mode, if a BeltStaon is not turned ON, or is logged out due to being out of range, the BaseStaon LCD will
display a very obvious “X”, making it easy to see at a glance, which BeltStaons are currently acve.
A Mulple BaseStaon system that uses iSelect Roaming must choose to use “Dynamic” slots to ensure that BeltStaons
can move from BaseStaon to BaseStaon when roaming.