Chapter IV – Maintenance
4-5
C
996-0255 rev. b
3) Turn off laser. Main breaker located on the front right
hand side of electronics cabinet should be in the off
position.
CAUTION
Turn off the night-time water pump by flipping the switch on
the rear panel of the power supply.
4) Disconnect head plug cables at rear of laser bench (large
green military style connectors). Label each cable for
correct reconnection.
5) Disconnect the thermal switch at the white plastic connec-
tor.
6) Release the laser head from its base cradle plate by screw-
ing clockwise (viewed from above) the thumb wheel
located below the laser head.
7) Use your fingers to gently pull off the lamp connectors
from the lamp electrodes.
8) Remove the laser head from the bench and place it on a
solid, flat work area.
9) Use a 2.5 mm Allen wrench to remove the Allen bolts
holding the white plastic lamp holders at each end of the
laser head.
10) With a cotton swab wet each end of the exposed
flashlamp electrode, and then gently remove the white
plastic lamp holders.
11) Press firmly on either flashlamp electrode and pull on the
other end to remove the lamp. Wrap the lamp in lens
paper and place to the side.
CAUTION:
When both endplates have been removed, the rod may be loose
and could fall out if the head is tipped.
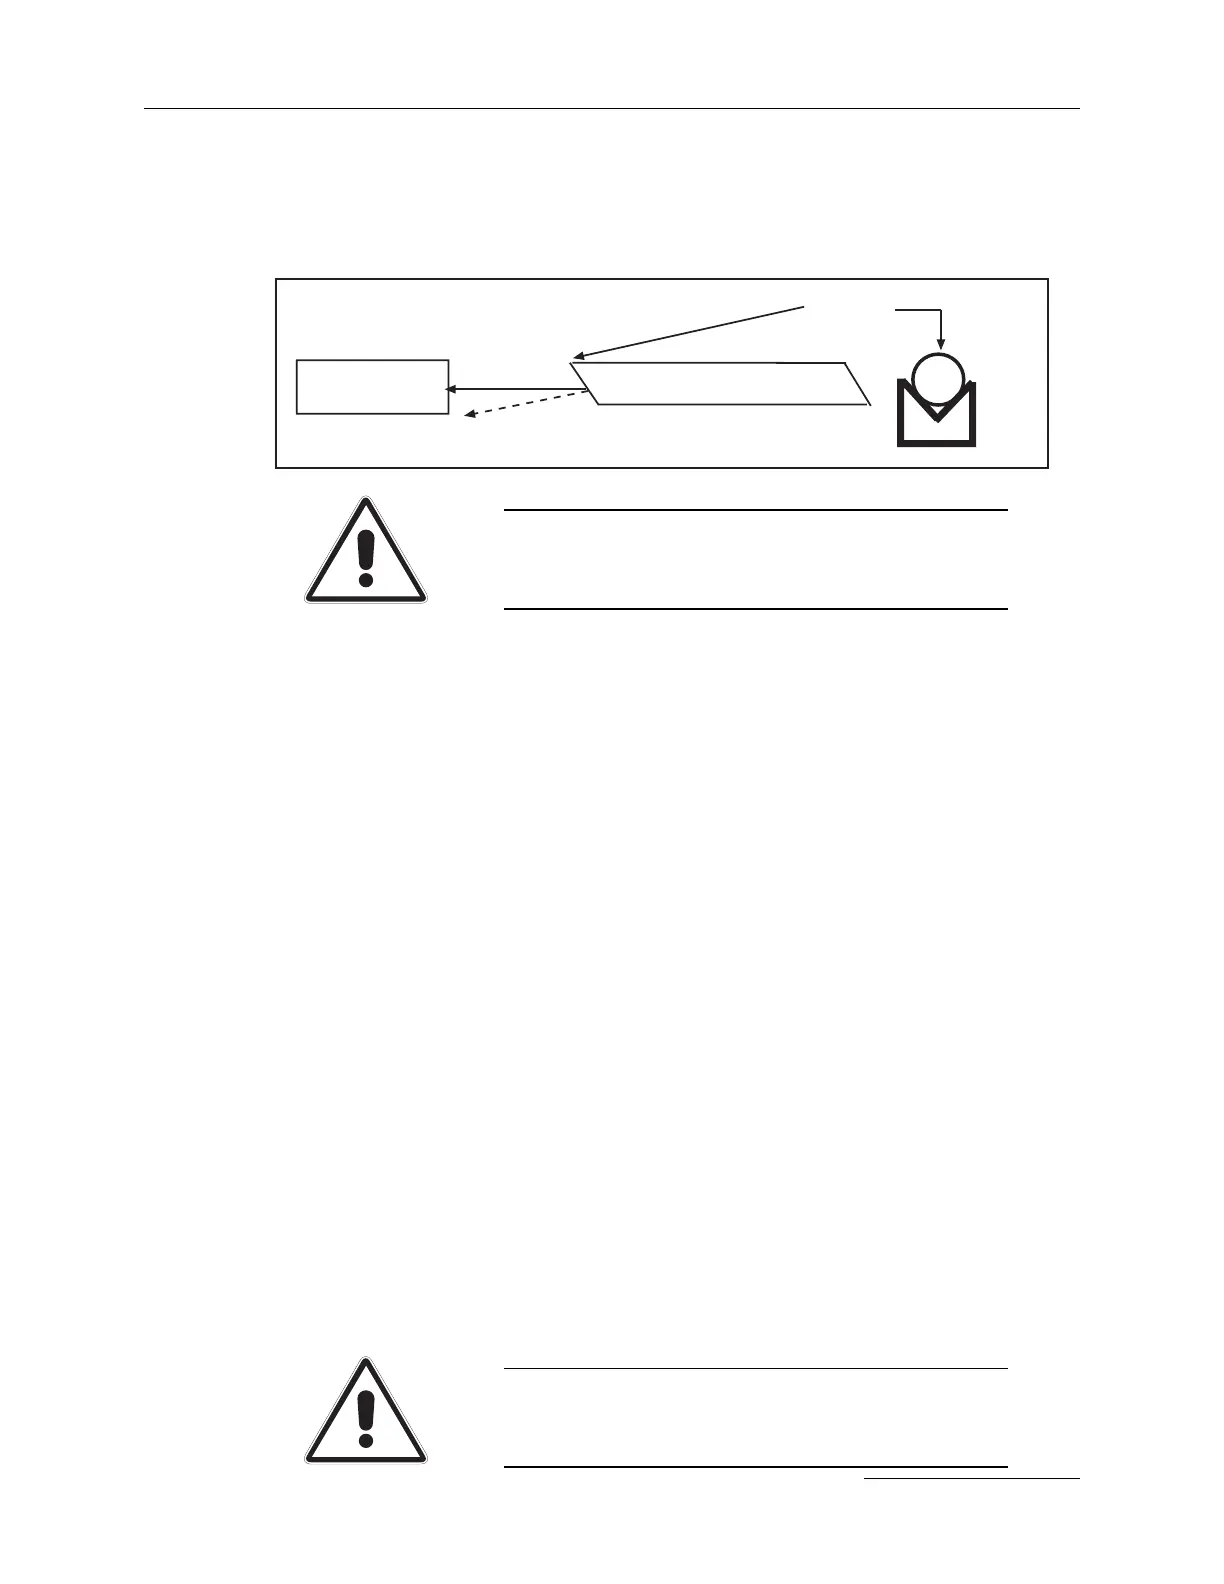
rod
high side
YAG rod
side view
HeNe
end
view
V block

 Loading...