10.1 Switch on
Hold down the power button for about 1 second, the power will turn on, and a start-up sequence will
appear on the display. Pressing the button again switches the device off again.
On-Off button, see device components and controls
10.2 Headphone Volume Up / Volume Down
The volume up and volume down buttons in the headset can be increased or decreased in 16 steps.
Continuously pressing the button automatically increases / decreases the value.
Volume up / down buttons for headphone volume, see device components and controls
Please make sure the headphone level is <50% before putting on the headphones.
10.3 Sensitivity level
Ultrasound levels can be understood as a "loudness" of the leakage.
With the “Sensitivity" button, the sensitivity of the LD500 can be adjusted to the environment, which
strongly influences the acoustic behaviour of the device and increases or decreases the valid value
range. A reduction in sensitivity reduces the range of the leakage reading but the "responding area",
indicated by the circle in the display, also gets smaller, which considerably simplifies detection.
Sensitivity levels
0 – 60 dB = Highest sensitivity level of the device (use with small leaks and no noise), selection with the
"HiSn" button or the "Sensitivity" button
10 – 70 dB = Leakages and noises get "less noisy", the range is reduced.
20 – 80 dB = Leakages and noises get "less noisy", the range is reduced.
30 – 90 dB = Leakages and noises get "less noisy", the range is reduced.
40 – 100 dB = Most insensitive stage (large leaks, many noises → for heavy-duty application)
By default, the LD500 is set to the auto function and will automatically switch between levels (10 – 70 dB
to 40 – 100 dB).
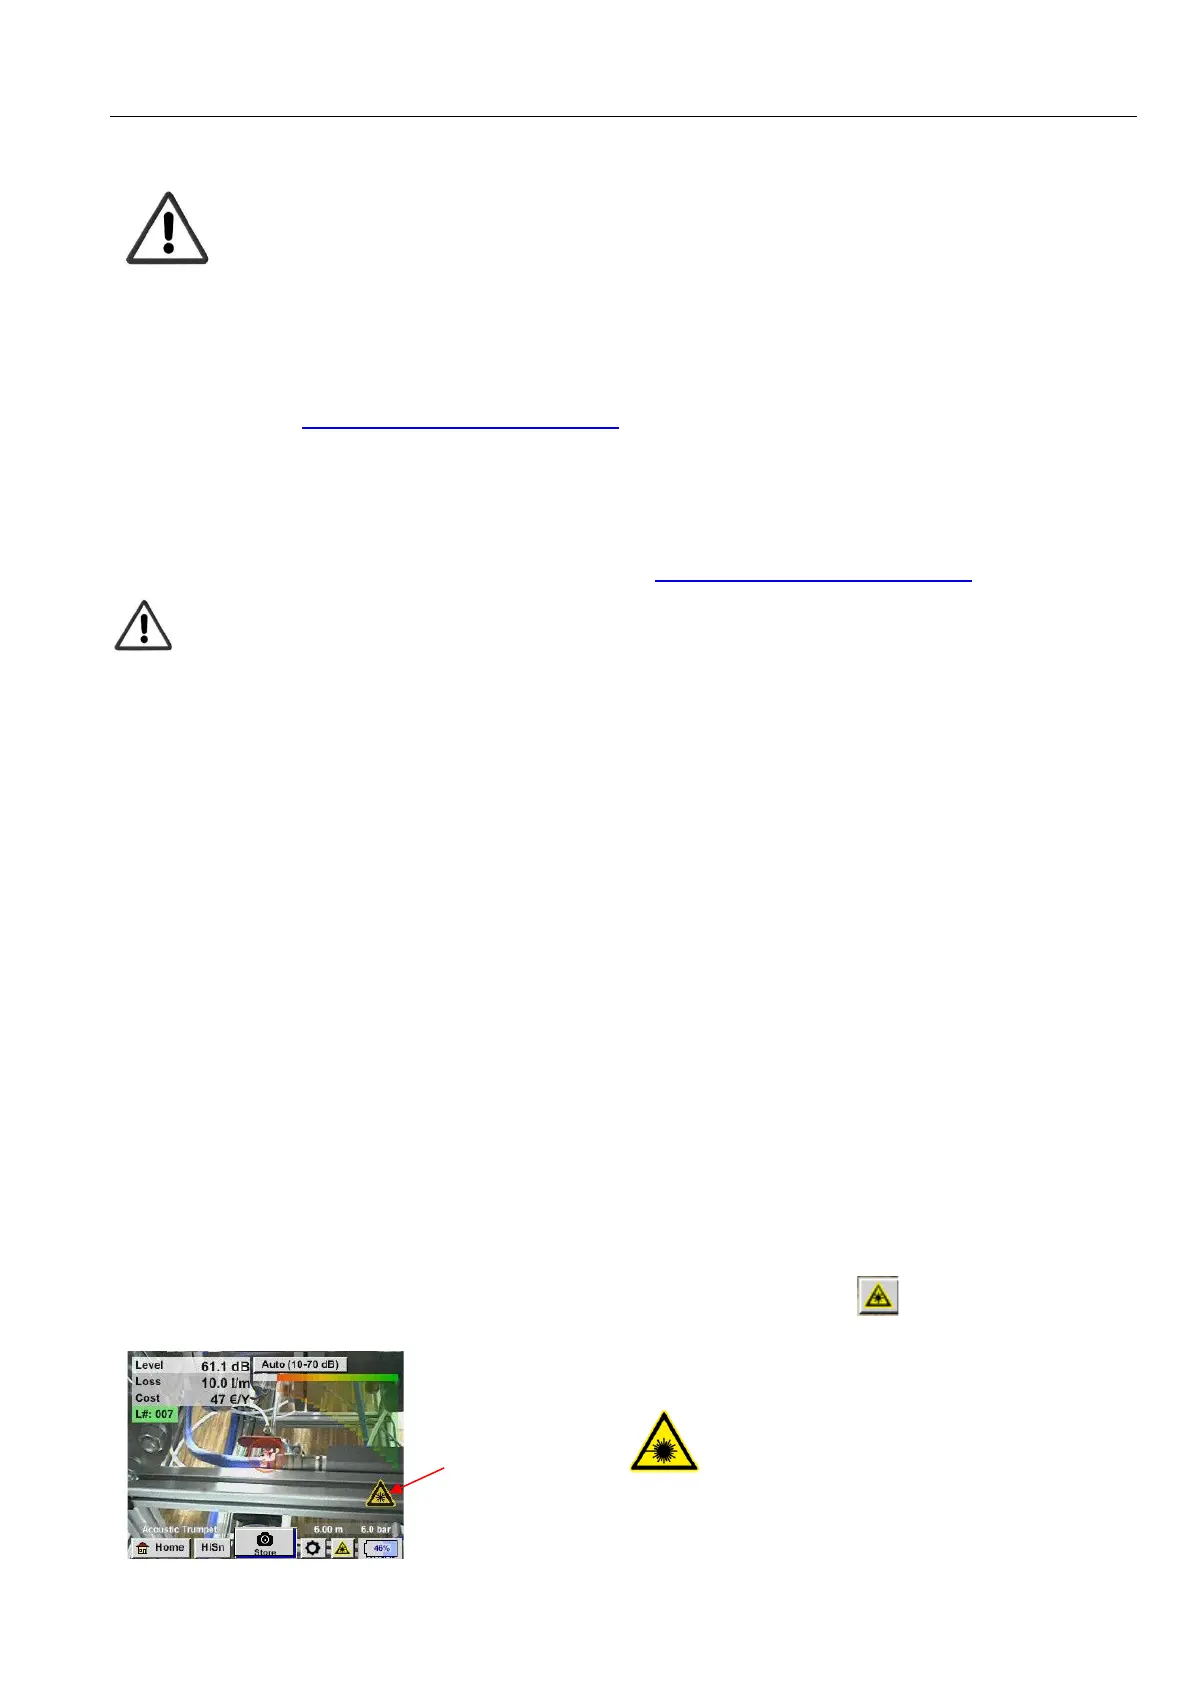
10.4 Laser On/Off
The laser pointer can only be switched on or off via the laser on / off button in the display (not via
the membrane keypad). When switched on, the display shows a laser warning symbol.