vPad-A1 OPERATORS MANUAL
Starting at the top of the screen, the AutoSettings are organized by their corresponding A1
simulator modules.
• Patient Simulation (vPad-PS)
• SpO2 (vPad-O2)
• NIBP (vPad-BP)
• Tools (none)
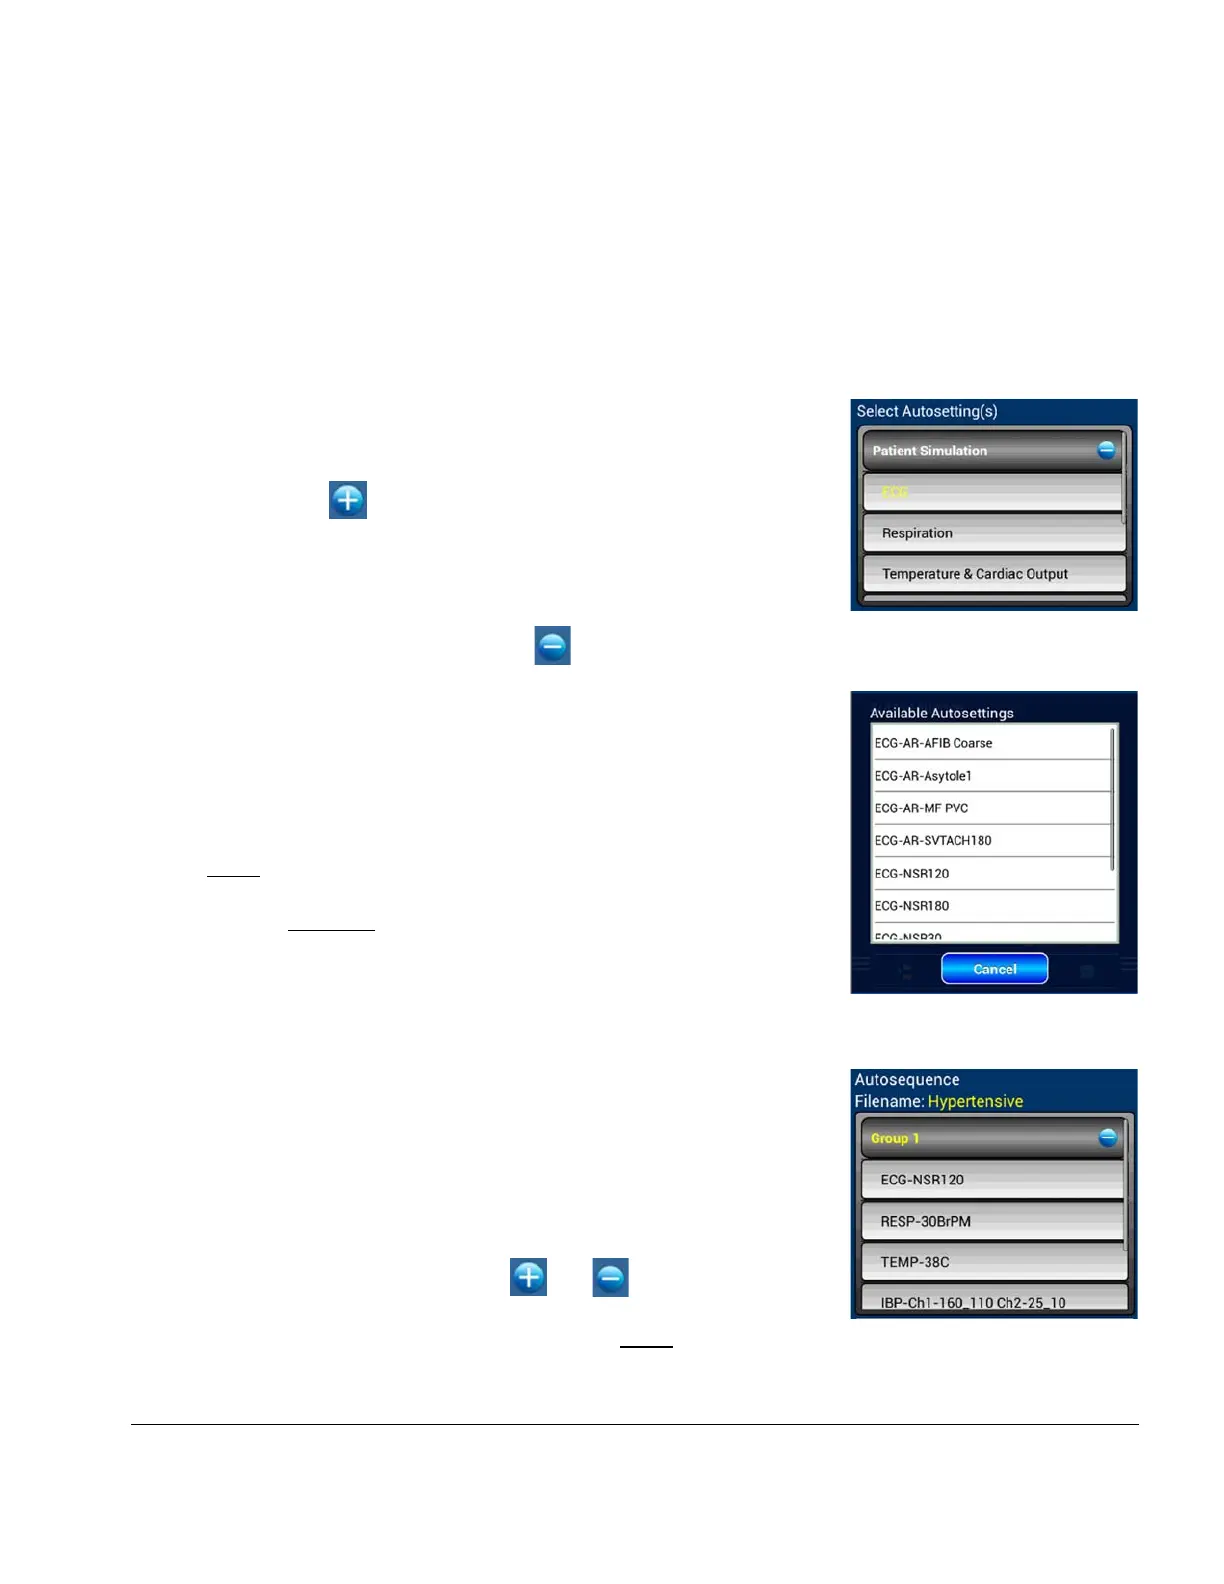
Each of these categories will contain the AutoSettings that have
previously been created for the parameter(s) in the group. For
instance, the “Patient Simulation” group can be expanded by
touching the icon on the right.
The AutoSettings selector will now display the list of parameters
generated by the “Patient Simulation” module. This list can be
scrolled in the selector box by dragging the items up and down, and
it can be collapsed by touching the icon.
Users may recognize the list of sub-categories as the parameter
names on the Main screen tabbed toolbar (e.g., see
Figure 17
and
Figure 18
). Touching the “ECG” sub-category, for instance, will
reveal a full list of ECG AutoSettings previously created.
Selecting an AutoSetting from the popup list will place it in the
active AutoSequence Group, if one exists.
Note
: Only one AutoSetting from any given list can be included
in a single AutoSequence Group.
The centre section of the Editor menu is for displaying and editing
AutoSequence Groups. The name of the current AutoSequence
filename will be shown here, along with a list of the Groups of
concurrent AutoSettings contained within the AutoSequence.
In the example in
Figure 133
, there is only one Group called
“Group 1". As with the AutoSettings selector, the Group(s) can be
expanded or collapsed using the and icons on a list item.
A Group or AutoSetting entry is considered active when its name is
highlighted in yellow. Activate any entry by touching its name bar.
Figure 131
Figure 132
Figure 133
Automation and Test Records/Chapter 5 # Page 85
 Loading...