Creating an SRP Player File
36
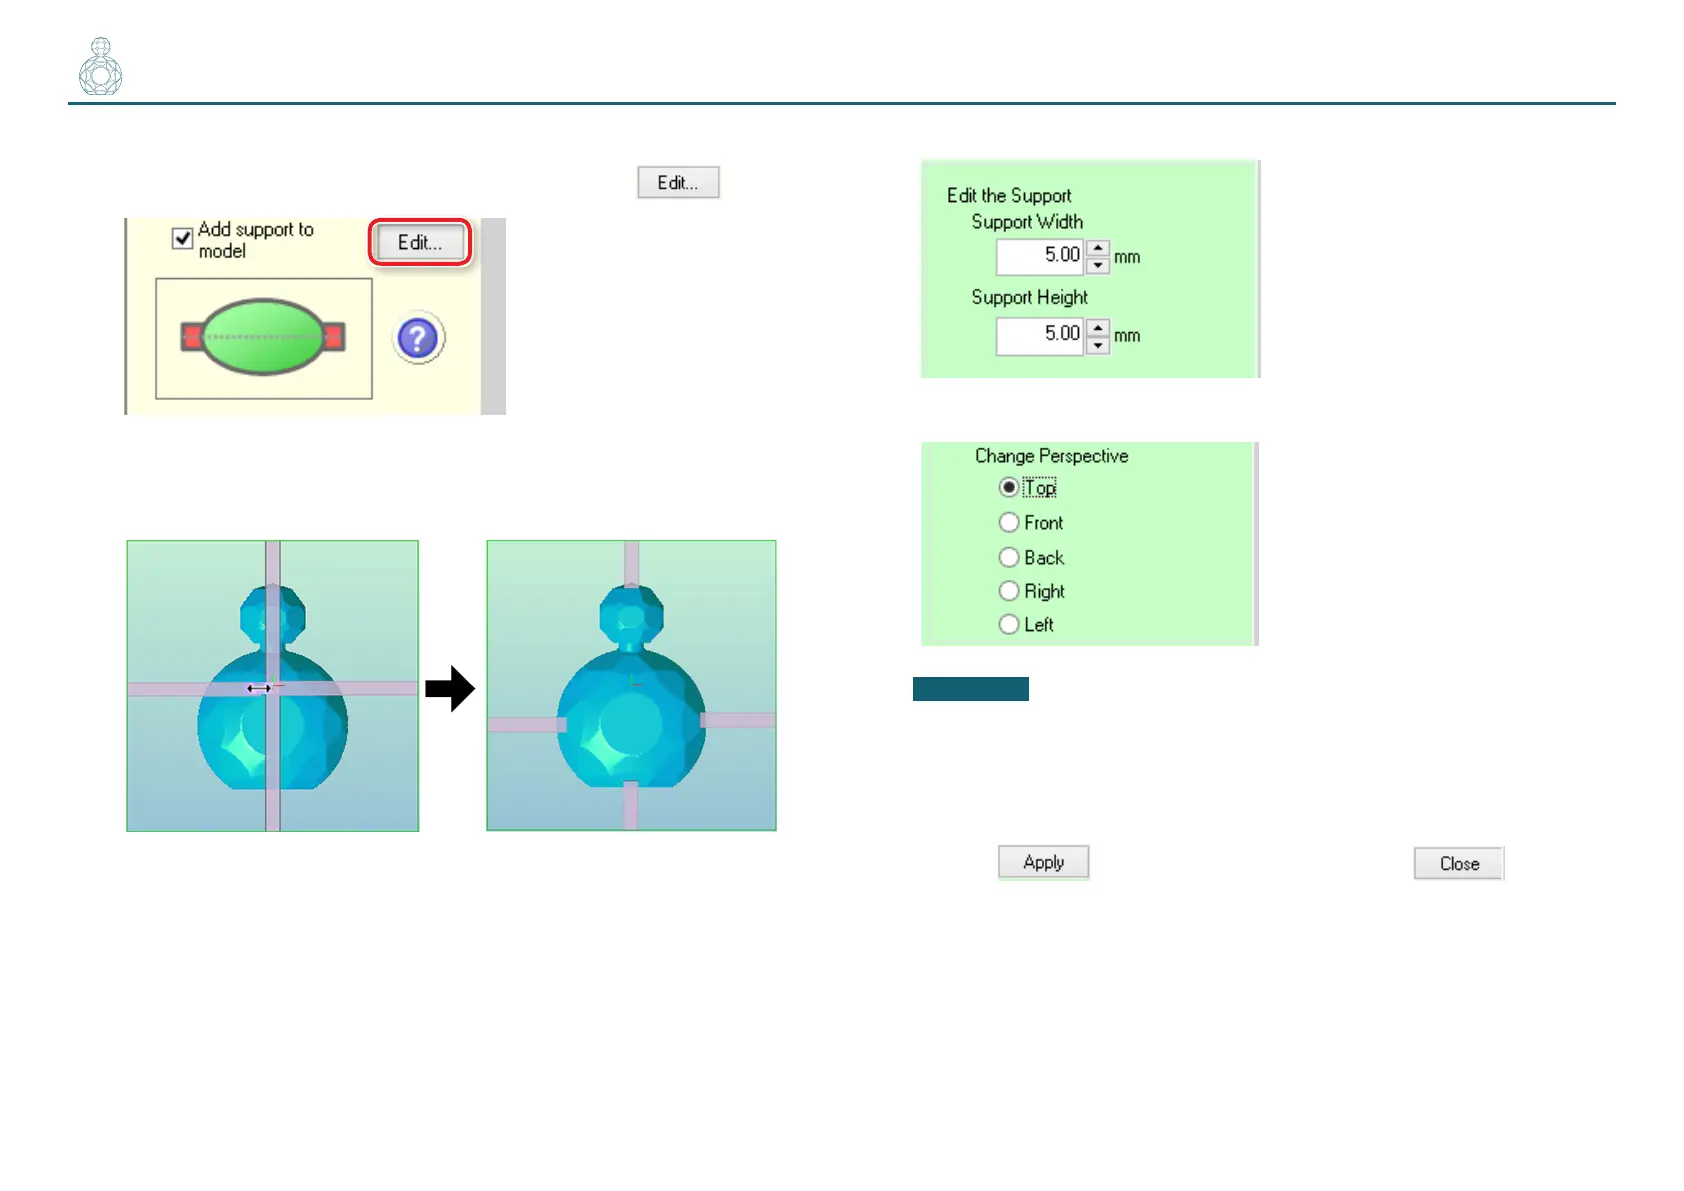
3. Add supports to the model.
Select the [Add support to model] check box and click .
4. Position and size the support.
4-1.
Set the position and length of the support by dragging it on screen.
4-2.
Enter the Support Width and the Support Height.
4-3.
Change the perspective and preview the result.
CAUTION
The machine will not cut any portions where the support is visible.
Therefore, arrange the support so that it will not hinder the creation of the
model geometry.
4-4.
Click to save the changes and then click to return to
the previous screen.
 Loading...