Setting up an IR address
The projector and the remote control need a matching IR address: a two-digit number
between 00 and 99.
The default IR address is 00. This is also a master address, which, if assigned to a remote,
will work regardless of the value assigned to the projector.
To assign an IR address for the projector,
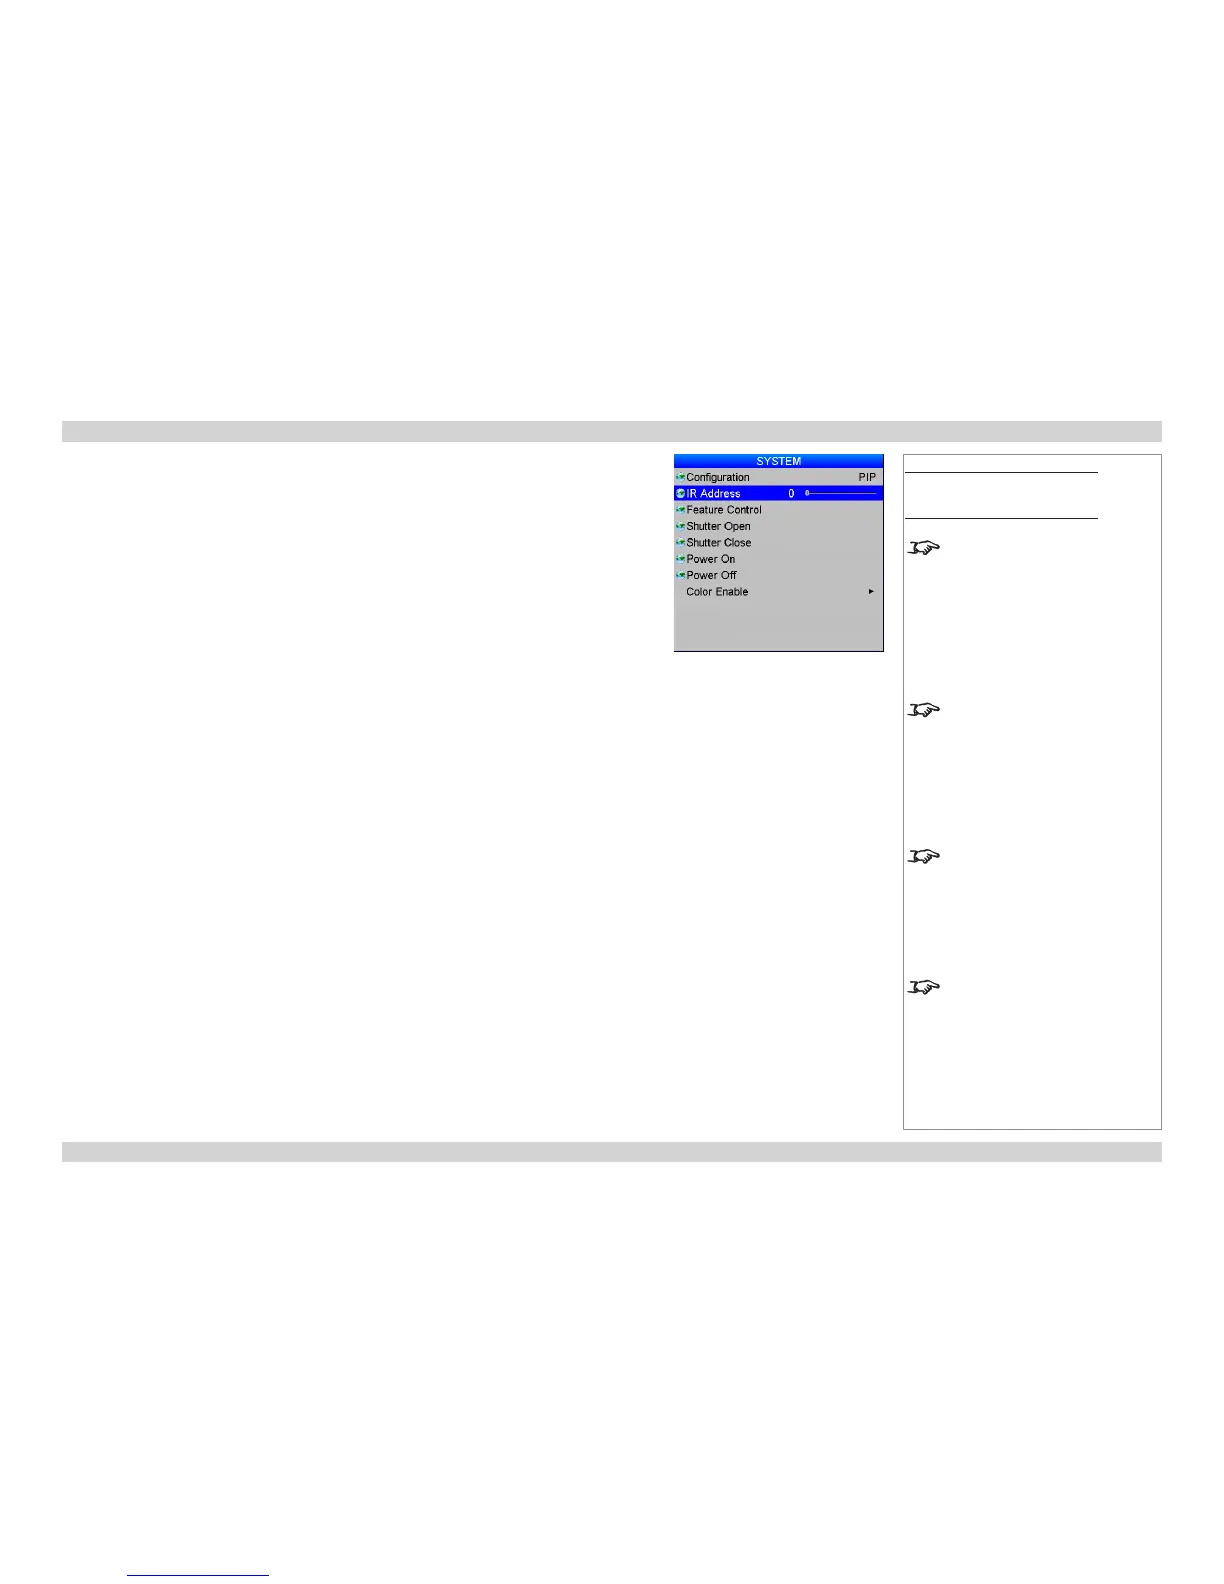
• Open the OSD, access Setup > System and select IR Address.
To assign IR address for the remote:
1. Press and hold the ADDR button on the remote.
2. Press two number buttons sequentially to enter the address. For numbers less than 10,
use a leading zero.
3. Release the ADDR button.
Notes
Main Menu
Setup
System
Change the IR address of the
projector before changing the
address of the remote. You can
check the value assigned to the
projector by using the control
panel to access Setup > System.
However, you cannot check the
value assigned to the remote.
In the event of a mismatch between
the projector and the remote,
change the remote IR address to the
master address or to the projector
address. To check the projector
address, access Setup > System
using the control panel.
When fresh batteries are inserted
in the remote control, it will revert
to the default address 00. If you
have previously assigned a different
address, you need to change it
manually.
If two or more projectors are
assigned the same address, they
can be controlled from one remote
control, provided they are connected
by cable or in range of the infrared.
 Loading...