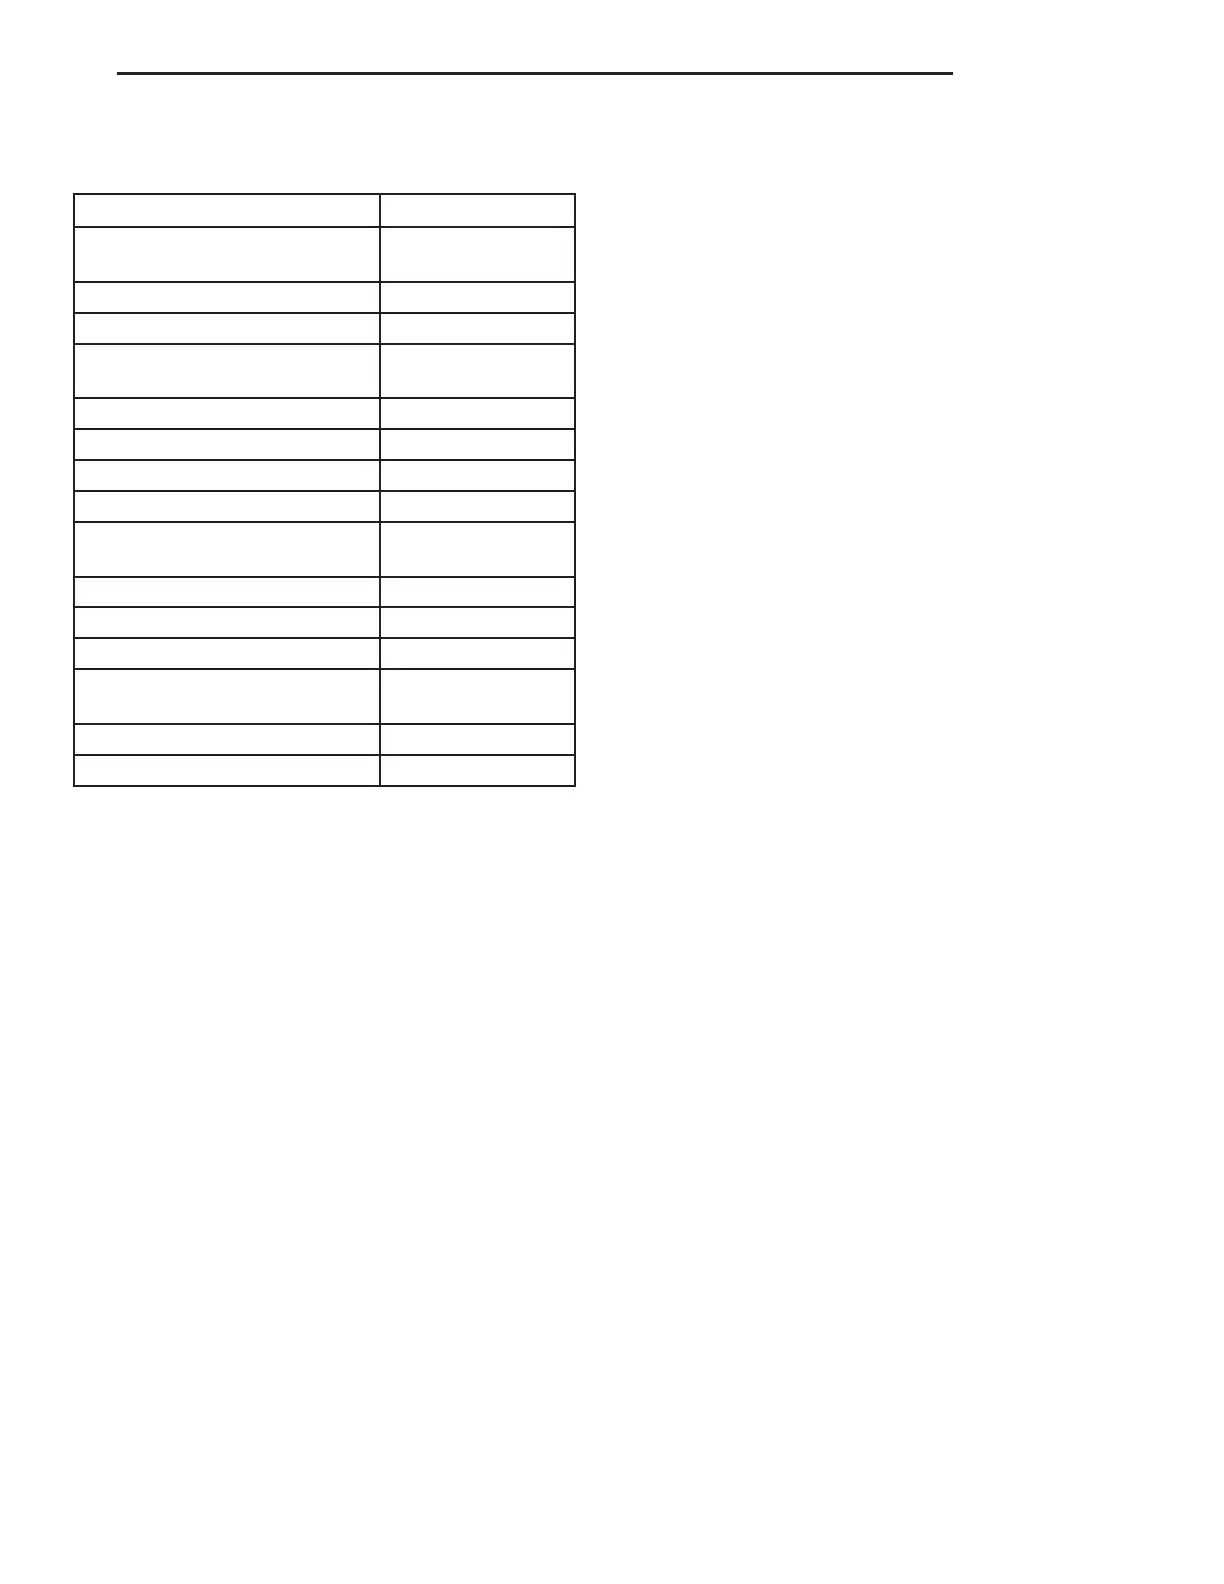
BULB APPLICATION TABLE
LAMP BULB
Headlamp/Low-beam-HID
Lamp/Igniter Assembly
D1S
Headlamp - High beam HB3A
Front Fog Lamp H10U (9145)
Front Indicator Lamp
PY27/7W
(3757AK)
Front Position Lamp W5W
Side Repeater Lamp W5W
License Lamp W5W
Rear Side Marker W5W
CHMSL
LED - Replaced as
an assembly
Rear Stop and Tail P27/7W (3157AK)
Rear Tail Lamp W5W
Rear Tail W5W
Rear Indicator
PY27/7W
(3757AK)
Reverse Lamp P27/7W (3157K)
Rear Fog Lamp P21W
BACKUP LAMP
REMOVAL
(1) Open deck lid.
(2) Remove four bolts to battery compartment
cover and remove cover.
(3) Disconnect and isolate the battery negative
cable.
(4) Remove the two Torx head retaining screws to
the tail lamp access panel of the respective side of
the vehicle and remove panel.
(5) Remove the tail lamp unit (Refer to 8 - ELEC-
TRICAL/LAMPS/LIGHTING - EXTERIOR/TAIL
LAMP UNIT - REMOVAL).
(6) Reach in behind the back up lamp unit and
turn the respective bulb counterclockwise, pull for-
ward and remove. It is not necessary to remove the
back up lamp unit to change lamps.
INSTALLATION
It is not necessary to remove the back up lamp
unit to change lamps.
(1) Reach in behind the back up lamp unit place
lamp in socket, put in lamp unit opening and turn
the lamp socket clockwise until it locks into place.
(2) Install the tail lamp unit (Refer to 8 - ELEC-
TRICAL/LAMPS/LIGHTING - EXTERIOR/TAIL
LAMP UNIT - INSTALLATION).
(3) Install the two Torx head retaining screws to
the tail lamp access panel of the respective side of
the vehicle.
(4) Connect the battery negative cable.
(5) Place battery access cover into place and install
four bolts.
(6) Close deck lid.
(7) Verify vehicle and system operation.
BACK UP LAMP UNIT
REMOVAL
(1) Open deck lid.
(2) Remove four bolts to battery compartment
cover and remove cover.
(3) Disconnect and isolate the battery negative
cable.
(4) Remove the two Torx head retaining screws to
the tail lamp access panel of the respective side of
the vehicle and remove panel.
(5) Remove tail lamp unit (Refer to 8 - ELECTRI-
CAL/LAMPS/LIGHTING - EXTERIOR/TAIL LAMP
UNIT - REMOVAL).
(6) Reach in behind the back up lamp unit and
turn the lamps counterclockwise, pull forward and
remove.
(7) Using a trim stick (special tool #C-4755) or
equivalent, gently pry off the back up lamp retaining
clips.
(8) Push back up lamp unit forward and remove
from vehicle.
INSTALLATION
(1) Position back up lamp unit in opening in rear
fascia, push on retaining clips in behind the rear fas-
cia.
(2) Reach in behind the back up lamp unit place
lamp in socket, put in lamp unit opening and turn
the lamp socket clockwise until it locks into place.
(3) Install the tail lamp unit (Refer to 8 - ELEC-
TRICAL/LAMPS/LIGHTING - EXTERIOR/TAIL
LAMP UNIT - INSTALLATION). When installing the
tail lamp, use NEW plastic nuts
(4) Install the two Torx head retaining screws to
the tail lamp access panel of the respective side of
the vehicle.
(5) Connect the battery negative cable.
(6) Place battery access cover into place and install
four bolts.
(7) Close deck lid.
ZB LAMPS 8L - 3
LAMPS/LIGHTING - EXTERIOR (Continued)







 To Next Page