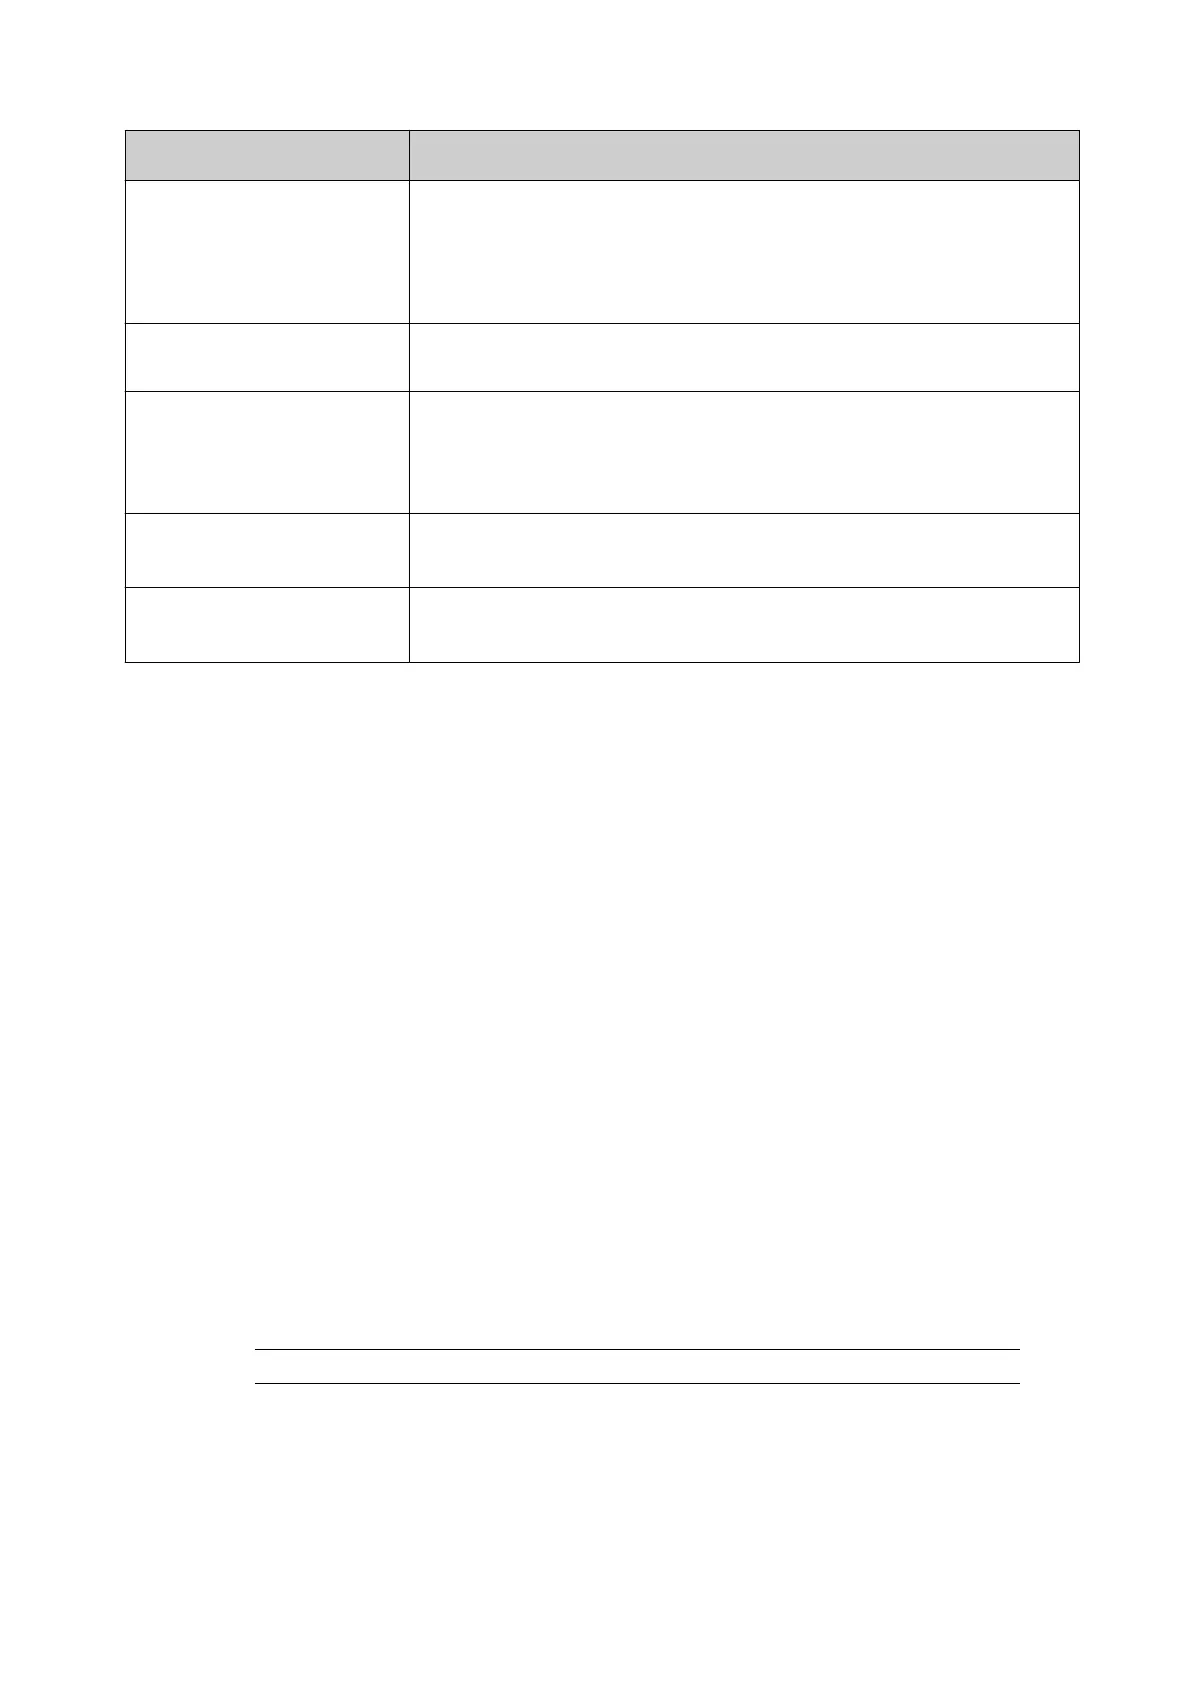
Setting Name Explanation
Type Select the type of prompted field:
• None - The operator will be prompted to enter standard text.
•
Clock - The operator will be prompted to enter a date or
time.
Prompt Enter text which will be displayed to the operator to prompt them
to enter data.
Input mask If "Type" is set to "None", enter the number and type of characters
that the operator must input.
If "Type" is set to "Clock", enter the format the operator must use
to input the date/time.
Output format
Note This setting is only visible if "Type" is set to "Clock".
Enter the format that the date or time will be printed in.
Language
Note This setting is only visible if "Type" is set to "Clock".
Select the language that the date or time will be printed in.
8.
Select the green Tick icon to confirm the settings.
9. Select the green Tick icon to add the element to the label design.
10. In the label design area, select the prompted field element.
11. In the label creator's side menu select the Element tab.
12. Select the Edit menu.
13. Use the settings in the edit menu to define the element's visual appearance.
14. Select the Save icon to save the change.
End of procedure.
Add Reference Element
A reference element can be used to print data contained within a barcode as human readable
text elsewhere in the same label design.
A reference element can also be embedded in a barcode and linked to a variable text element.
This will allow the barcode to be updated via a message at the start of printing, the Variable text
settings screen or via Dynamark command, see Add Variable Text Element on page 152.
To add a reference element into the label design:
1.
In the Side menu select the Element tab.
2.
Select the Add menu.
3.
Select Text or Barcode.
Note
If Barcode is selected, define the barcode type and barcode settings.
4.
Select +Variable at the top of the screen.
5.
Select Insert new...
6.
Select Reference.
7.
The following link settings can now be defined:
OPERATION
149 EPT053091 - Issue 5 - 07 May 2021
 Loading...