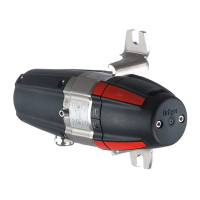
Technical Manual | Dräger Polytron
®
8000 Series 59
Maintenance
3. Loosen set-screw and unscrew lid from instrument.
4. Pull out the PCB unit.
5. Turn PCB unit over and pull off the sensor connector.
6. Unscrew the sensor.
7. Insert the sensor wires through the threaded port of the enclosure.
WARNING
Explosion hazard!
The enclosure openings must be sealed to prevent ignition of hazardous
atmospheres in case of an ignition inside the enclosure.
Five threads must be engaged to ensure explosion proof status.
8. Screw the sensor into the port and tighten with the correct torque (min. 266 LB
IN. / min. 30 Nm)
9. Polytron
®
8200 CAT-specific:
Twist the sensor wires together. If necessary, fit a cable tie to keep the wires
tight.
10.Plug the sensor connector back into socket.
11. Place PCB unit back into the enclosure.
12.Screw the lid back on until it is sealed (min. 44 LB IN. / min. 5 Nm) and tighten
set-screw.
13.Apply power to the instrument, if necessary.
The maintenance signal on the 4-20mA interface remains pending until the
sensor is warmed-up.
Maximum warm-up time of a new sensor: see the Instructions for Use for the
sensor.
14.Check calibration. If necessary, calibrate the instrument (see "Calibration",
page 47).
15.Check the installation requirements and instrument for SIL status.
See sections "Mechanical installation" through "Remote sensors".
11.3 Performing display test
1. Select Settings > Instrument > Display > Displaytest and confirm.
2. Select Enable or Disable and confirm.
When enabled, the display is shown inverted and all the LEDs are lit.
 Loading...