Set-up
Operating manual 171/173 Version 01.0 - 01/2016 71
6.16 Sewing test
Carry out a sewing test before starting up the machine.
Adjust the machine to the requirements of the sewing material.
To do this, read the corresponding sections in Chapter 5
Operation.
Read the corresponding section of the Ser
vice manual
in order to make adjustments to the machine if the sewing
results do not conform the to the requirements.
Performing a sewing test
1. Switch off the machine at the main power switch. ( pg. 19)
2. Insert the needle. ( pg. 20)
3. Thread the needle thread. ( pg. 21)
4. Thread the looper thread. ( pg. 24)
5. Adjust the thread tension ( pg. 28) with respect to the sewing
material.
6. Switch the machine on using the main switch. ( pg. 19)
7. Adjust the sewing foot pressure ( pg. 39) with respect
to the sewing material.
8. Adjust the stitch and feed length ( pg. 33 and pg. 36)
with respect to the sewing material.
9. Start the sewing test at low speed.
10. Increase the sewing speed continuously until the working
sp
eed is reached.
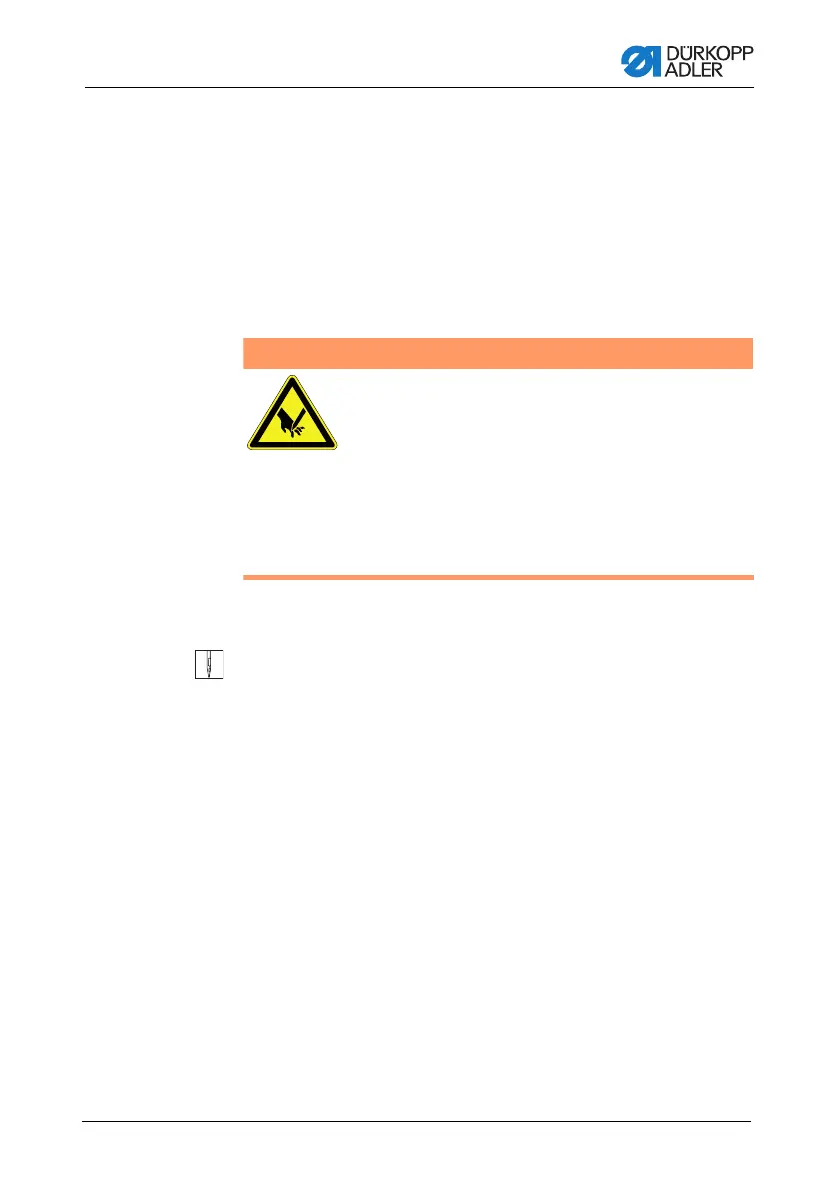
Risk of injury from the needle point
and moving parts.
Switch the sewing machine off, before you:
• change the needle
• thread the thread
• adjust the looper thread take-up
• set the thread regulator
• adjust the contact pressure of the carrier roller.
WARNING
 Loading...


