28.2 Fuses in the control box
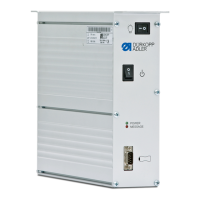
The fuses 1 and 2 for the control are on the back of the control box.
Only insert the fuses indicated in the circuit diagram.
28.3 Exchange of the control
See:
Part 2: Installation Instructions.
·
“Assembly of the main switch”
·
“Assembly of the control”
·
“Potential equalization”
·
“Installing the sewing software”
28.4 Adjusting the contrast of the control panel
–
Put a small screwdriver in the hole 2 through the opening 1.
–
Twist the screw in the hole 2.
The display 3 will then be brighter or darker.
82
1
2
21
3
 Loading...
