C
HAPTER
2
| Initial Switch Configuration
Connecting to the Switch
– 25 –
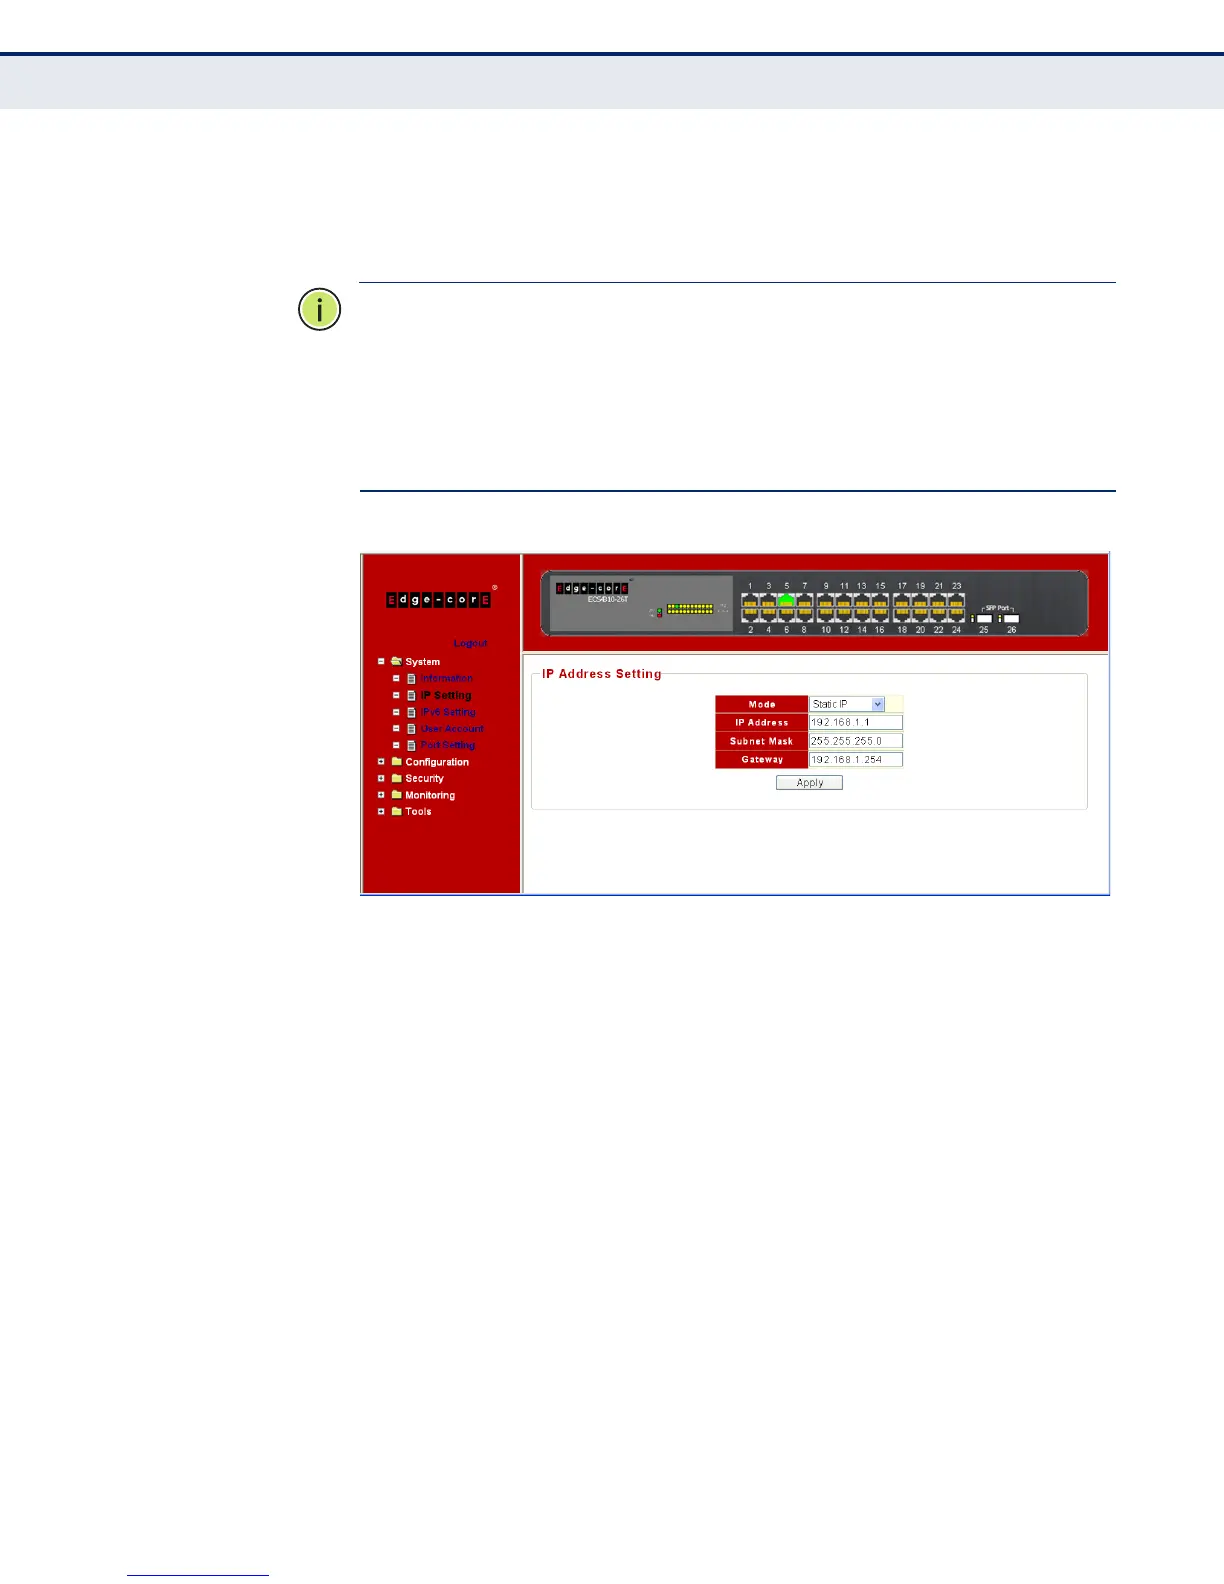
6. From the menu, click on System, then IP Settings. On the IP Address
Setting page, enter the new IP address, Subnet Mask and Gateway IP
Address for the switch, then click on the Apply button.
N
OTE
:
The switch also supports dynamic IPv4 address assignment through
DHCP (Dynamic Host Configuration Protocol). The switch sends IPv4
configuration requests to DHCP servers on the network.
N
OTE
:
The switch also supports IPv6 addressing. By default the switch
automatically generates a unique IPv6 host address based on the local
subnet address prefix received in router advertisement messages. For
more information, see “Setting an IPv6 Address” on page 41.
Figure 3: IP Settings Page
SETTING A PASSWORD No other configuration changes are required at this stage, but before
logging out it is recommended that you change the default administrator’s
user name and password for access to the switch, record them, and put
them in a safe place.
User names can consist of up to 16 alphanumeric characters, and
passwords can be up to 8 characters. Both user names and passwords are
case sensitive.
To prevent unauthorized access to the switch, set a password as follows:
1. On the menu, click System and then User Account.
 Loading...