De-commissioning of the fan Operating manual - Fan CF-C
76 of 84 www.elektror.com 2004930 10.19/0.2
EN
1. Slide the end disk onto the lead screw.
2. The impeller should be placed centrally on the shaft journal.
To do this, use appropriate lifting equipment.
Note:
The fitting key should be inserted flush with the groove.
3. Screw in the lead screw with the previously installed hexagonal
nut.
4. Pull the impeller on by turning the hexagonal nut clockwise to the
shaft flange.
5. Unscrew the hexagonal nut and unscrew the lead screw.
6. The impeller must be secured axially with the end disc, spring
spacer and fastening bolt.
The correct tightening torques in chapter 11.1 "Tightening torques for
fastening bolts" must be observed.
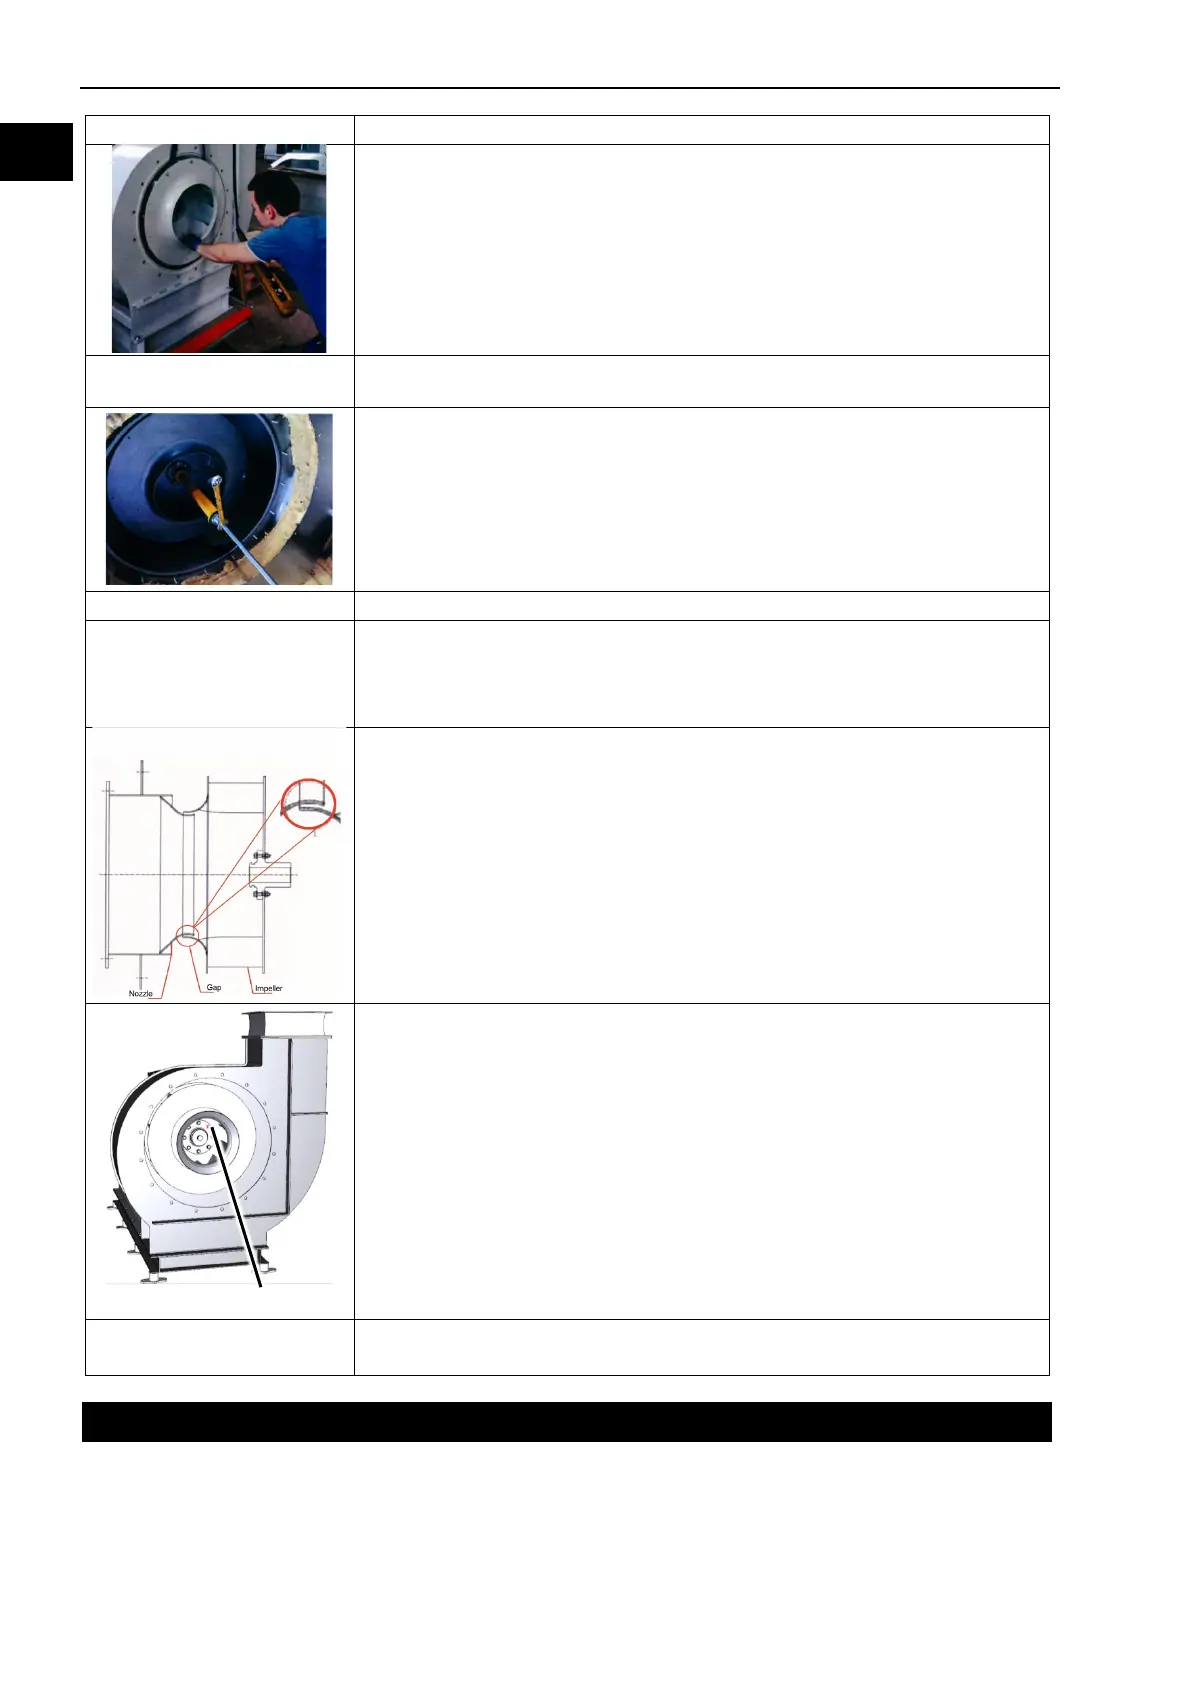
7. Mount the intake nozzle and secure it with fixing bolts.
The correct tightening torques in chapter 11.1 "Tightening torques for
fastening bolts" must be observed.
Note:
The gap between the impeller and the intake nozzle should be
identical over the whole circumference.
Check the free running of the impeller (turn 1x with hand).
Hexagonal nut
8. Tighten the hexagonal nut of the hub seal.
Result:
The impeller is mounted.
9 De-commissioning of the fan
Fan de-commissioning generally require the involvement of the manufacturer or an authorized
representative. In this case, an option of fan re-commissioning is provided.