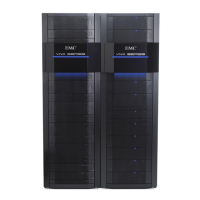
Table 2 Example shipping contents (continued)
Components Accessories
Right-to-Use (RTU) notices, as appropriate to the
system
b. Start the unpacking and assembling process with Removing mini-rack
components on page 15.
Removing mini-rack components
To remove the mini-rack components:
Procedure
1. Remove the Control Station information label from the front of CS0 and attach it to the
inside cover of this manual. If you have a second optional Control Station (CS1),
remove this Control Station information label and attach it to the inside cover of this
manual.
2. Remove only the yellow screws (Figure 1 on page 16) holding the components in the
mini-rack. The yellow arrows in (Figure 1 on page 16) point you to which screws to
remove.
3. Retain these removed screws for later assembly of the components into a site rack.
Unpack your system
Removing mini-rack components 15

 Loading...


