Liquiline System CA80SI Operation options
Endress+Hauser 43
9 Operation options
9.1 Structure and function of the operating menu
4
3
2
1
09:11:05 01.03.2018
Analyzer_CA80
SP1: Silica
3.6
μg/l SiO2
MODE
DIAG HOLD
MENU
A0036371
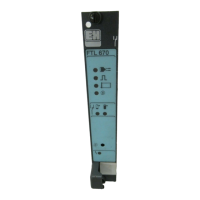
58 Overview of operation
1 LED
2 Display (with red display background in alarm
condition)
3 Navigator (jog/shuttle and press/hold function)
4 Soft keys (function depends on menu)
A0036786-EN
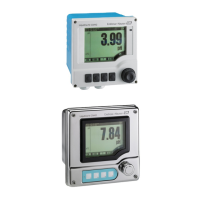
59 Display (example)
1 Menu path and/or device designation
2 Status indicator
3 Assignment of soft keys, ESC: To go back or to
cancel sampling, MODE: Fast access to frequently
used functions, DIAG: Link to Diagnostics menu ?:
Help, if available
English
!"
Čeština
Nederlands
Français
Deutsch
Italiano
#$%
Polski
Menu/Language
ESC
1
2
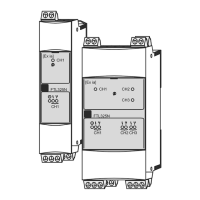
60 Display (example)
1 Soft key (press function)
2 Navigator (jog/shuttle and press/hold function)
9.2 Access to the operating menu via the local display
9.2.1 Locking or unlocking operating keys
Locking operating keys
1. Press the navigator for longer than 2 s.
A context menu for locking the operating keys is displayed.
You have the choice of locking the keys with or without password protection.
"With password" means that you can only unlock the keys again by entering the
correct password. Set this password here: Menu/Setup/General settings/
Extended setup/Data management/Change lock password.
2. Select whether to lock keys with or without a password.
The keys are locked. No more entries can be made. In the soft key bar, you will
see the symbol.
The password is 0000 when the device is delivered from the factory. Make sure to
note down any changes to the password, as otherwise you will not be able to unlock
the keypad yourself.

 Loading...