B
Enter a four-digit number for Password.
C
Enter a user name and job name if necessary.
Note:
The OK button becomes available after the
password has been entered.
D
Click OK.
Printing using the Confidential Job Menu
A
Make sure the LCD panel displays Ready, then
press the r Right button to access the control
panel menus.
B
Press the d Down button repeatedly until
ConfidentialJobMenu appears on the LCD
panel, then press the r Right button.
C
Use the d Down or u Up button to scroll to the
appropriate user name, then press the r Right
button.
D
Enter your four-digit password.
To enter the password, press the d Down or
u Up button to select the character and press the
r Right button to determine the character. After
all characters are determined, press the r Right
button.
Note:
If no print jobs have been saved with the
password you entered, Wrong Password
appears briefly on the LCD panel then the printer
exits the control panel menus. Confirm the
password and try again.
E
Use the d Down or u Up button to scroll to the
appropriate job name, then press the r Right
button.
F
Use the d Down or u Up button to display
Print.
To delete the print job, press the d Down or
u Up button to display Delete on the LCD
panel.
G
Press the r Right button to start printing or to
delete the data.
Printing with an overlay
This function allows you to print documents onto form
templates, which you register on your printer in
advance.
Note:
❏ This function is for Windows only.
❏ The application featured in these instructions is
Microsoft WordPad. The actual procedure may
differ slightly when printing from other
applications.
Creating an overlay
Note:
You first need to install EPSON FormOverlayUTL
utility to create overlay or underlay data. See “Installing
Software” on page 64 for details.
Follow the steps below to create the form data.
A
Open the data to be an overlay data using an
application.
B
Select Print from the File menu, select EPSON
FormOverlayUTL, then click Preferences.
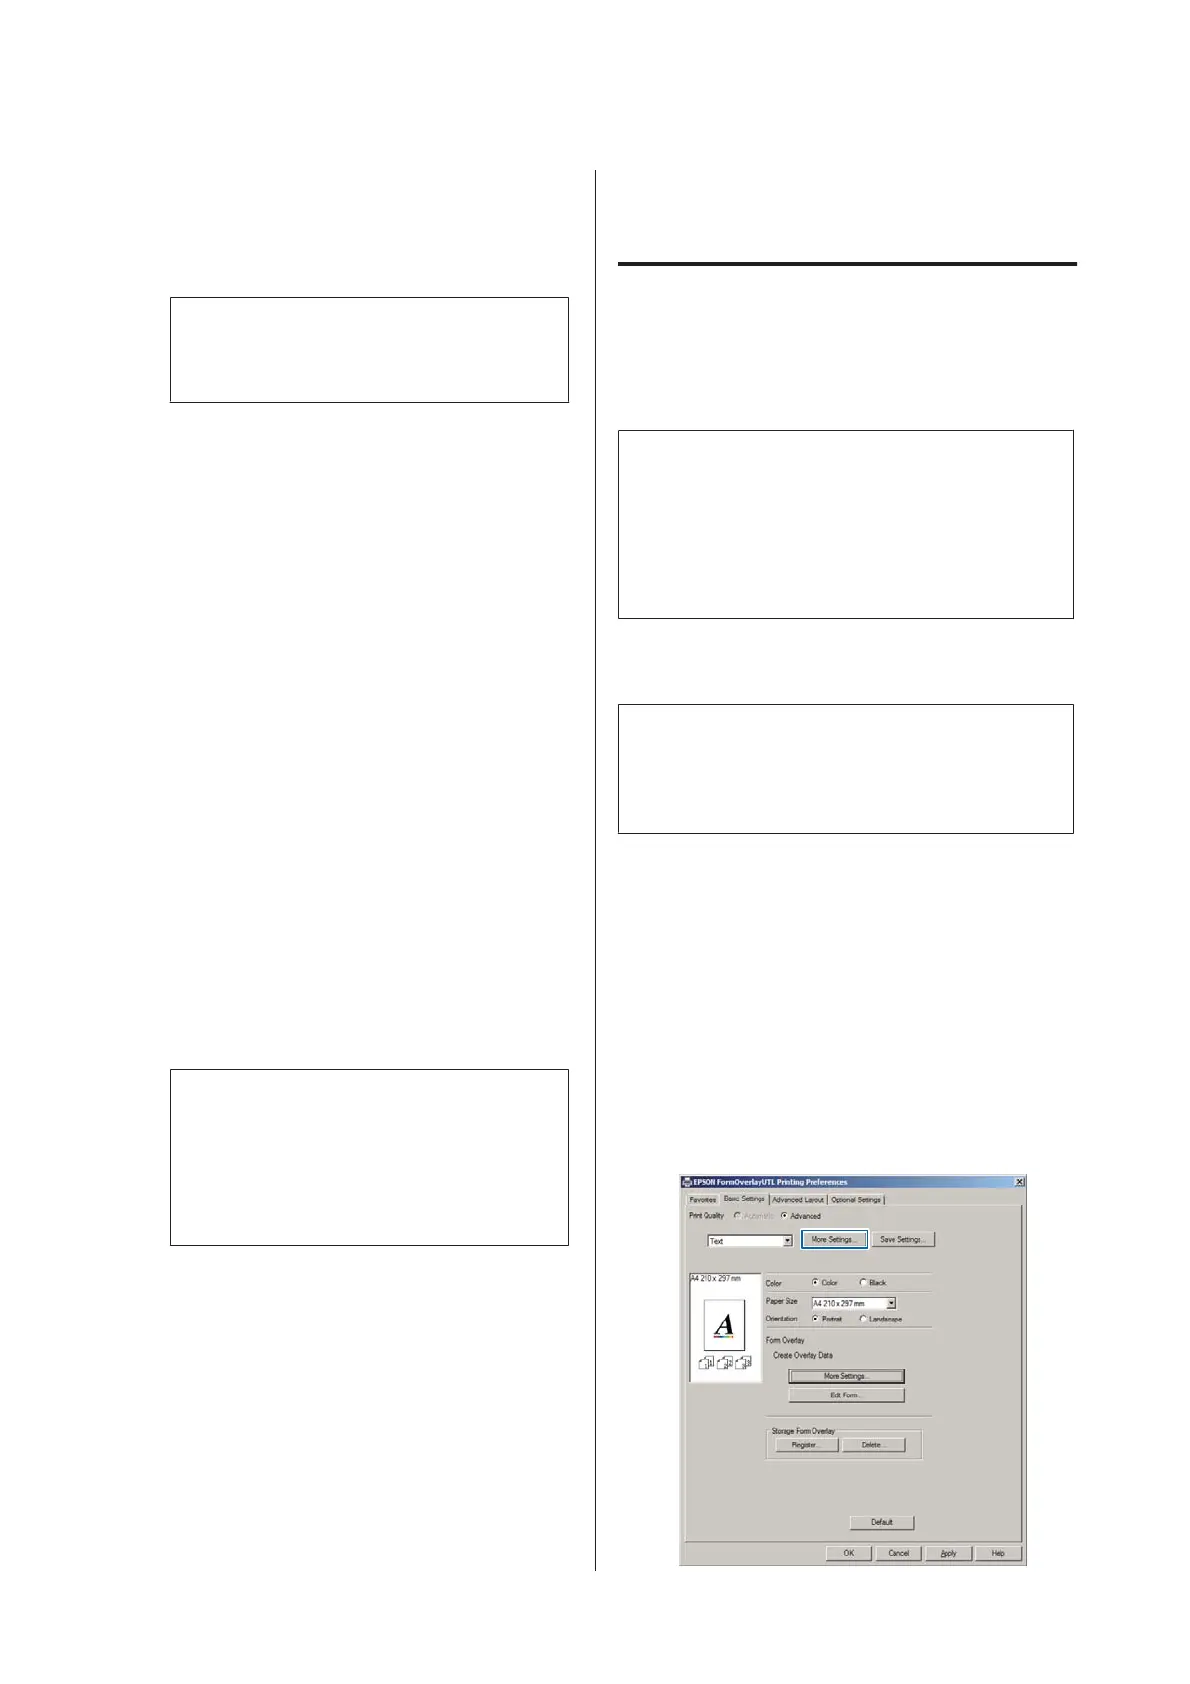
C
In the Basic Settings tab — Form Overlay —
Create Overlay Data, click More Settings. The
Create Form dialog box appears.
AL-M320DN/AL-M310DN/AL-M220DN User's Guide
Printing Tasks
58