Operating the Projector Power
37
Follow the instructions in these sections to operate the projector power.
gg Related Links
• "Turning On the Projector" p.37
• "Turning Off the Projector" p.38
Turning On the Projector
Turn on the computer or video equipment you want to use after you turn on
the projector.
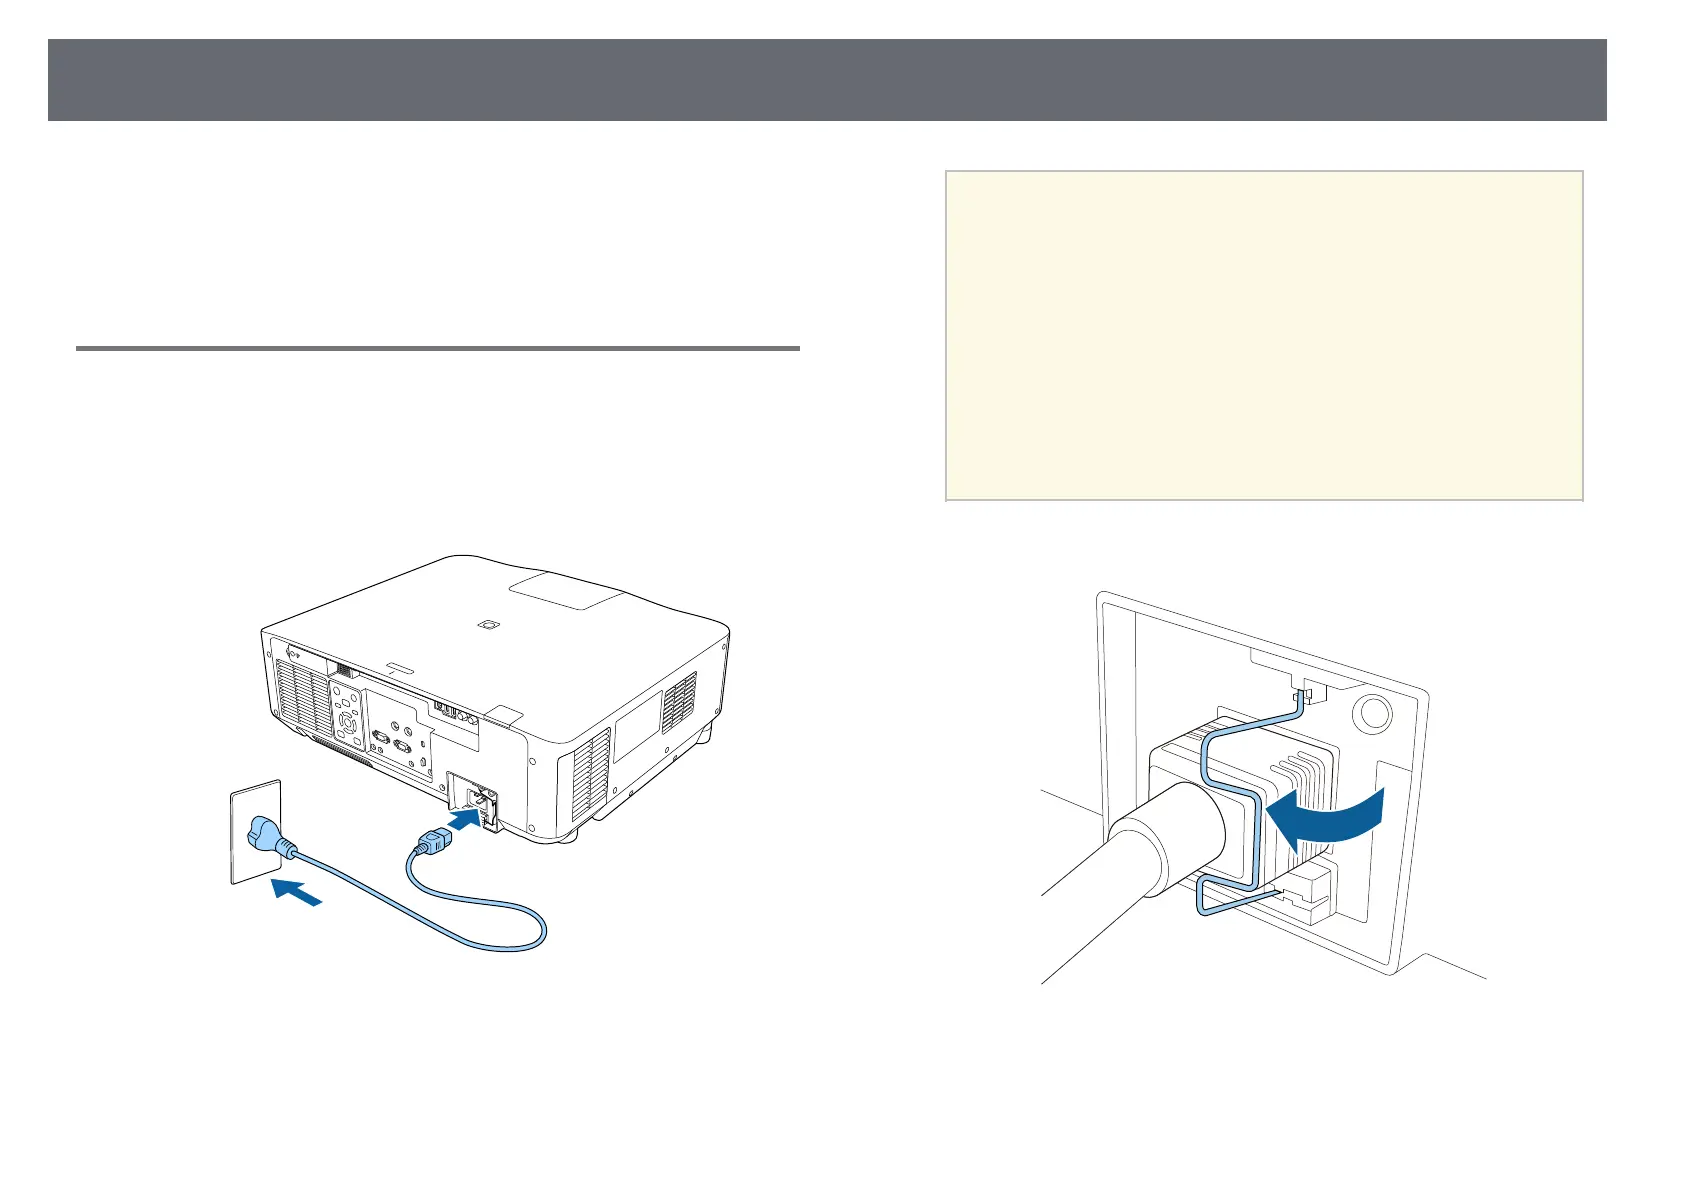
a
Connect the power cord to the projector's power inlet and plug it into
an electrical outlet.
The projector's power indicator turns blue. This indicates that the
projector is receiving power, but is not yet turned on (it is in standby
mode).
a
You can use a 100 V power cord to operate the projector
temporarily to determine the installation location. When
projecting using the 100 V power cord, the brightness of the
projected image is approximately 60% compared to when using a
200 V power cord. Use the 200 V power cord when adjusting the
projected image or the lens. You cannot use the following
functions with the 100 V power cord.
• Light Source Mode
• Estimated Remains
• Refresh Mode
• Light Source Calibration
Be sure to ground the power plug using a grounding wire or a 3-
core power plug.
b
If necessary, lock the power cord to prevent it from falling off.
c
Press the [On] button on the control panel or remote control to turn on
the projector.