SC-F9200 Series Revision B
DISASSEMBLY & ASSEMBLY Disassembly and Assembly Procedure 132
SE Group Confidential (Related Staff Only)
3.4.4.5 Sub-D Board
1. Remove the Media Loading Lever. (p210)
2. Remove the Panel Unit. (p101)
3. Remove the Right Upper Cover. (p103)
4. Remove the Left Rear Cover. (p110)
5. Remove the Left Upper Cover. (p111)
6. Remove the Upper Cover. (p116)
7. Remove the pieces of acetate tape, and release the cover from the two hooks on the
frame.
Figure 3-61. Removing the Cover
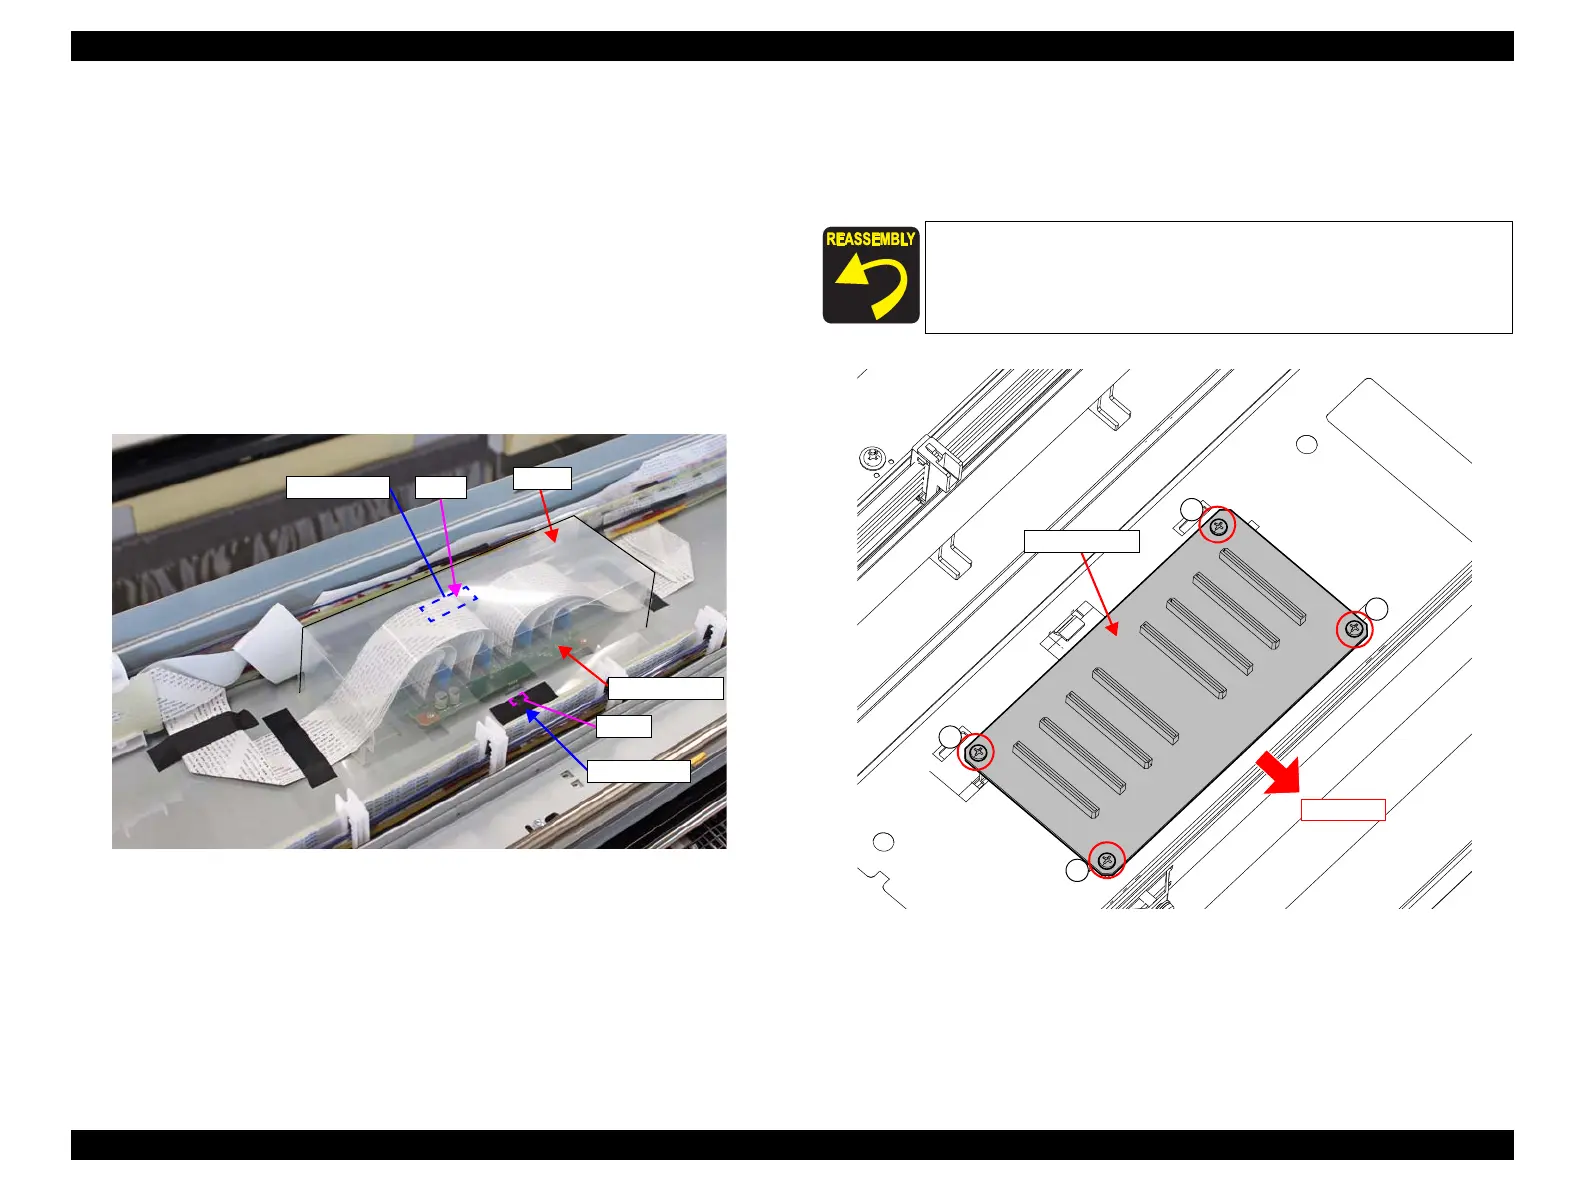
8. Disconnect all FFCs from the Sub-D Board.
9. Remove the four screws, and remove the Sub-D Board.
A) Silver M3x8 S-tite screw: 4 pcs
Figure 3-62. Removing the Sub-D Board
Cover
Sub-D Board
Acetate tape
Acetate tape Hook
Hook
When installing the Sub-D Board, make sure to install it in the
correct orientation as shown in Figure3-62.

 Loading...


