3-14
Using the Printer Software for Windows
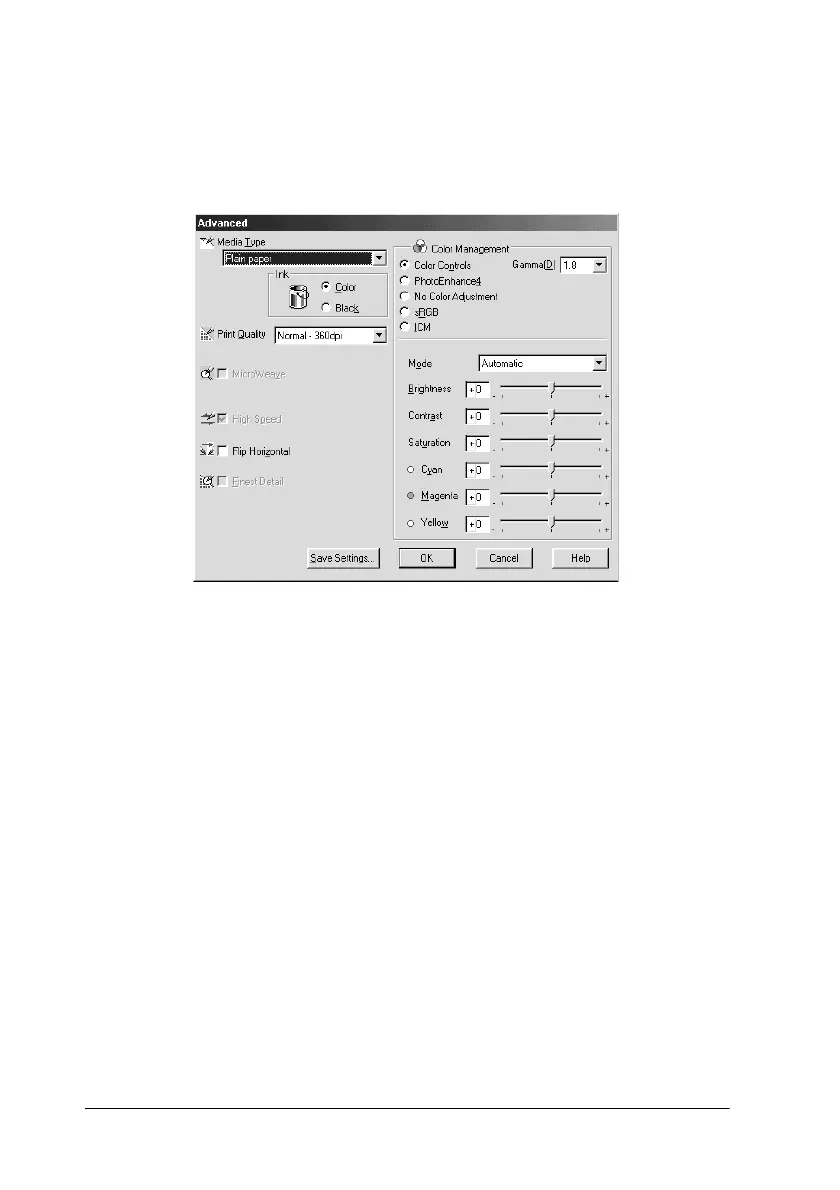
1. Select
Custom
as the Mode setting on the Main menu and
then click
Advanced
. For Windows 3.1 users, select
Advanced
, then click
More Settings
. The following dialog
box appears.
2. Select the Media Type that is loaded in the printer. For details,
see “Making the Media Type setting” on page 3-5.
3. Choose
Color
or
Black
as the Ink setting.
4. Specify a Print Quality setting.
5. Make other settings as necessary. For details, see online help.
Note:
❏
The
PhotoEnhance
option under Color Management only
affects images, not text or graphs. For example, if
Monochrome
is selected in the Tone list (enabled when
PhotoEnhance
is selected), only the images in a document
will be printed in monochrome. Any colored text or graphs in
the same document will be printed in color.
 Loading...


