VT6L Maintenance 7. Covers
36 VT series Maintenance Manual Rev.2
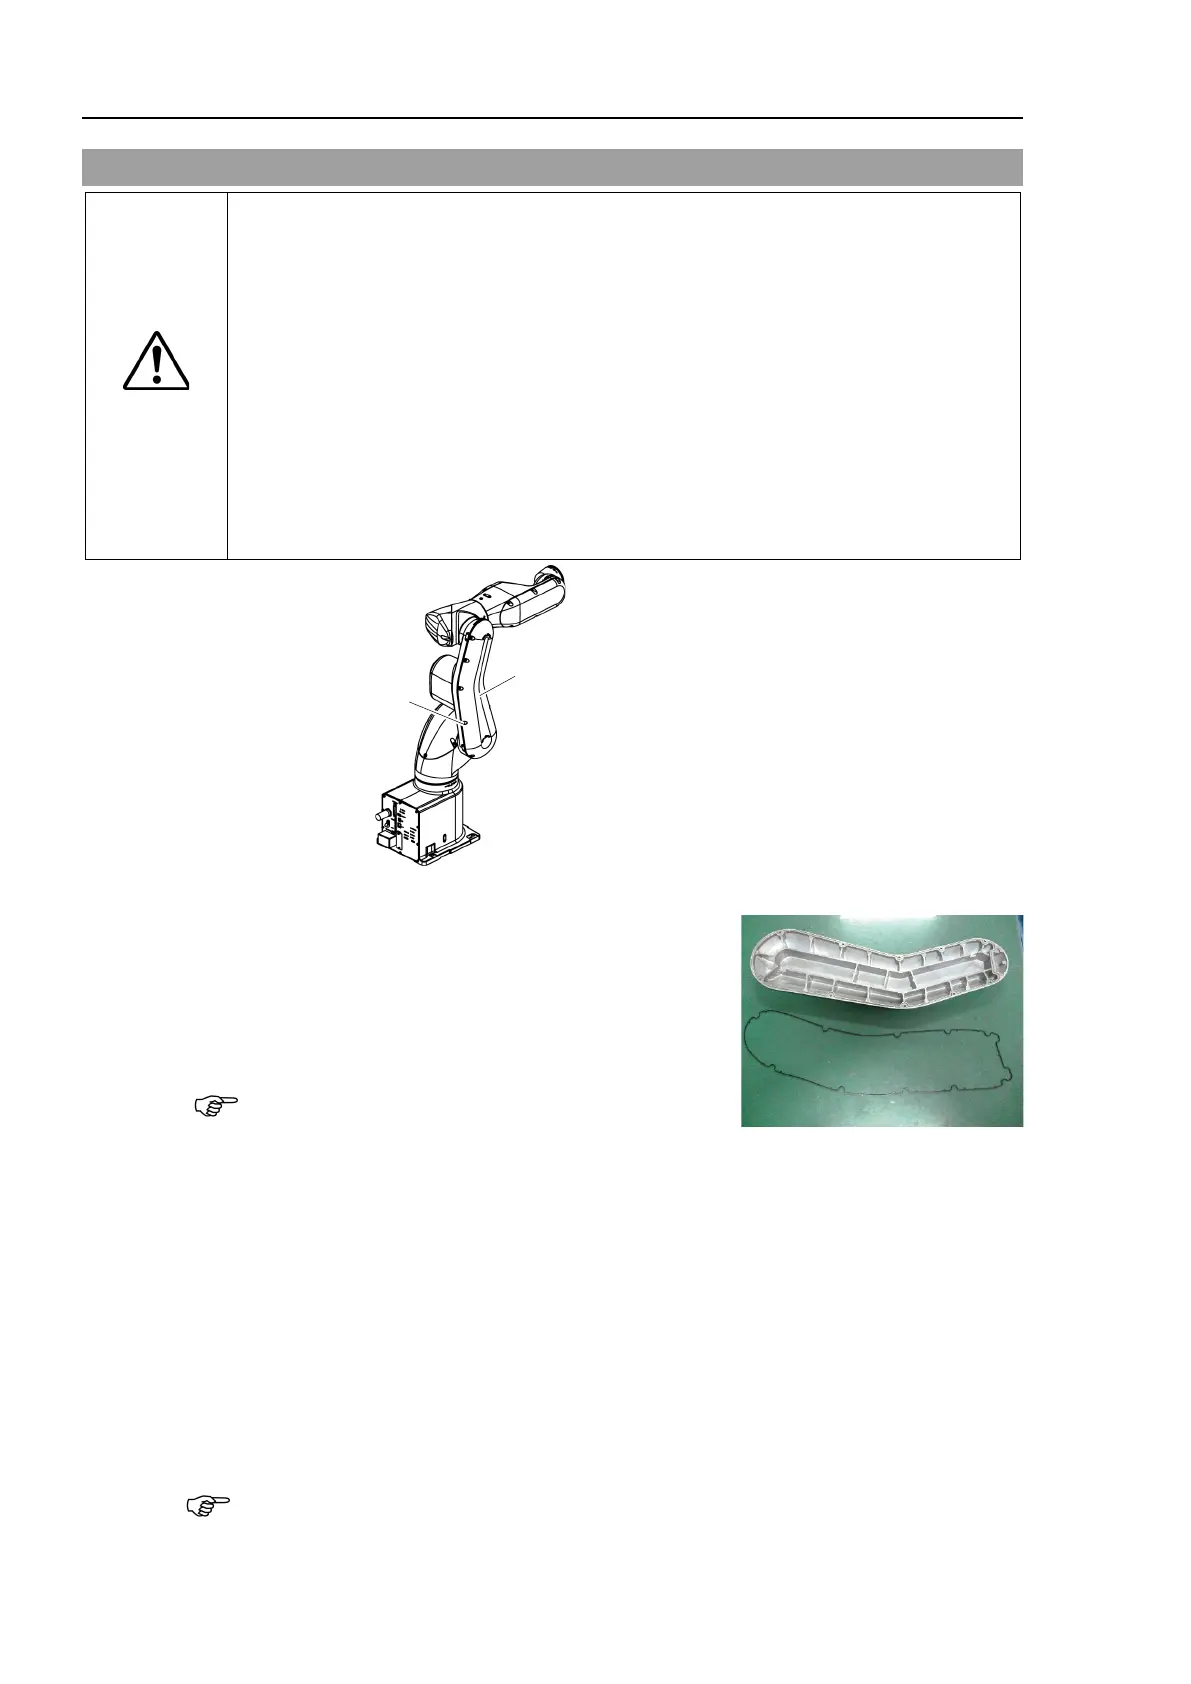
7.2 Arm #2 Cover
CAUTION
■
forcibly. Removing the cover forcibly may result in
damage to the cables, disconnection, and/or contact failure. Damaged cables,
disconnection, or contact failure is extremely hazardous and may result in electric
shock and/or improper function of the robot system.
When installing the cover, b
e careful not to allow the cables to interfere with the
not bend these cables forcibly to push them into the cover.
Unnecessary strain on cables may result in damage to the cables, disconnection,
and/or contact failure. Damaged cables, discon
nection, or contact failure is
extremely hazardous and may result in electric shock and/or improper function of
the robot system.
routing the cables, observe the cable locations
after removing the cover.
Be sure to
place the cables back to their original locations.
Arm #2 Cover
10-M4×12 Sems
Arm #2 Cover
Removal
, Cleanroom model:
Unscrew the mounting bolts, and then lift the Arm
#2 Cover.
rotection model:
Unscrew the mounting bolts, and then lift the Arm
#2 Cover and Arm #2 gasket together.
careful of wires and tubes when removing the
Arm #2 Cover
Installation
, Cleanroom model:
Put the Arm #2 Cover to the Manipulator and secure with the mounting bolts.
Hexagon socket head cap bolts with captive washer: 10-M4×12 Sems
Tightening torque: 4 ± 0.2 Nm
rotection model:
Mount Arm #2 gasket in the groove of Arm #2 Cover. (Replace the gasket if there are
flaws or deteriorations.)
Put the Arm #2 Cover to the Manipulator and secure with the mounting bolts.
Hexagon socket head cap bolts with captive washer: 10-M4×12 Sems
Tightening torque: 4 ± 0.2 Nm
When installing the cover, b
e careful not to get the gaskets and cables caught between the
and cover.
 Loading...


