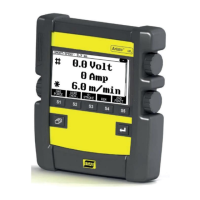
9 CONFIGURATION MENU
0460 896 274
- 52 -
© ESAB AB 2013
If you position the cursor on the ANALOG 1
row and press ENTER, this brings up a list.
You can now select whether the potentiometer ANALOG 1 is to be used for WIRE SPEED
or if it is not to be used, NONE.
Select the WIRE SPEED row and press ENTER.
If you position the cursor on the ANALOG 2
row and press ENTER, this brings up a list.
You can now select whether the potentiometer ANALOG 2 is to be used for VOLTAGE or if it
is not to be used, NONE.
Select the VOLTAGE row and press ENTER.
All configuration for the remote control unit applies to any connected wire feed units. If you
remove ANALOG 1 in the configuration, this applies to both wire feed units when you are
using twin units.
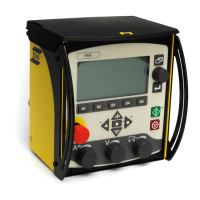
9.2.4 Scale on inputs
You can set the control range for the potentiometer(s) that is to be used. This is done by
specifying a minimum value and a maximum value in the control panel with the plus/minus
knobs.
Note that you can set different voltage limits in synergy and non synergy modes. The
voltage setting in synergy is a deviation (plus or minus) of the synergy value. In non synergy
mode, the voltage setting is an absolute value. The value set applies to synergy when you
are in synergy mode. If you are not in synergy mode, this is an absolute value.
There are also different voltage control limits for short-/sprayarc welding and pulsing in non
synergy mode.
Value after resetting
Synergy short-/sprayarc and pulsing min -10 V max 10 V
Non synergy short-/sprayarc min 8 V max 60 V
Non synergy pulsing min 8 V max 50 V
9.3 MIG/MAG defaults
Main menu → Configuration menu → MIG/MAG defaults
In this menu you can set:
• Torch trigger mode (2-stroke/4-stroke)
• 4-stroke configuration
• Soft key configuration
• Voltage measurement in pulsing
• AVC feeder
• “Release pulse”