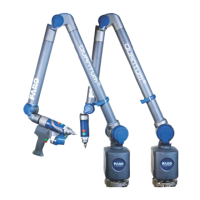
FaroArm
®
Manual
January 2009
21
Chapter 1: Introduction to the FaroArm
®
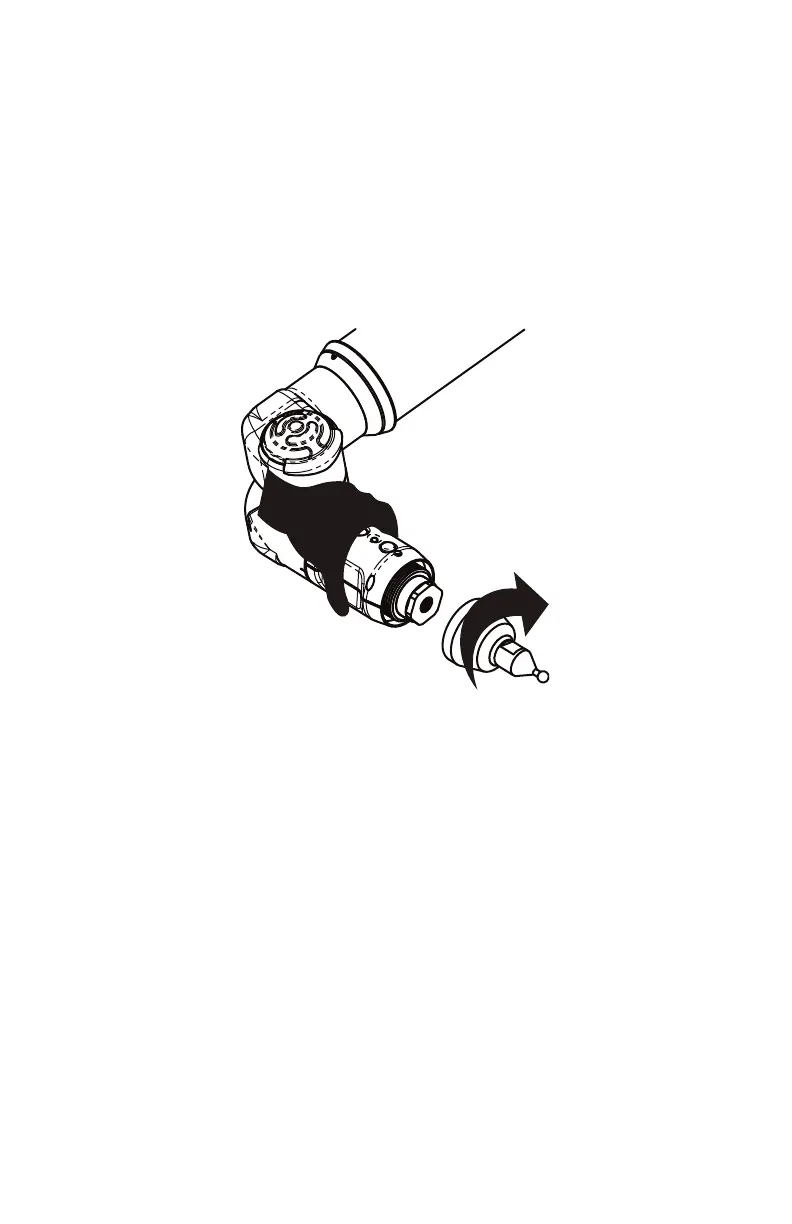
Installing Probes
The probe attaches to the threaded handle at the end of the FaroArm.
Use the 12mm wrench in the probe case to install the probe.
N
OTE: Use the FARO probe torque wrench to tighten the FARO i-
Probe. The probe wrench will break free when you apply the proper
amount of torque.
• Hold the button area near the end of the FaroArm with one hand.
CAUTION: Do not hold the FaroArm except in the button area when
installing a probe. Holding the FaroArm at the last joint may stress the
tube and damage the system.
• Rotate the probe clockwise and thread the probe into the FaroArm.
• Use the 12mm wrench to hand-tighten the probe.
CAUTION: Only hand-tighten the probe with the 12mm wrench. Do
not over-tighten the probe.
Use your measuring software to setup and calibrate the probe. See
“Probes” on page 77.
Figure 1-21 Installing a Probe
08M46E00_FaroArmUSB.book Page 21 Tuesday, February 17, 2009 1:42 PM