FaroArm
®
Manual
January 2009
28
Chapter 1: Introduction to the FaroArm
®
Hardware Installation
Installing the FARO Laser Line Probe is similar to any other FaroArm
probe. However, there is a Trim Ring
on the end of the handle that
must be removed for the Laser Line Probe to install correctly.
1 Turn Off the FaroArm.
2 Remove any standard probe from the FaroArm.
3 Remove the Trim ring from the FaroArm handle.
4 Attach the Laser Line Probe by sliding it onto the top of the FaroArm
handle. Slide the ring all the way to the back of the threaded area,
rotating the head slightly until the alignment pins seat into the
alignment slots.
5 Thread the locking collar into place and tighten with the 12mm
wrench from the FaroArm case. Do not over tighten the locking
collar.
6 Install the 6mm or 3mm standard ball probe. See “Installing Probes”
on page 21.
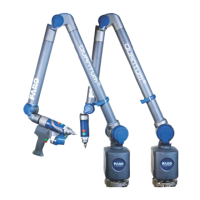
Figure 1-26 Remove Probe and Trim Ring
2
3
08M46E00_FaroArmUSB.book Page 28 Tuesday, February 17, 2009 1:42 PM