FaroArm
®
Manual
January 2009
83
Chapter 2: CAM2® Measure Devices Menu
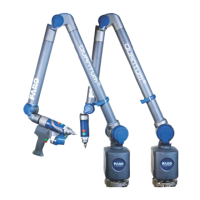
The digitized calibration points then
calculate and the C
ALIBRATION STATUS
updates. If the probe passes, the current
date and time is added to the probe
information.
You can view the details for all of the
calibrations of a probe by clicking the
VIEW LOG button. See “View Log” on
page 87.
Single Hole Method
Perform the Single Hole calibration
using the FARO probe calibration cone
or a 5mm diameter machine drilled
hole. The hole does not have to be
exactly 5mm, but it must be smaller
than the probe’s diameter with a smooth
seat. If the G
UIDANCE check box is
clear for the current probe, use the
following steps. See “Edit Probe” on
page 78.
Collect all of the points in this method
by holding down the FRONT button.
The FaroArm will collect points as fast as possible (“scanning”) until
you release the FRONT button.
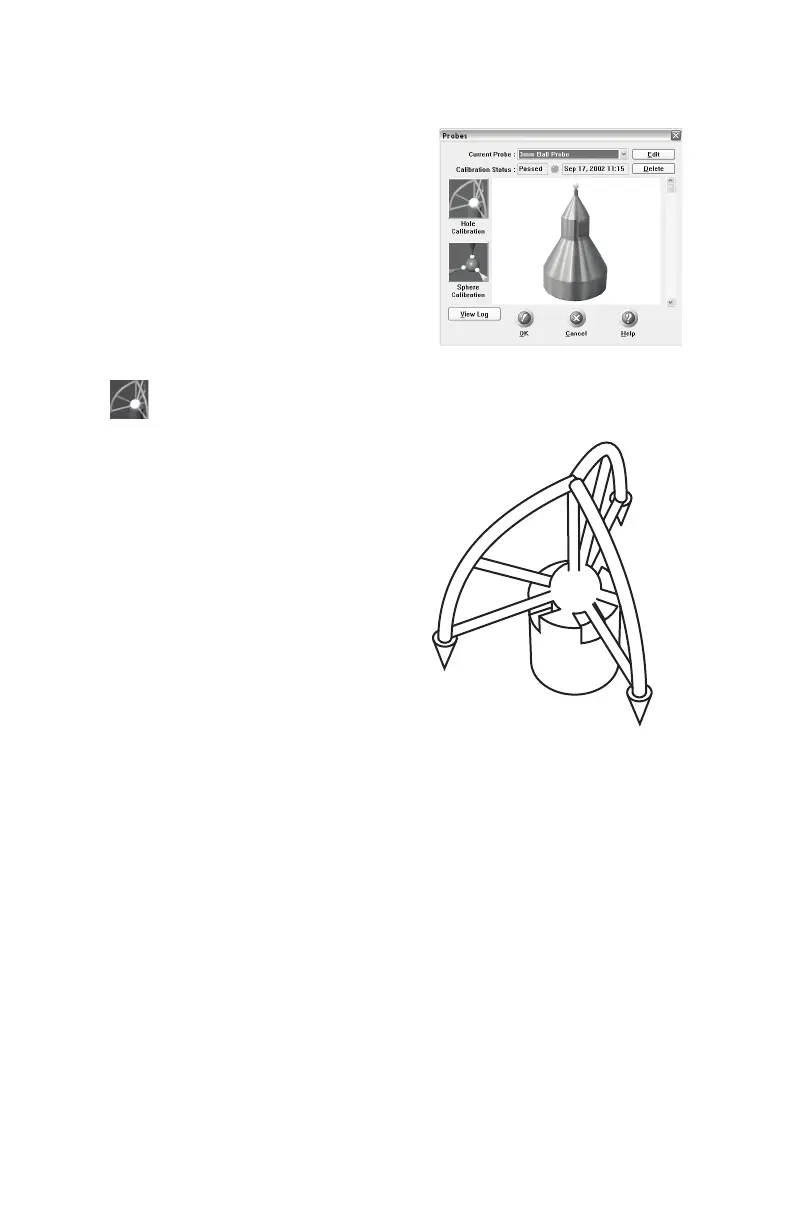
1 Place the ball probe in the hole. Start in a vertical position.
2 Press and hold the FRONT button. Sweep the handle down to to
one of the horizontal positions. Be sure that the ball probe remains
seated in the hole.
3 Release the FRONT button and repeat for each position.
Position #1
Position #2
Position #3
08M46E00_FaroArmUSB.book Page 83 Tuesday, February 17, 2009 1:42 PM