FaroArm
®
Manual
January 2009
29
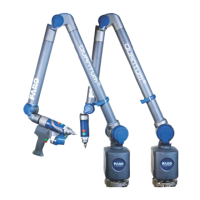
Chapter 1: Introduction to the FaroArm
®
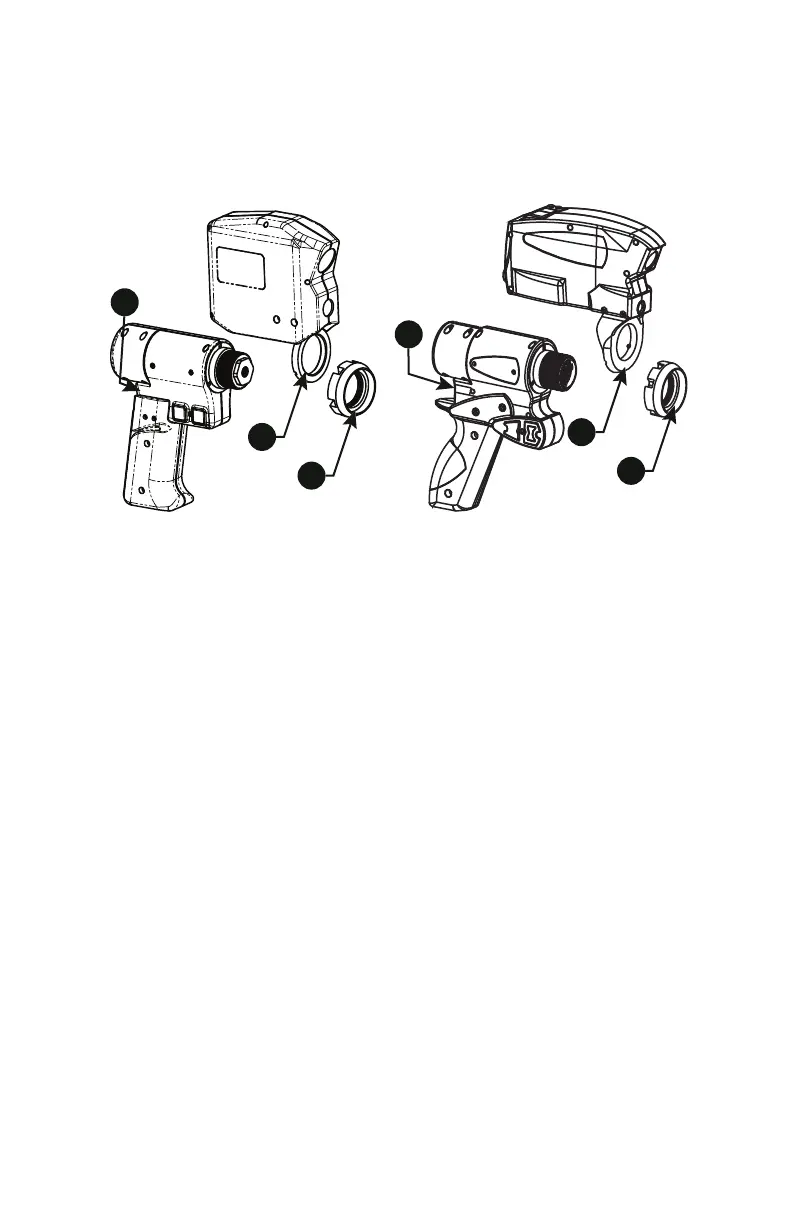
7 Connect the plug from the Laser Line Probe to the options port. The
options port is located on the back of the FaroArm handle. Tighten the
threaded connector.
CAUTION: Before inserting the connector, make sure that the power
is OFF.
• Clean the top and bottom lenses with the cloth from the Laser Line
Probe case. Dirt and grease on either lens can cause poor results.
• Connect the FaroArm to the computer using the USB cable, and turn
on the computer.
• Connect the FaroArm power supply and switch on the FaroArm. This
also powers the Laser Line Probe.
• Start the application software.
N
OTE: Allow the Laser Line Probe to warm-up:
• 60 minutes for version 1 Laser Line Probes
• 30 minutes for version 2 Laser Line Probes
• 15 minutes for version 3 Laser Line Probes
Figure 1-27 Install the FARO Laser Line Probe
08M46E00_FaroArmUSB.book Page 29 Tuesday, February 17, 2009 1:42 PM