FaroArm
®
Manual
January 2009
38
Chapter 1: Introduction to the FaroArm
®
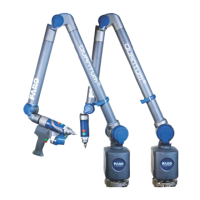
2 Digitize the white area of the Calibration Plate with the Laser Line
Probe in a sweeping motion. You should collect at least 200 scan lines
in the Laser Line Probe calibration. If not, repeat the calibration
moving the Laser Line Probe slower in each step.
• Aim the laser line at the middle of the white surface.
• Move the Laser Line Probe until the laser is in the Center
Range. .
• Press the FRONT button and move the Laser Line Probe while
pointing to the center of the white surface. Rotate the Laser Line
probe as much as possible - at least 90 degrees.
• Press the BACK button.
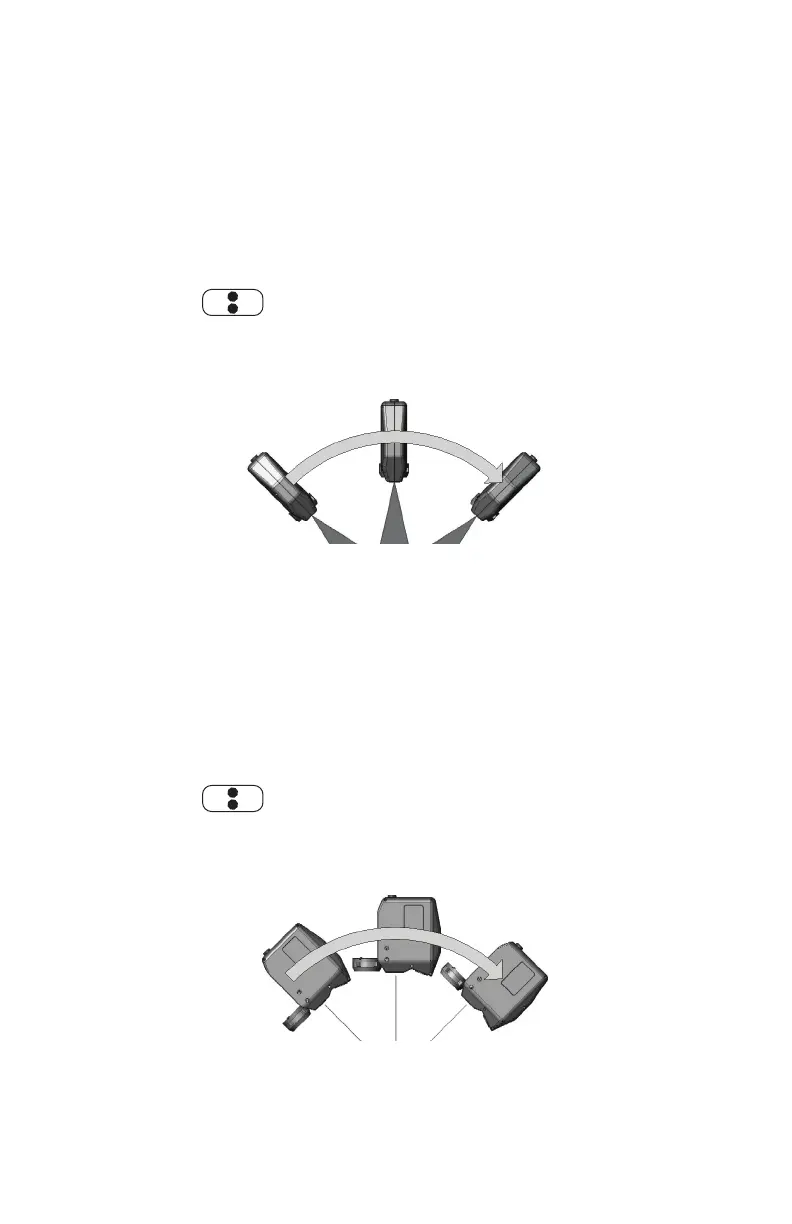
3 Digitize the White area of the Calibration Plate with the Laser Line
Probe in a sweeping motion. You should collect at least 200 scan lines
in the Laser Line Probe calibration. If not, repeat the calibration
moving the Laser Line Probe slower in each step.
• Rotate the Laser Line Probe 90°.
• Aim the laser line at the middle of the white surface.
• Move the Laser Line Probe until the laser is in the Center
Range. .
• Press the FRONT button and move the Laser Line Probe while
pointing to the center of the white surface. Rotate the Laser Line
probe as much as possible - at least 90 degrees.
• Press the BACK button.
08M46E00_FaroArmUSB.book Page 38 Tuesday, February 17, 2009 1:42 PM