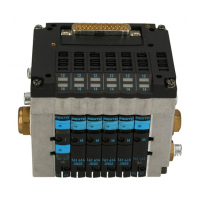
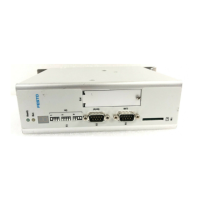
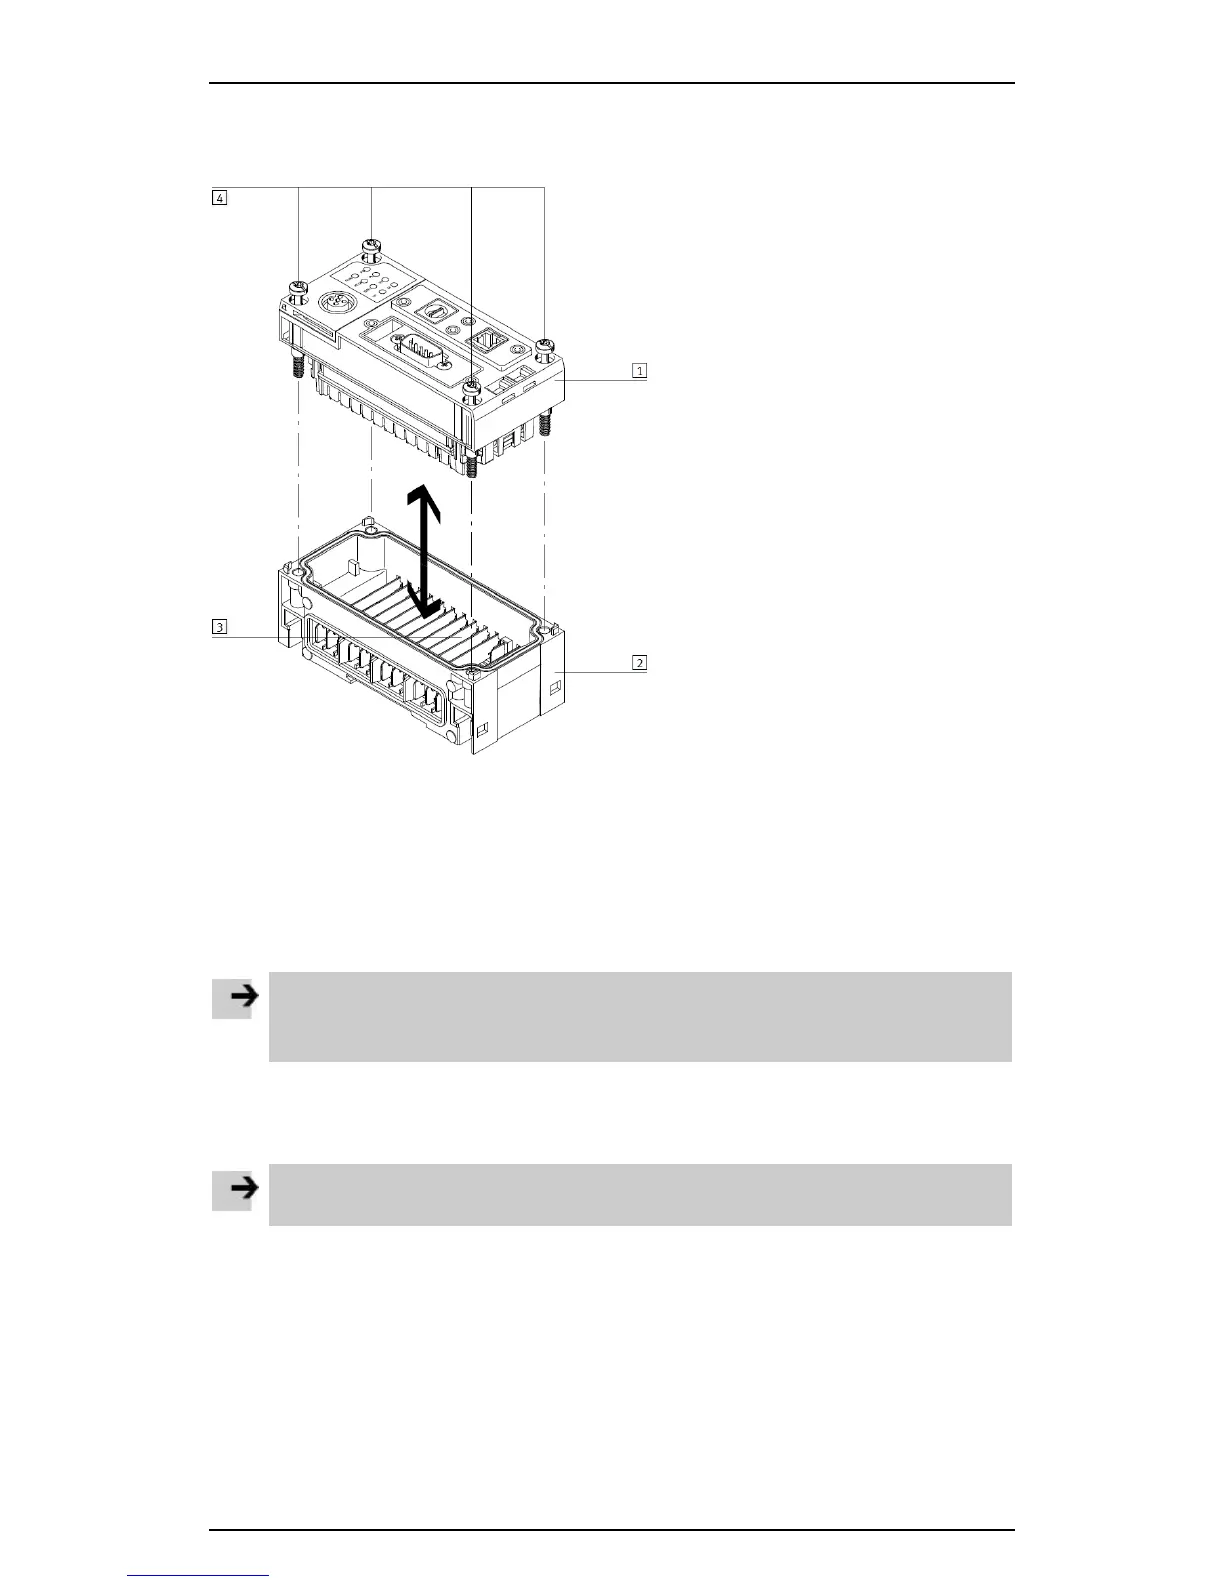
Screws (4)
Figure: Mounting/removing the device (in this case CPX-CEC-C1-V3/-M1-V3)
3.2.1 Removal
Note
• Never remove the CPX-CEC-...-V3 while still wired.
• Make sure that all cable connections are disconnected before removing the CPX-CEC-...-V3.
1. Loosen the screws 4 in the device 1 with a TORX screwdriver size T10.
2. Pull the device carefully and without tilting away from the contact rails 3 of the manifold sub-base 2.
3.2.2 Mounting
Note
• Mount the device at the left-hand end position of the CPX terminal (position 0).
1. Check the seal and the sealing surfaces.
2. Place the device 1 in the manifold sub-base 2. Make sure that the grooves with the power contact
terminals on the bottom of the device lie above the contact rails 3.
3. Then push the device 1 carefully and without tilting as far as possible into the manifold sub-base 2.
4. Place the screws so that the self-cutting threads can be used. Tighten the screws by hand.
5. Tighten the screws 4 with a TORX screwdriver size T10 to 0.9 ... 1.1 Nm.
11
 Loading...