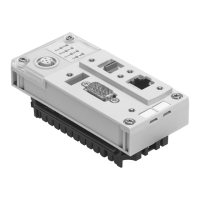
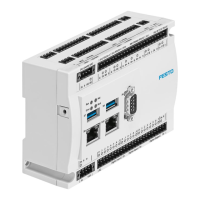
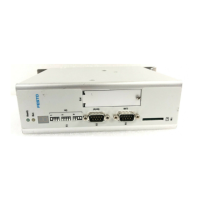
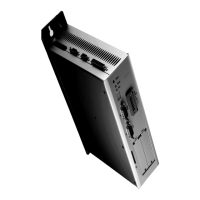
Festo control block CPX-CEC
Connection using a CAN bus plug from Festo
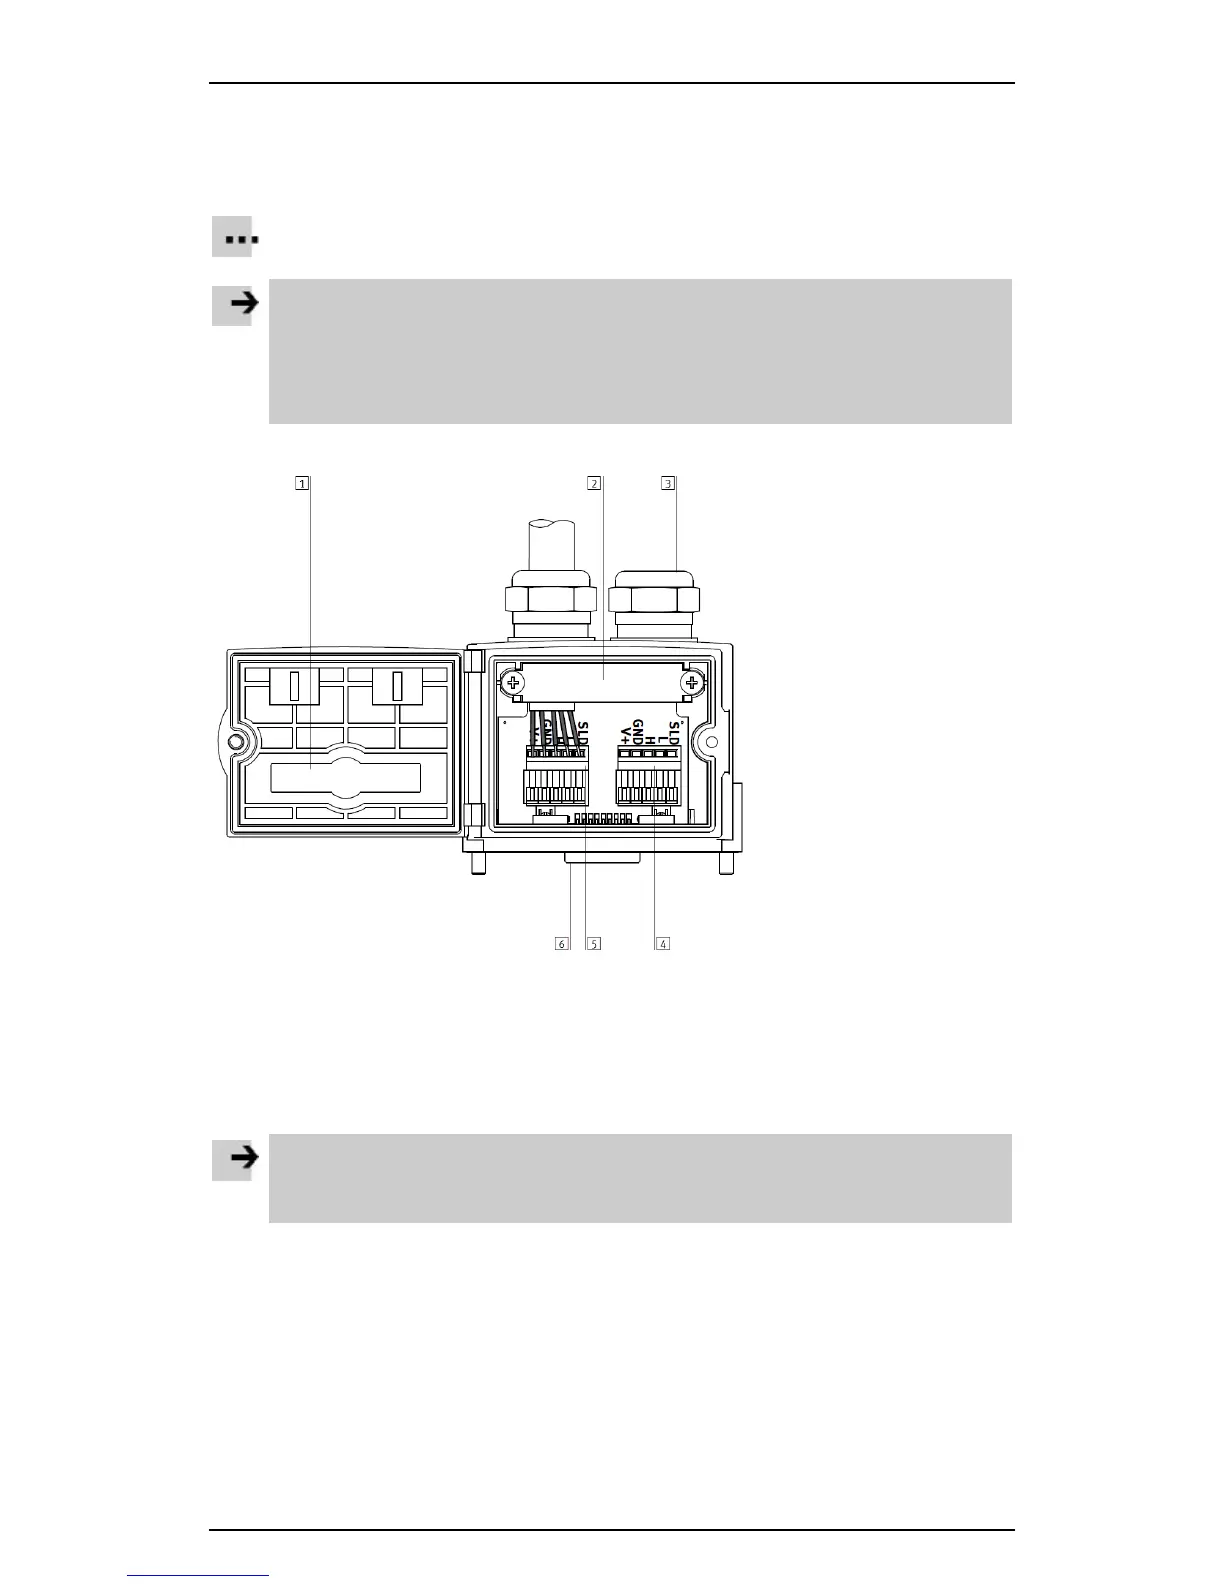
• Note the fitting instructions for the CAN bus plug. Tighten the two fastening screws at first by hand and
then to max. 0.4 Nm.
• Use cables with a diameter of 5 ... 8 mm.
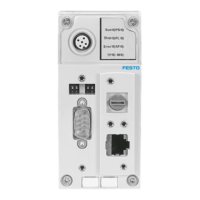
A CAN bus plug from Festo is a convenient way of connecting the CPX-CEC-...-V3. You can
disconnect the plug from the node without interrupting the bus cable (T-TAP function).
Note
The clamp strap in the CAN bus plug from Festo is connected internally only capacitively with the
metallic housing of the sub-D plug. This is to prevent equalising currents flowing through the
screen of the CAN bus.
• Clamp the screen under the clamp strap of the CAN bus plug ( accompanying manual for
the CAN bus plug).
Appropriate CAN bus plugs (adapters) from Festo can be found at www.festo.com/catalogue.
SUB-D socket connector
Figure: CAN bus plug from Festo, FBS-SUB-9-BU-2x5Pol-B
Connection using another CAN bus plug
Notes
• Observe the polarity of the CANopen interface.
• Connect the screen.
Further information on configuring a connected CANopen slave under Codesys can be found in the section
Configuring a CANopen slave.
16
 Loading...