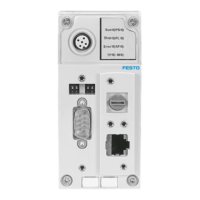
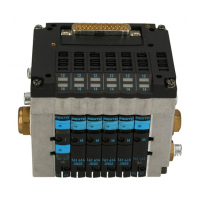
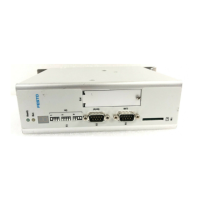
Festo control block CPX-CEC
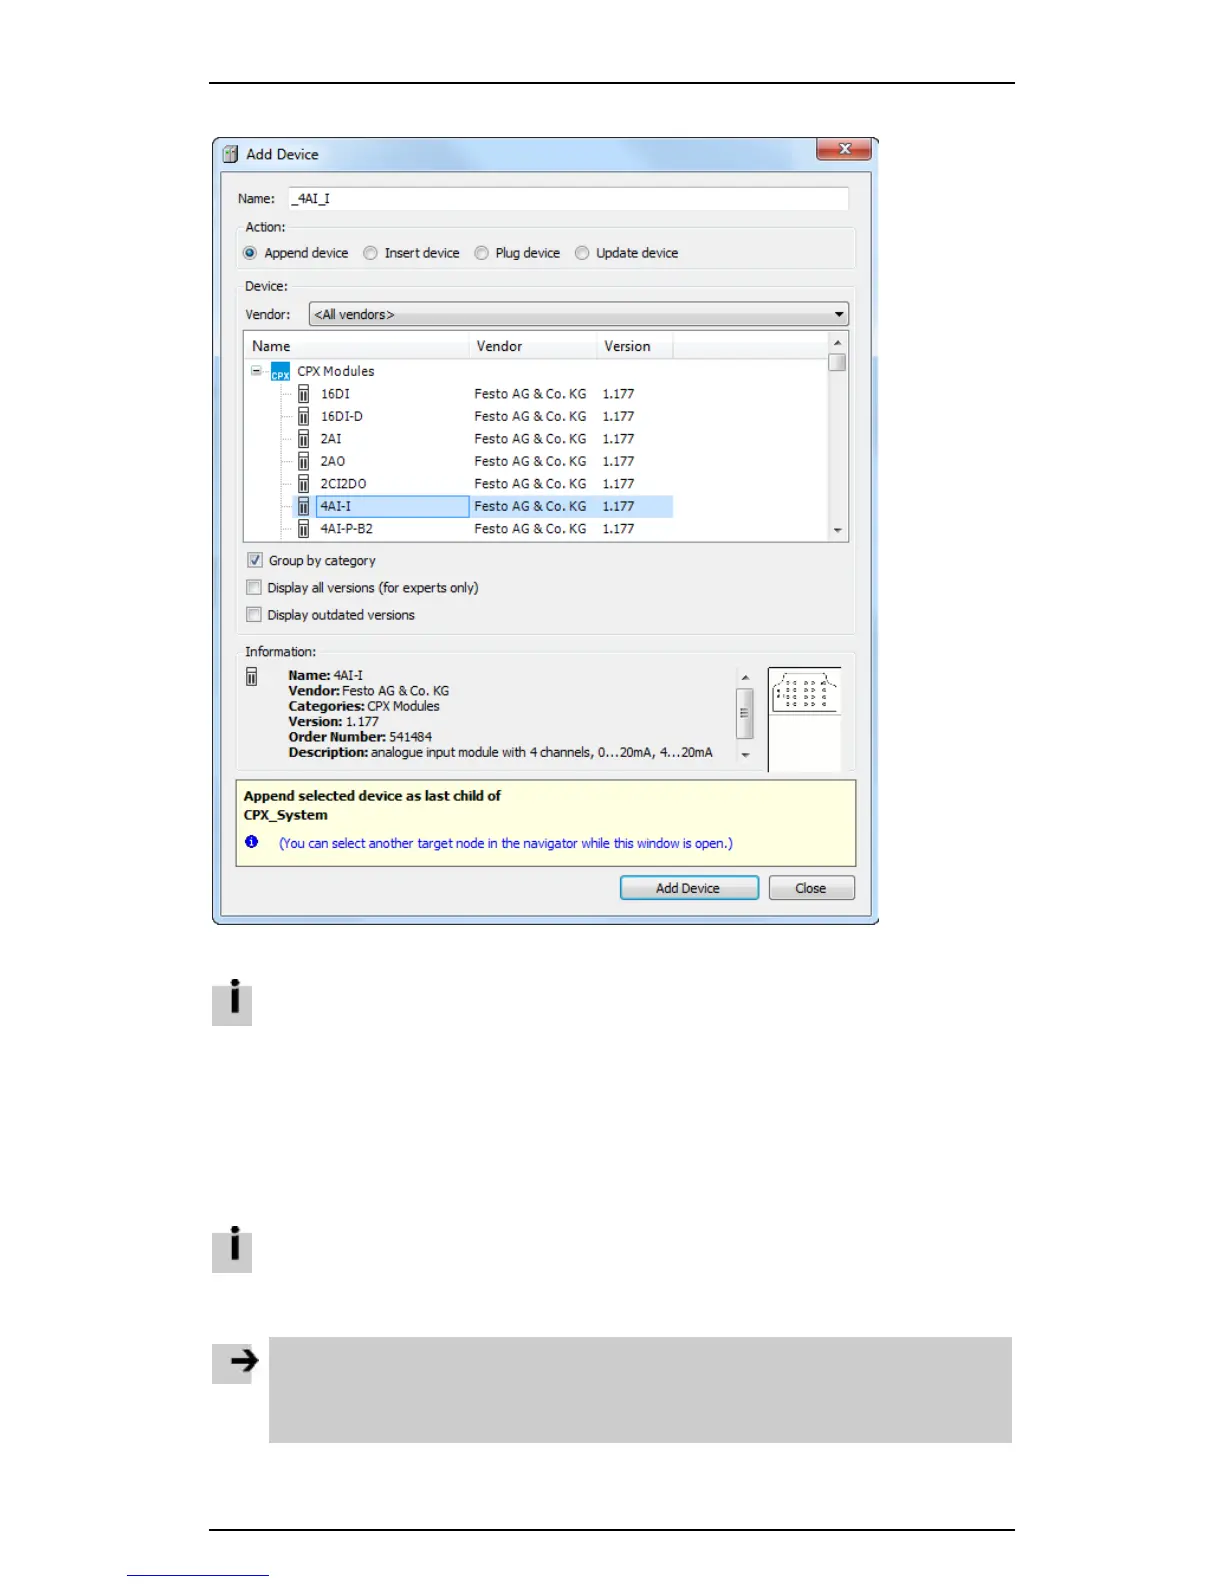
2. Select the appropriate CPX modules from the list.
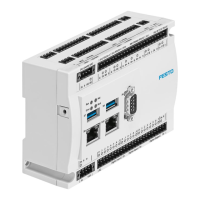
Figure: Adding a CPX module, in this case CPX module 4AI-I
The inputs and outputs are automatically addressed (preset in the device on delivery). At least 1
byte of inputs or outputs is reserved for each module. The rotary switch of the CPX-CEC-…-V3,
for example, only occupies 4 bits of inputs, but 1 byte is reserved.
Alternatively you can also address the inputs and outputs manually.
3. Save the project and close the dialog by clicking "Close".
Addressing settings
The I/O addresses are automatically assigned by Codesys.
The I/O addresses are edited directly in the I/O mapping for the respective module.
When adding a module to an existing project at a later time:
• Specify the address manually.
This will prevent subsequent module addresses from shifting.
Note
 Loading...