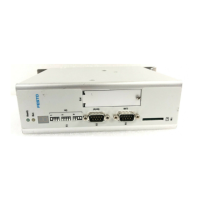
Festo control block CPX-CEC
3. Select a CANopen slave in the device table and highlight it.
Example: FB14
4. Confirm the selection by clicking the "Add Device" button.
5. If necessary, repeat steps 3 and 4 to add further devices (max. number of CANopen slaves: 32).
Example: Special case for integrating a valve terminal CPV-CO2 ( section Integrating CPV
terminals)
6. Close the dialog by clicking the "Close" button.
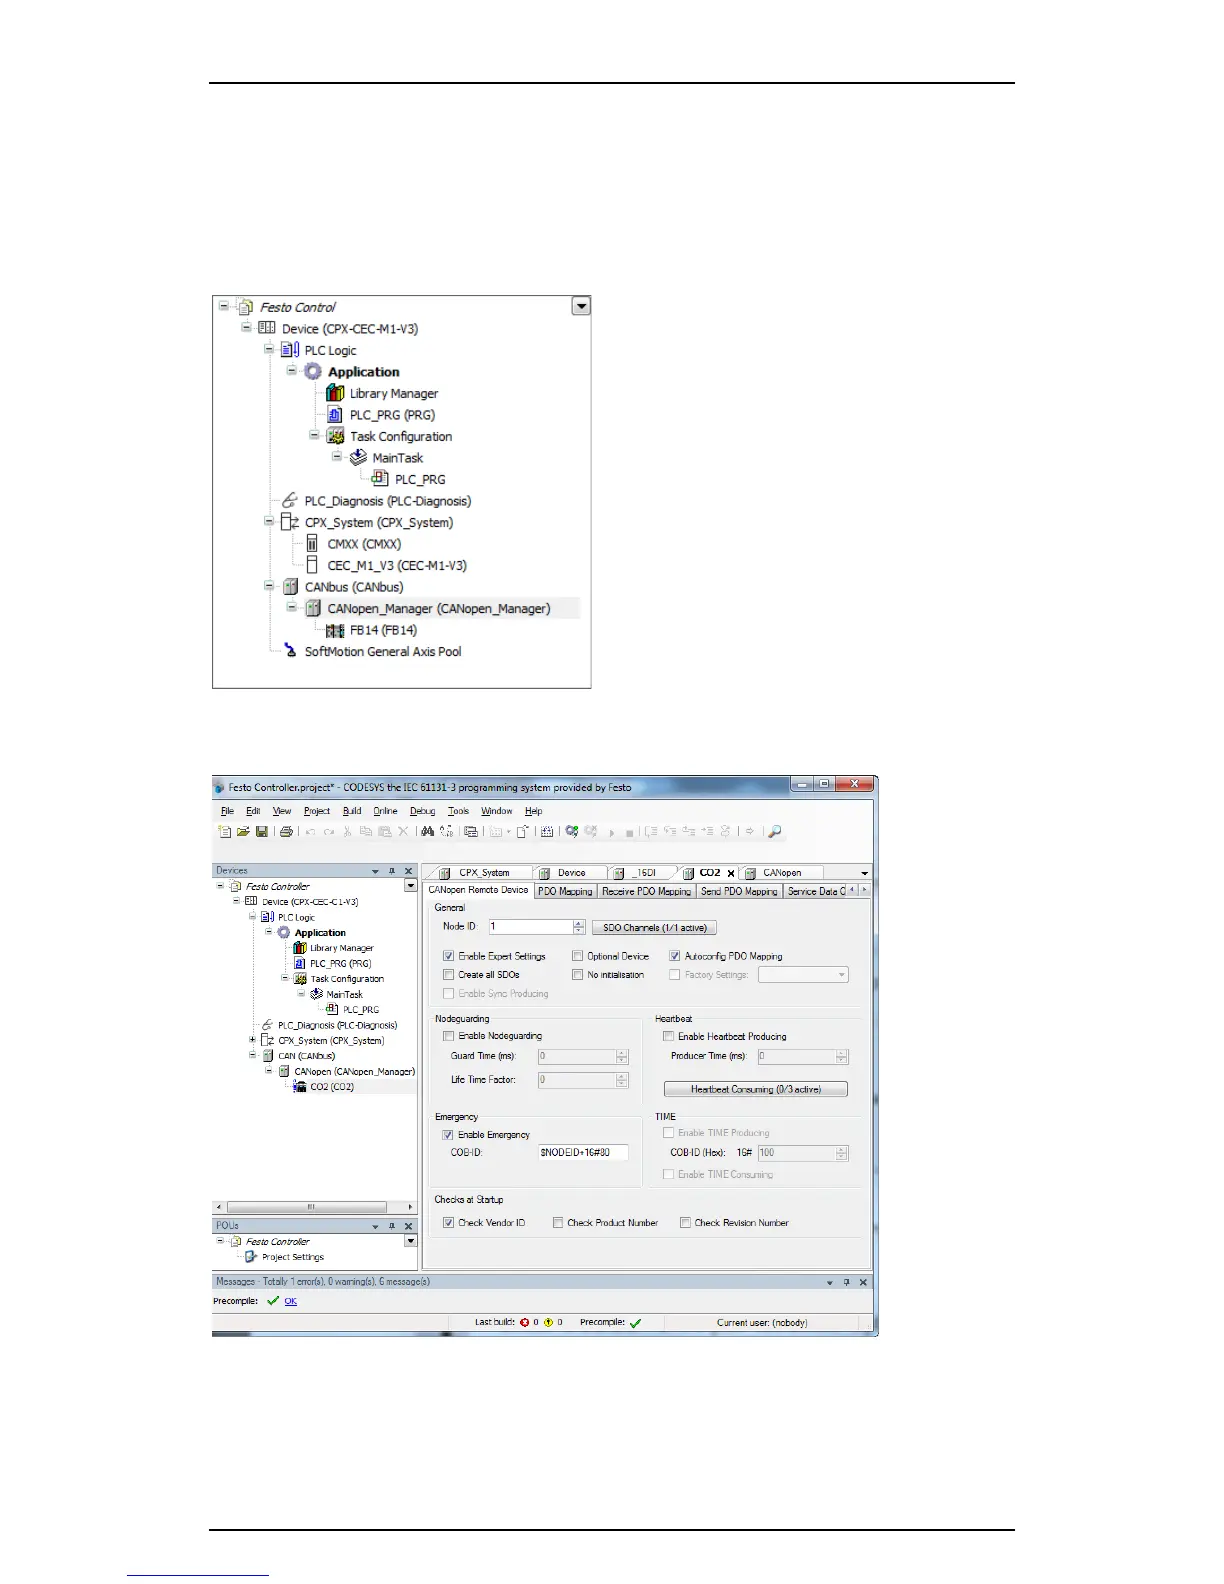
7. Highlight the added CANopen slave in the device window.
Figure: Device window - selecting "FB14"
8. Double-clicking the added device "FB14" or "CO2" opens a new tab in the editing window for
configuring the CANopen slave.
Figure: Editing window with CANopen slave CO2
9. If necessary, check the "Enable Expert Settings" box on the "CANopen Remote Device" tab in the
editing window.
All setting options are then visible.
39
 Loading...