SERVICE PROCEDURES 80
TO REMOVE THE COOLING ASSEMBLY
1. Shut down, and then open the E-41 (see pages 49 and 51).
To access the CPU, you must remove the left panel.
2. Remove the motherboard (see page 61).
Place the motherboard on a padded, static-free work surface outside of the chassis when
removing and replacing the cooling assembly. After you replace the cooling assembly, inspect
the back of the motherboard to verify that the cooling assembly is fully mounted on the
motherboard (see Figure 27 on page 83).
3. Remove the CPU fan cable from motherboard connector FAN 1.
4. Remove the CPU cooling assembly.
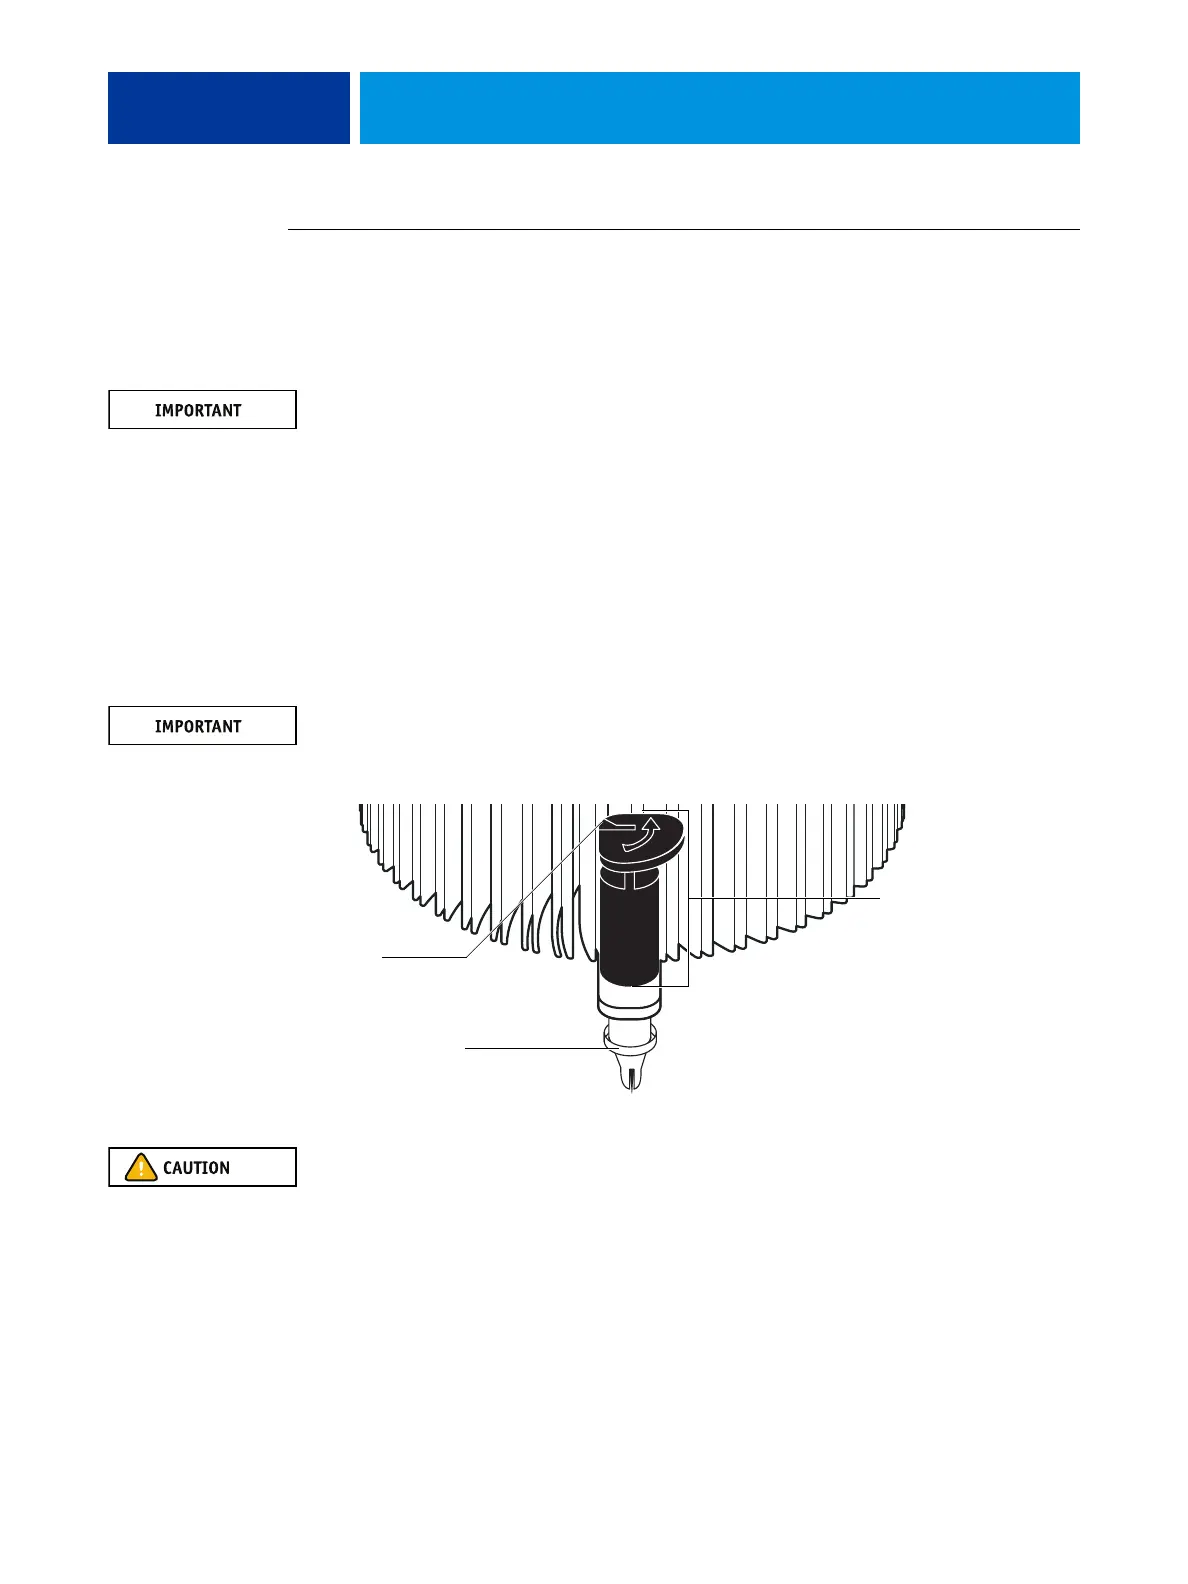
• Insert a flathead screwdriver into the groove on the top of a fastener cap and rotate the
fastener counterclockwise (that is, in the direction of the arrow) to the position shown
below.
• Pull straight up on the fastener cap until the peg is out of the motherboard.
You may need to use moderate force to pull the pegs out of the motherboard. Be careful
not to damage the components on the motherboard or the CPU cooling assembly when
pulling up on the fasteners.
5. Lift the cooling assembly off the CPU socket and set it aside.
Be aware that the cooling assembly and the CPU may be very hot. You may need to let the
components cool before attempting to remove them.
Rotate each fastener
to this position.
Peg
Groove