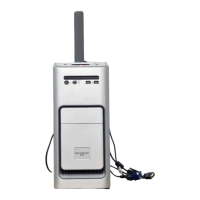
SERVICE PROCEDURES 90
TO REPLACE THE POWER SUPPLY
1. Support the power supply inside the chassis and align the mounting holes.
2. Attach the power supply to the chassis with the four screws that you removed earlier
(see Figure 30 on page 89).
If you are installing a new power supply, make sure to use the screws that came with it
to attach the new power supply to the chassis.
3. Connect the 8-pin CPU power cable to motherboard connector PW1 (for connector locations,
see Figure 20 on page 62).
4. Connect the 20-pin motherboard power cable to motherboard connector PW2.
5. Connect the power and data combination cable to the DVD drive.
6. Install the ferrite around the HDD power cable.
Use the ferrite that you removed earlier. Place the ferrite around the cable near the connector
and snap the edges of the ferrite closed.
7. Connect the power cable to the HDD.
Connect the thin, black SATA power cable connector to the HDD. Do not connect the
white, 4-pin power cable connector. Connecting both types of power cables will damage
the HDD.
8. Locate the reusable tie-wrap that you removed earlier and use it to attach the loose section
of the power cable to the chassis support beam (see Figure 30 on page 89).
Gather the cable against the support beam with the tie-wrap, and then thread the tie-wrap to
secure the cable.
9. Reassemble the E-41 and verify its functionality (see page 104).