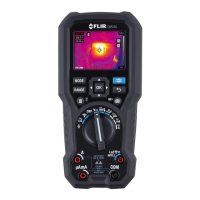
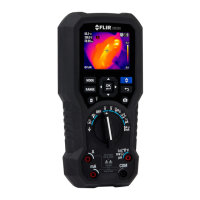
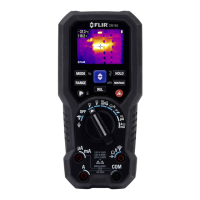
FLIR DM286 USER MANUAL Document Identifier: DM286-en-US_AA
8.3 Thermal Settings Menu
1. Press OK to open the main menu
2. Scroll to the Thermal Settings icon
and press OK
3. Refer to Fig. 8.4 below for menu options
Icon Description Operation
Color Palette
Press OK to step through the color palettes (iron, rainbow, arctic,
white hot, and black hot). Refer to Section 8.10 for examples.
Measurement
mode
Select
to measure a surface using crosshairs targeting.
Select
or to automatically target the warmest or coldest
spot.
Select
to remove multimeter measurements from the thermal
image.
Temperature
scale
Select AUTO to use the full thermal range or select LOCK to limit
the thermal region. See Section 8.9 for more information.
Laser pointer Press OK to toggle the laser pointer ON (blue circle) or OFF
Emissivity Press OK to open the emissivity menu and select a preset or a
custom setting as shown in Section 7.
Fig. 8.4 Thermal Settings Menu
8.4 Image Mode Menu
The Image Mode menu
has four options (Fig. 8.5). The Alignment Distance and
Thermal MSX options pertain to MSX
® (Multi-Spectral Dynamic Imaging), where the
digital camera adds visible light details to the thermal image, for clarity.
Icon Description Operation
Alignment
Distance
Press OK on this icon to begin aligning the MSX image. Use the
left/right arrows to adjust the horizontal alignment.
Thermal MSX Press OK on this icon to view the MSX image.
Thermal camera Press OK on this icon to view the thermal image only.
Digital camera Press OK on this icon to view the digital camera image only.
Fig. 8.5 Image Mode Menu