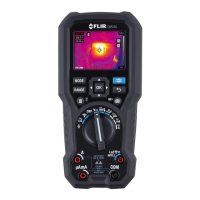
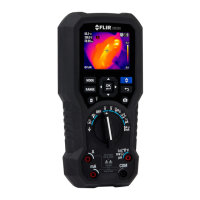
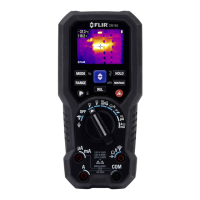
FLIR DM286 USER MANUAL Document Identifier: DM286-en-US_AA
8.2 Thermal Imager Operation
To customize the Thermal Imager, refer to Section 8.3, Thermal Settings Menu. For
basic operation, follow these steps:
1. Set the function switch to any position.
2. Press the IGM button to switch the Thermal Imager ON. Point the thermal
imaging lens (back of meter) toward an area to test.
3. The display will show the temperature in the upper left-hand corner of the
targeted area.
4. In the Thermal Imaging mode, use the laser pointer and display crosshairs for
targeting. These can be switched ON or OFF in Section 8.3, Thermal Settings
Menu.
5. In the Thermal Imaging mode, the meter continues to operate normally as a
MultiMeter, view electrical measurements and functions on the upper left
side of the display (below the temperature measurement).
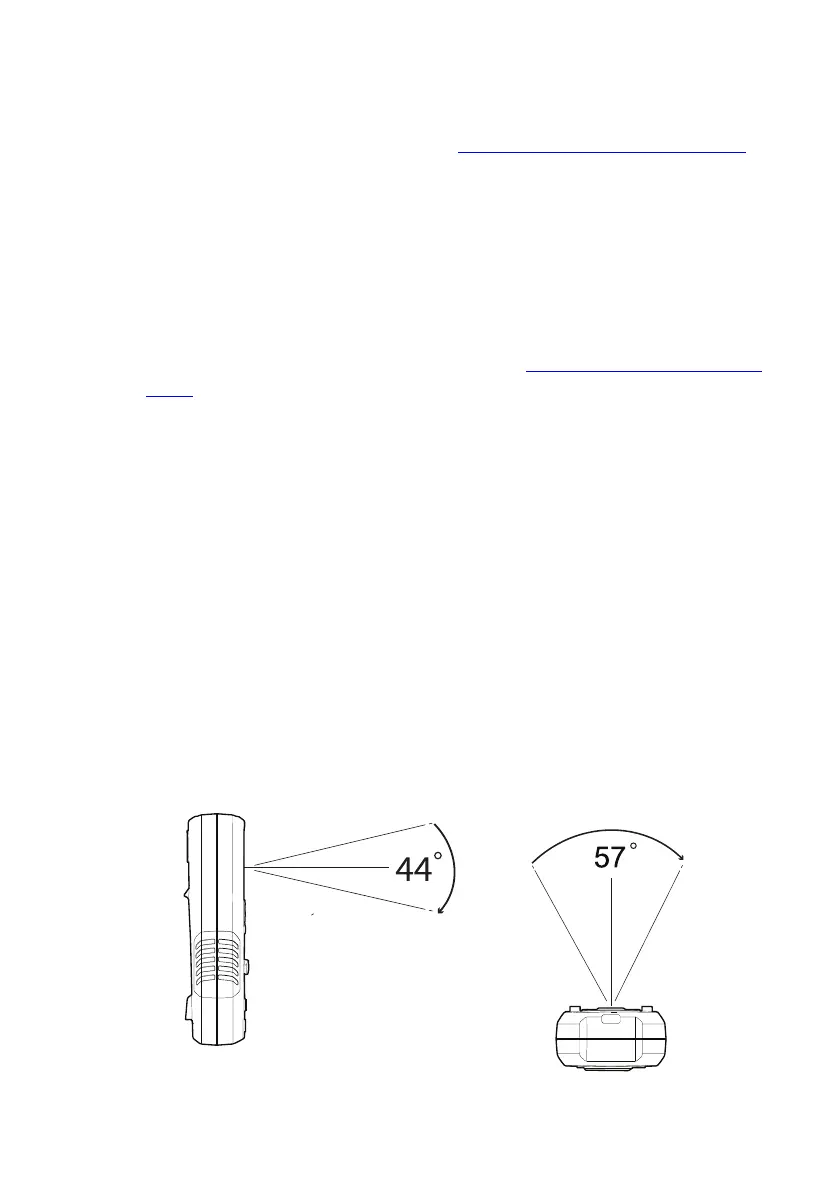
6. The thermal imager’s resolution is 120 x 160 pixels and its FOV (Field of View)
is 57 degrees (horizontal) by 44 degrees (vertical) see Fig. 8.3.
8.2.1 Laser Pointer and Crosshair Targeting Notes
1. The laser pointer and crosshairs converge accurately on a target when the
meter is within 3.3 ft. (1 m) of the target. As you move further away, a
parallax error is introduced, and the laser pointer becomes slightly less
accurate. In these cases, rely on the crosshairs for targeting, as they are
accurate, regardless of distance.
2. Measurements made in bright light can obscure the laser pointer. Always rely
on the crosshairs for the most accurate targeting.
Fig. 8.3 (a) Field of View – Vertical Fig. 8.3 (b) Field of View - Horizontal