Calibration Adjustment
5.6 Final Calibration
5
5-13
ST8003.WMF
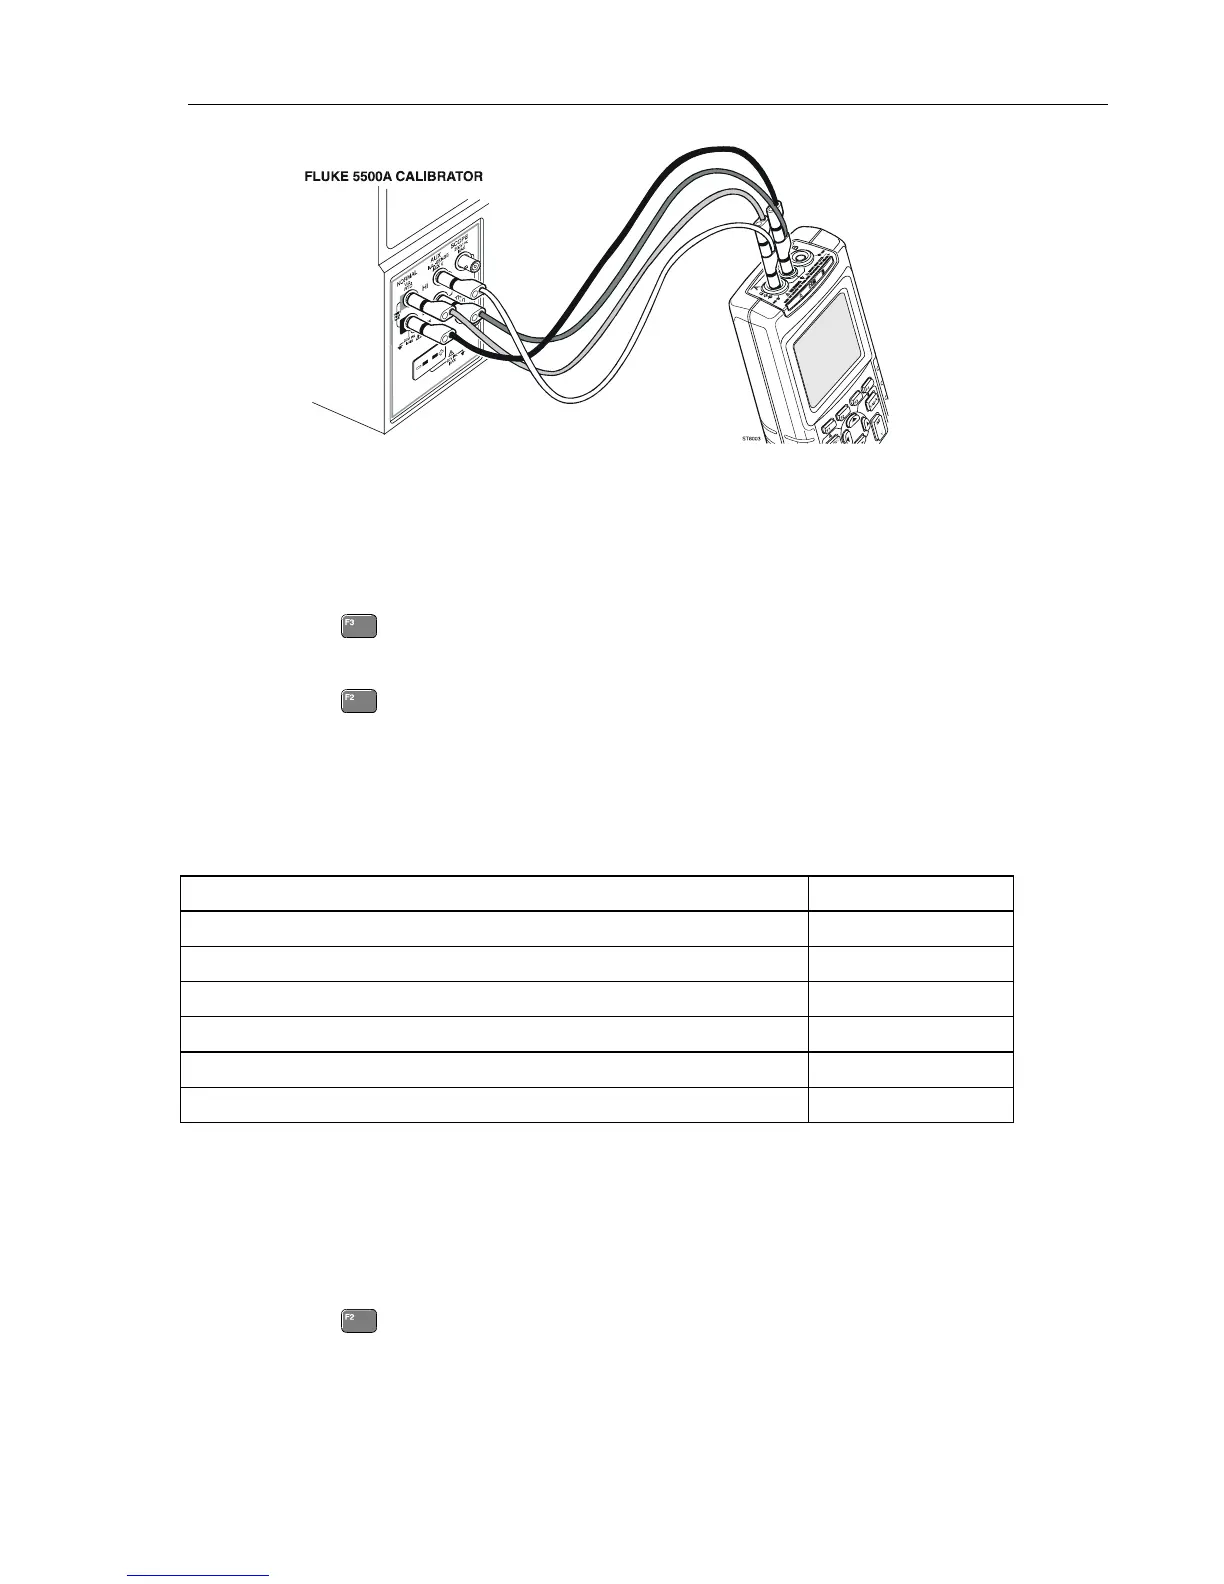
Figure 5-7. Four-wire Ohms calibration connections
3. Set the 5500A to the first test point in Table 5-4. Use the 5500A “COMP 2 wire”
mode for the calibration adjustments up to and including 100 kΩ. For the higher
values, the 5500A will turn off the “COMP 2 wire” mode.
4. Set the 5500A to operate (OPR).
5. Press
to start the calibration.
6. Wait until the display shows the calibration status
:READY.
7. Press
to select the next calibration step, set the 5500A to the next calibration
point, and start the calibration. Continue through all calibration points.
8. When you are finished, set the 5500A to Standby.
9. Continue at Section 5.6.6.
Table 5-4. Ohm Gain Calibration Points
Cal Step Input Value
Gain Ohm (CL 0860) [Cap. Pos. (CL 0920), Cap.Neg. (CL 0921)]
1)
100 Ω
Gain Ohm (CL 0861) [Cap. Pos. (CL 0922), Cap.Neg. (CL 0923)]
1)
1 kΩ
Gain Ohm (CL 0862) [Cap. Pos. (CL 0924), Cap.Neg. (CL 0925)]
1)
10 kΩ
Gain Ohm (CL 0863) [Cap. Pos. (CL 0926), Cap.Neg. (CL 0927)]
1)
100 kΩ
Gain Ohm (CL 0864) 1 MΩ
Gain Ohm (CL 0865) [Gain Ohm (CL 0866)]
2)
10 MΩ
1)
The capacitance measurement current calibrations (Cap.Pos. and Cap.Neg) are done automatically after
the Gain Ohm calibration.
2)
The Gain Ohm (CL0866) calibration step is done automatically after the Gain Ohm (CL0865) calibration.
5.6.6 Capacitance Gain Low and High
Proceed as follows to do the Capacitance Gain calibration:
1. Press
to select calibration adjustment step Cap. Low (CL 0900):IDLE
2. Connect the test tool to the 5500A as shown in Figure 5-8.

 Loading...


